The Beginning
With this project I really started out on the wrong foot. What happened I here you ask? Well turns out to do a laser cutting assignment you need access to a laser cutter. Which us here at Wheaton do have! Yay!
However I forgot to apply for time until it was all filled up.
.png)
Which makes it a little hard to get anything done.However I was lucky I knew Kevin who was able to let me in a little early today to get some stuff done. When it came to actually using the laser cutter I felt that the process went really well all things told, but there were some issue along the line so you will hear about some mistakes as I go through this.
Swatches
So the first step when working on cutting swatches of different materials is to pick the materials that we're going to cut. I was very perticular in what I picked as my process consisted of was looking around noticing that there was a pile of materials near by, and picking those, as they seemed to have already been cut up a fair bit. Also just so you have some idea where I got my settings from when putting them into the cutter program, there was a board with a bunch of settings in it for that type of wood and I based by guesses on them.
Birch

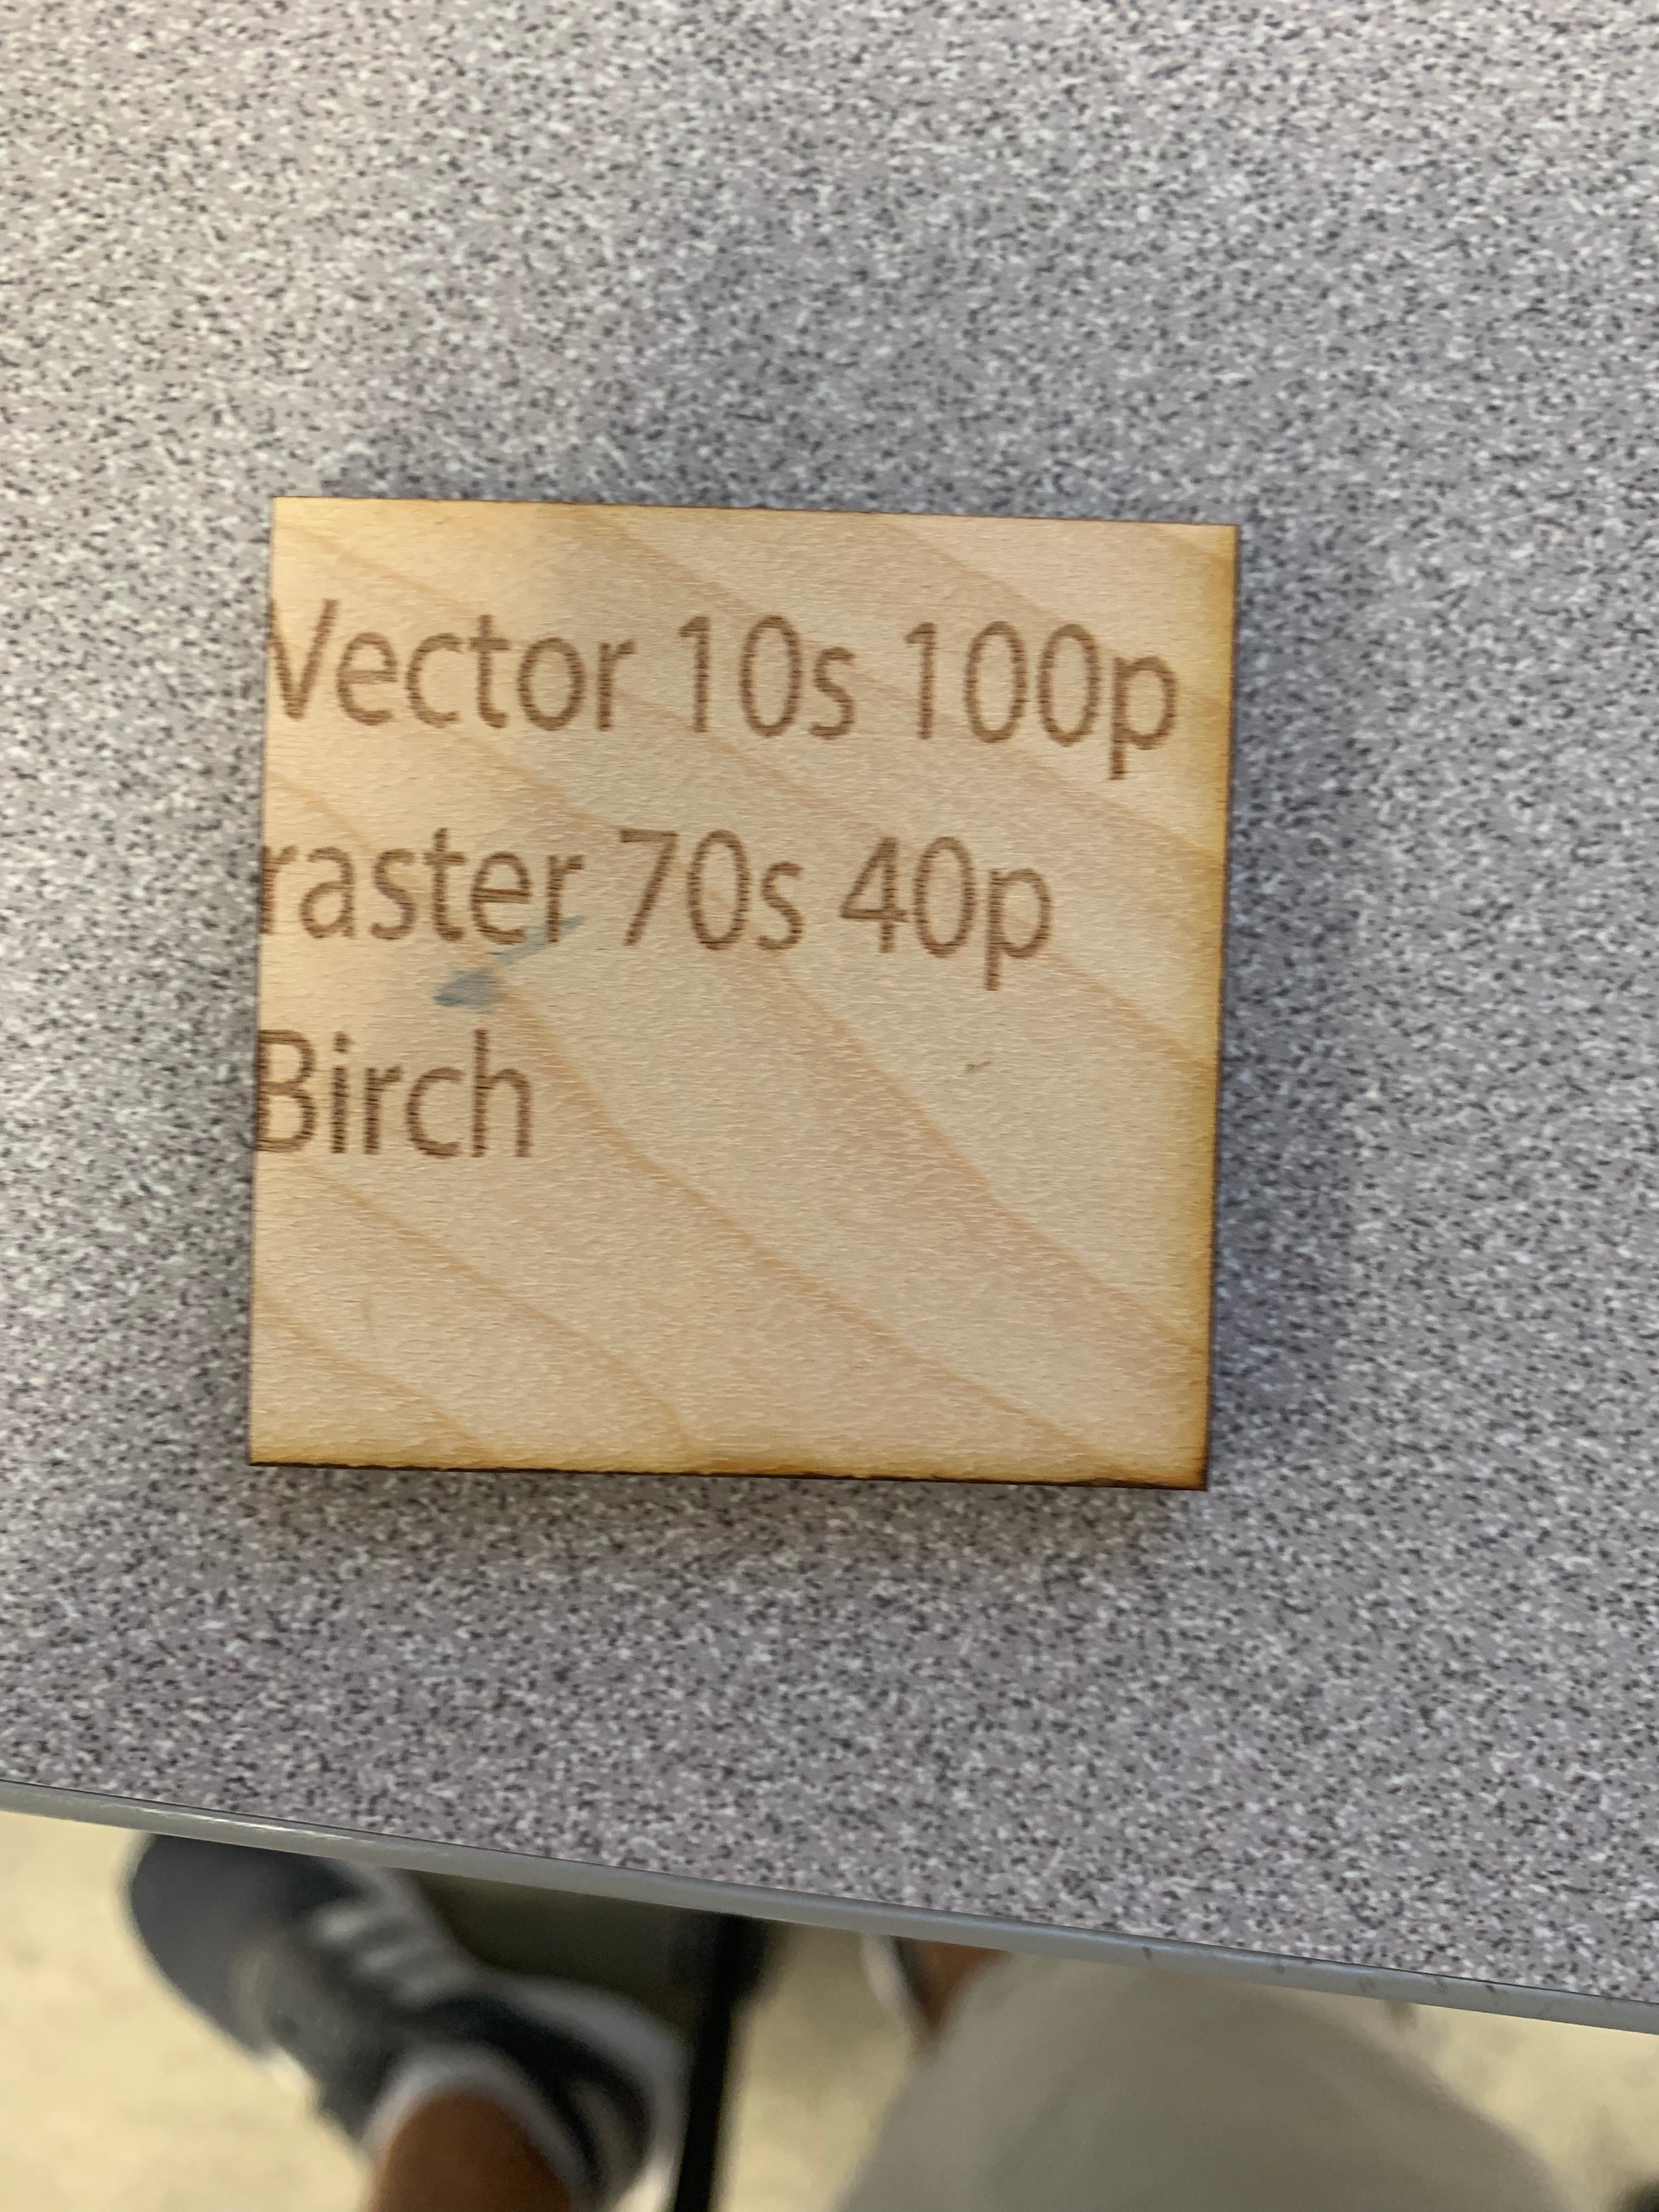
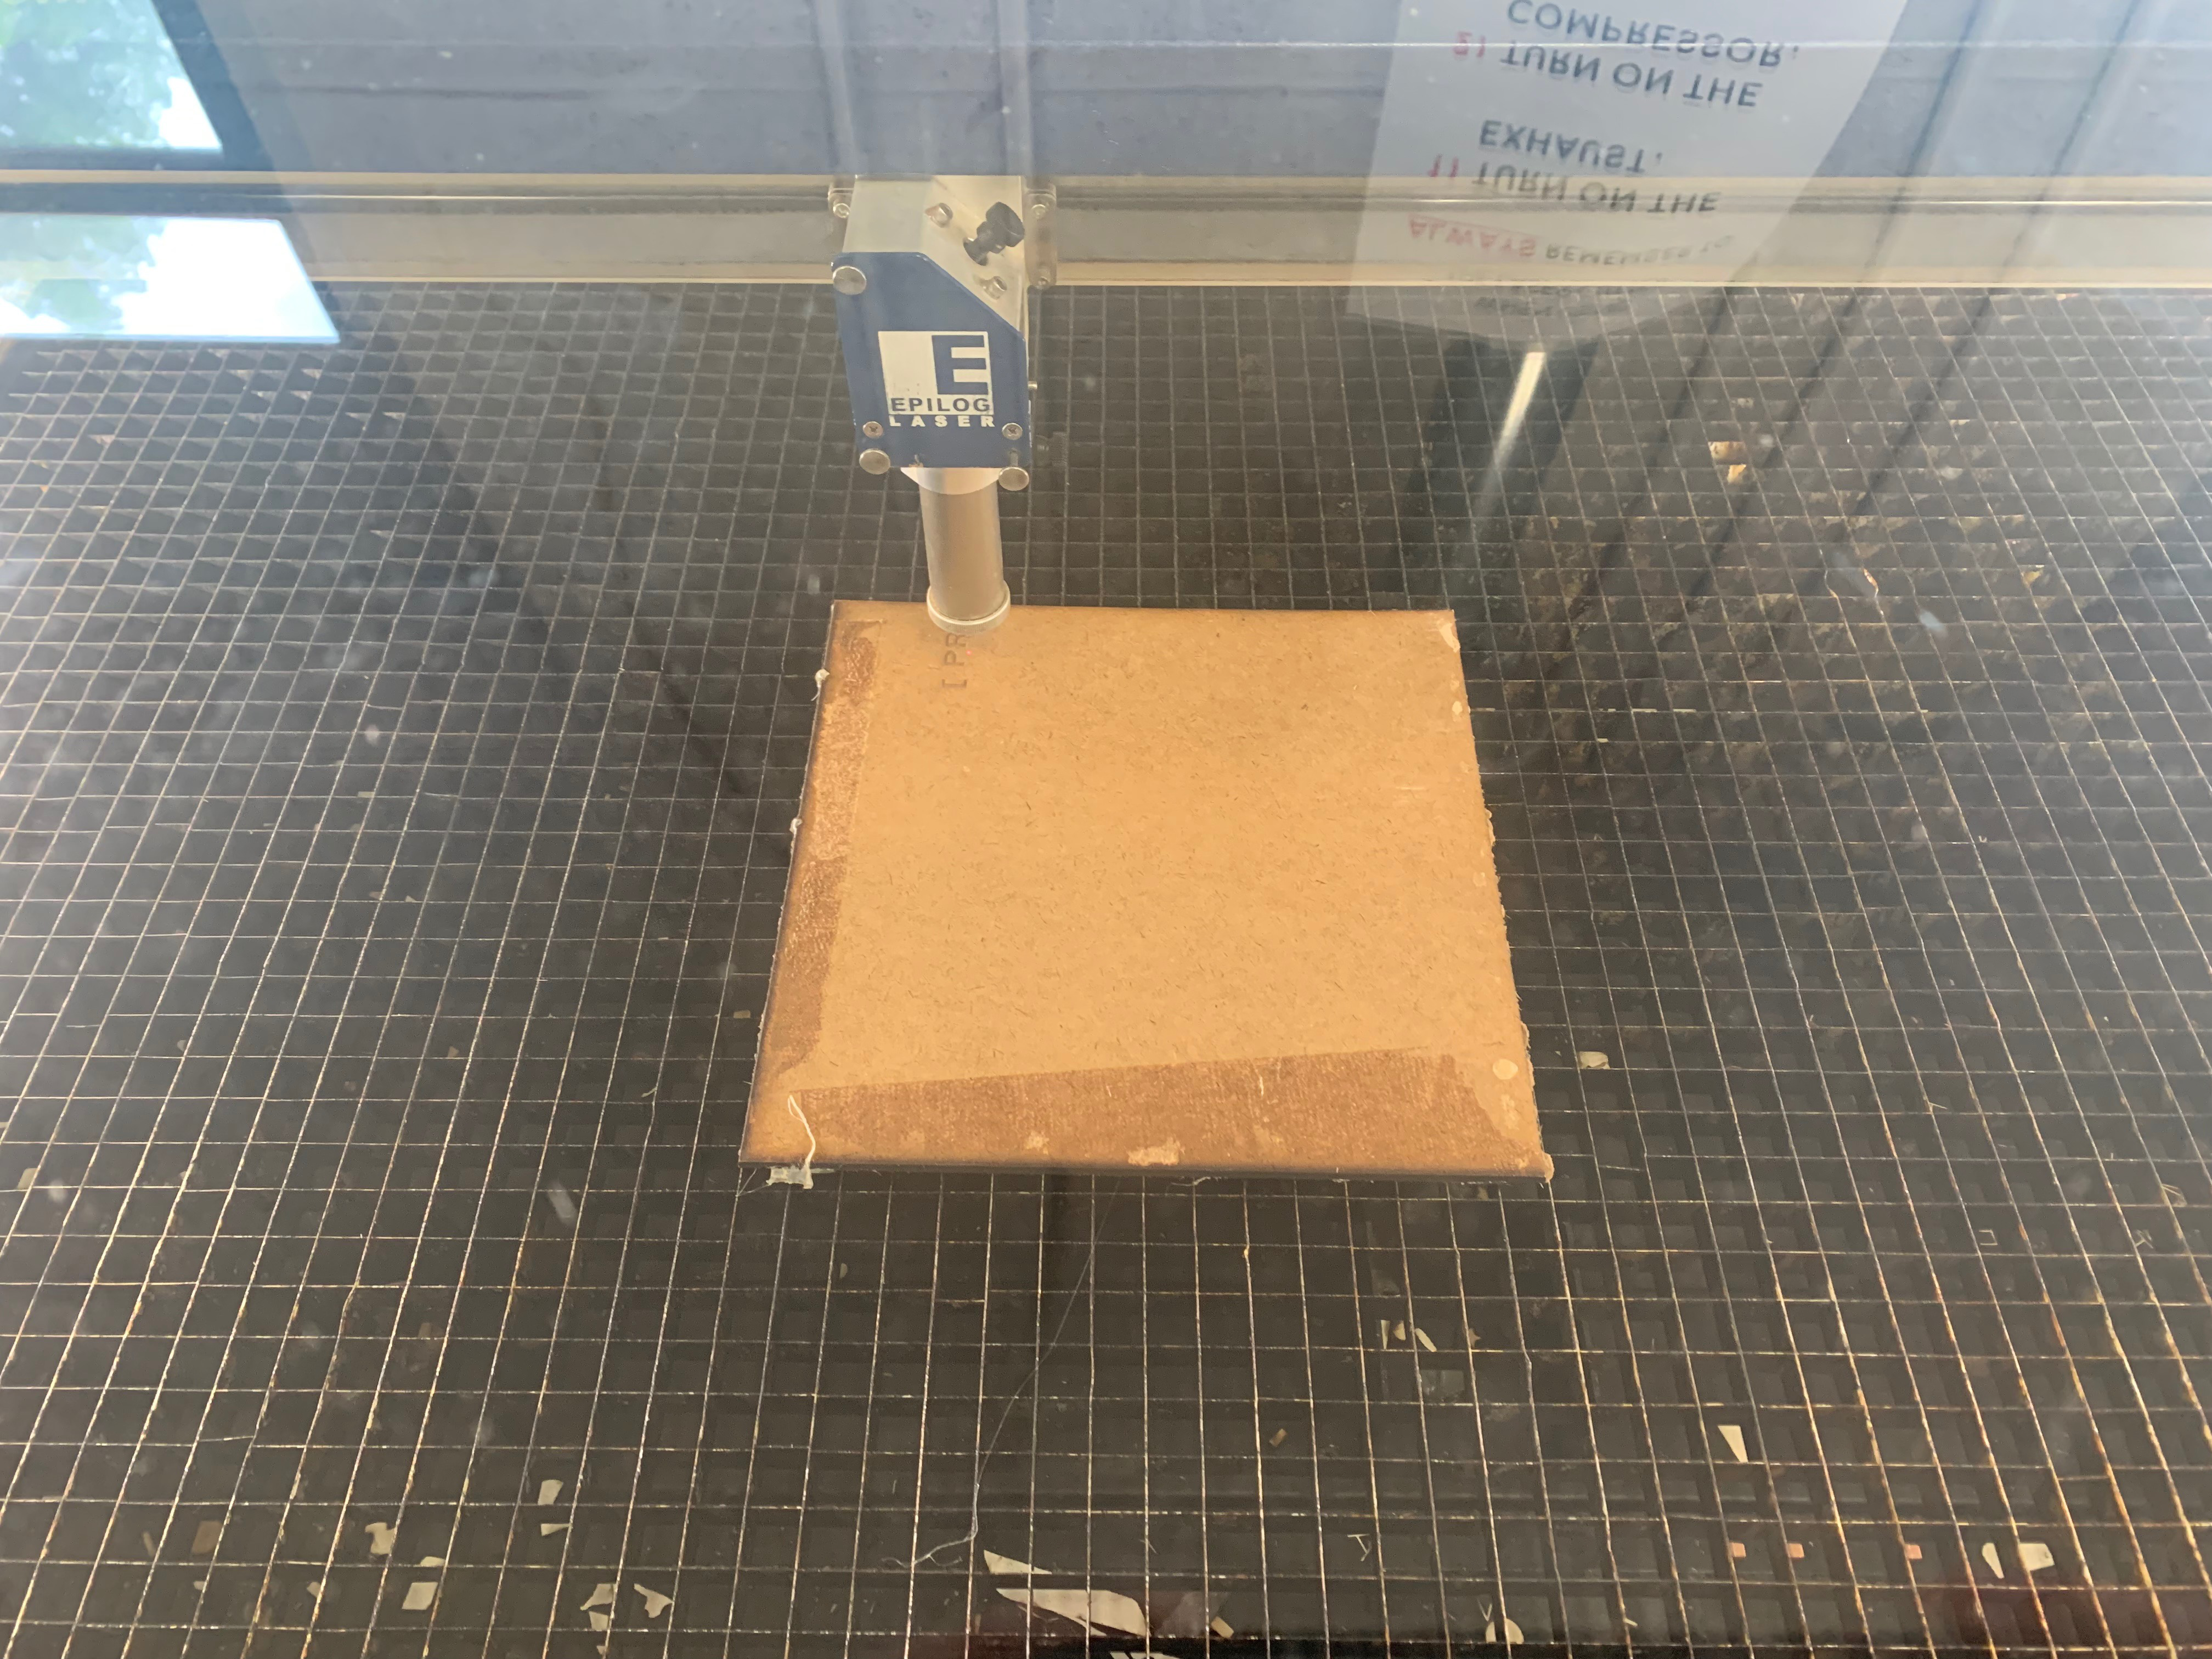
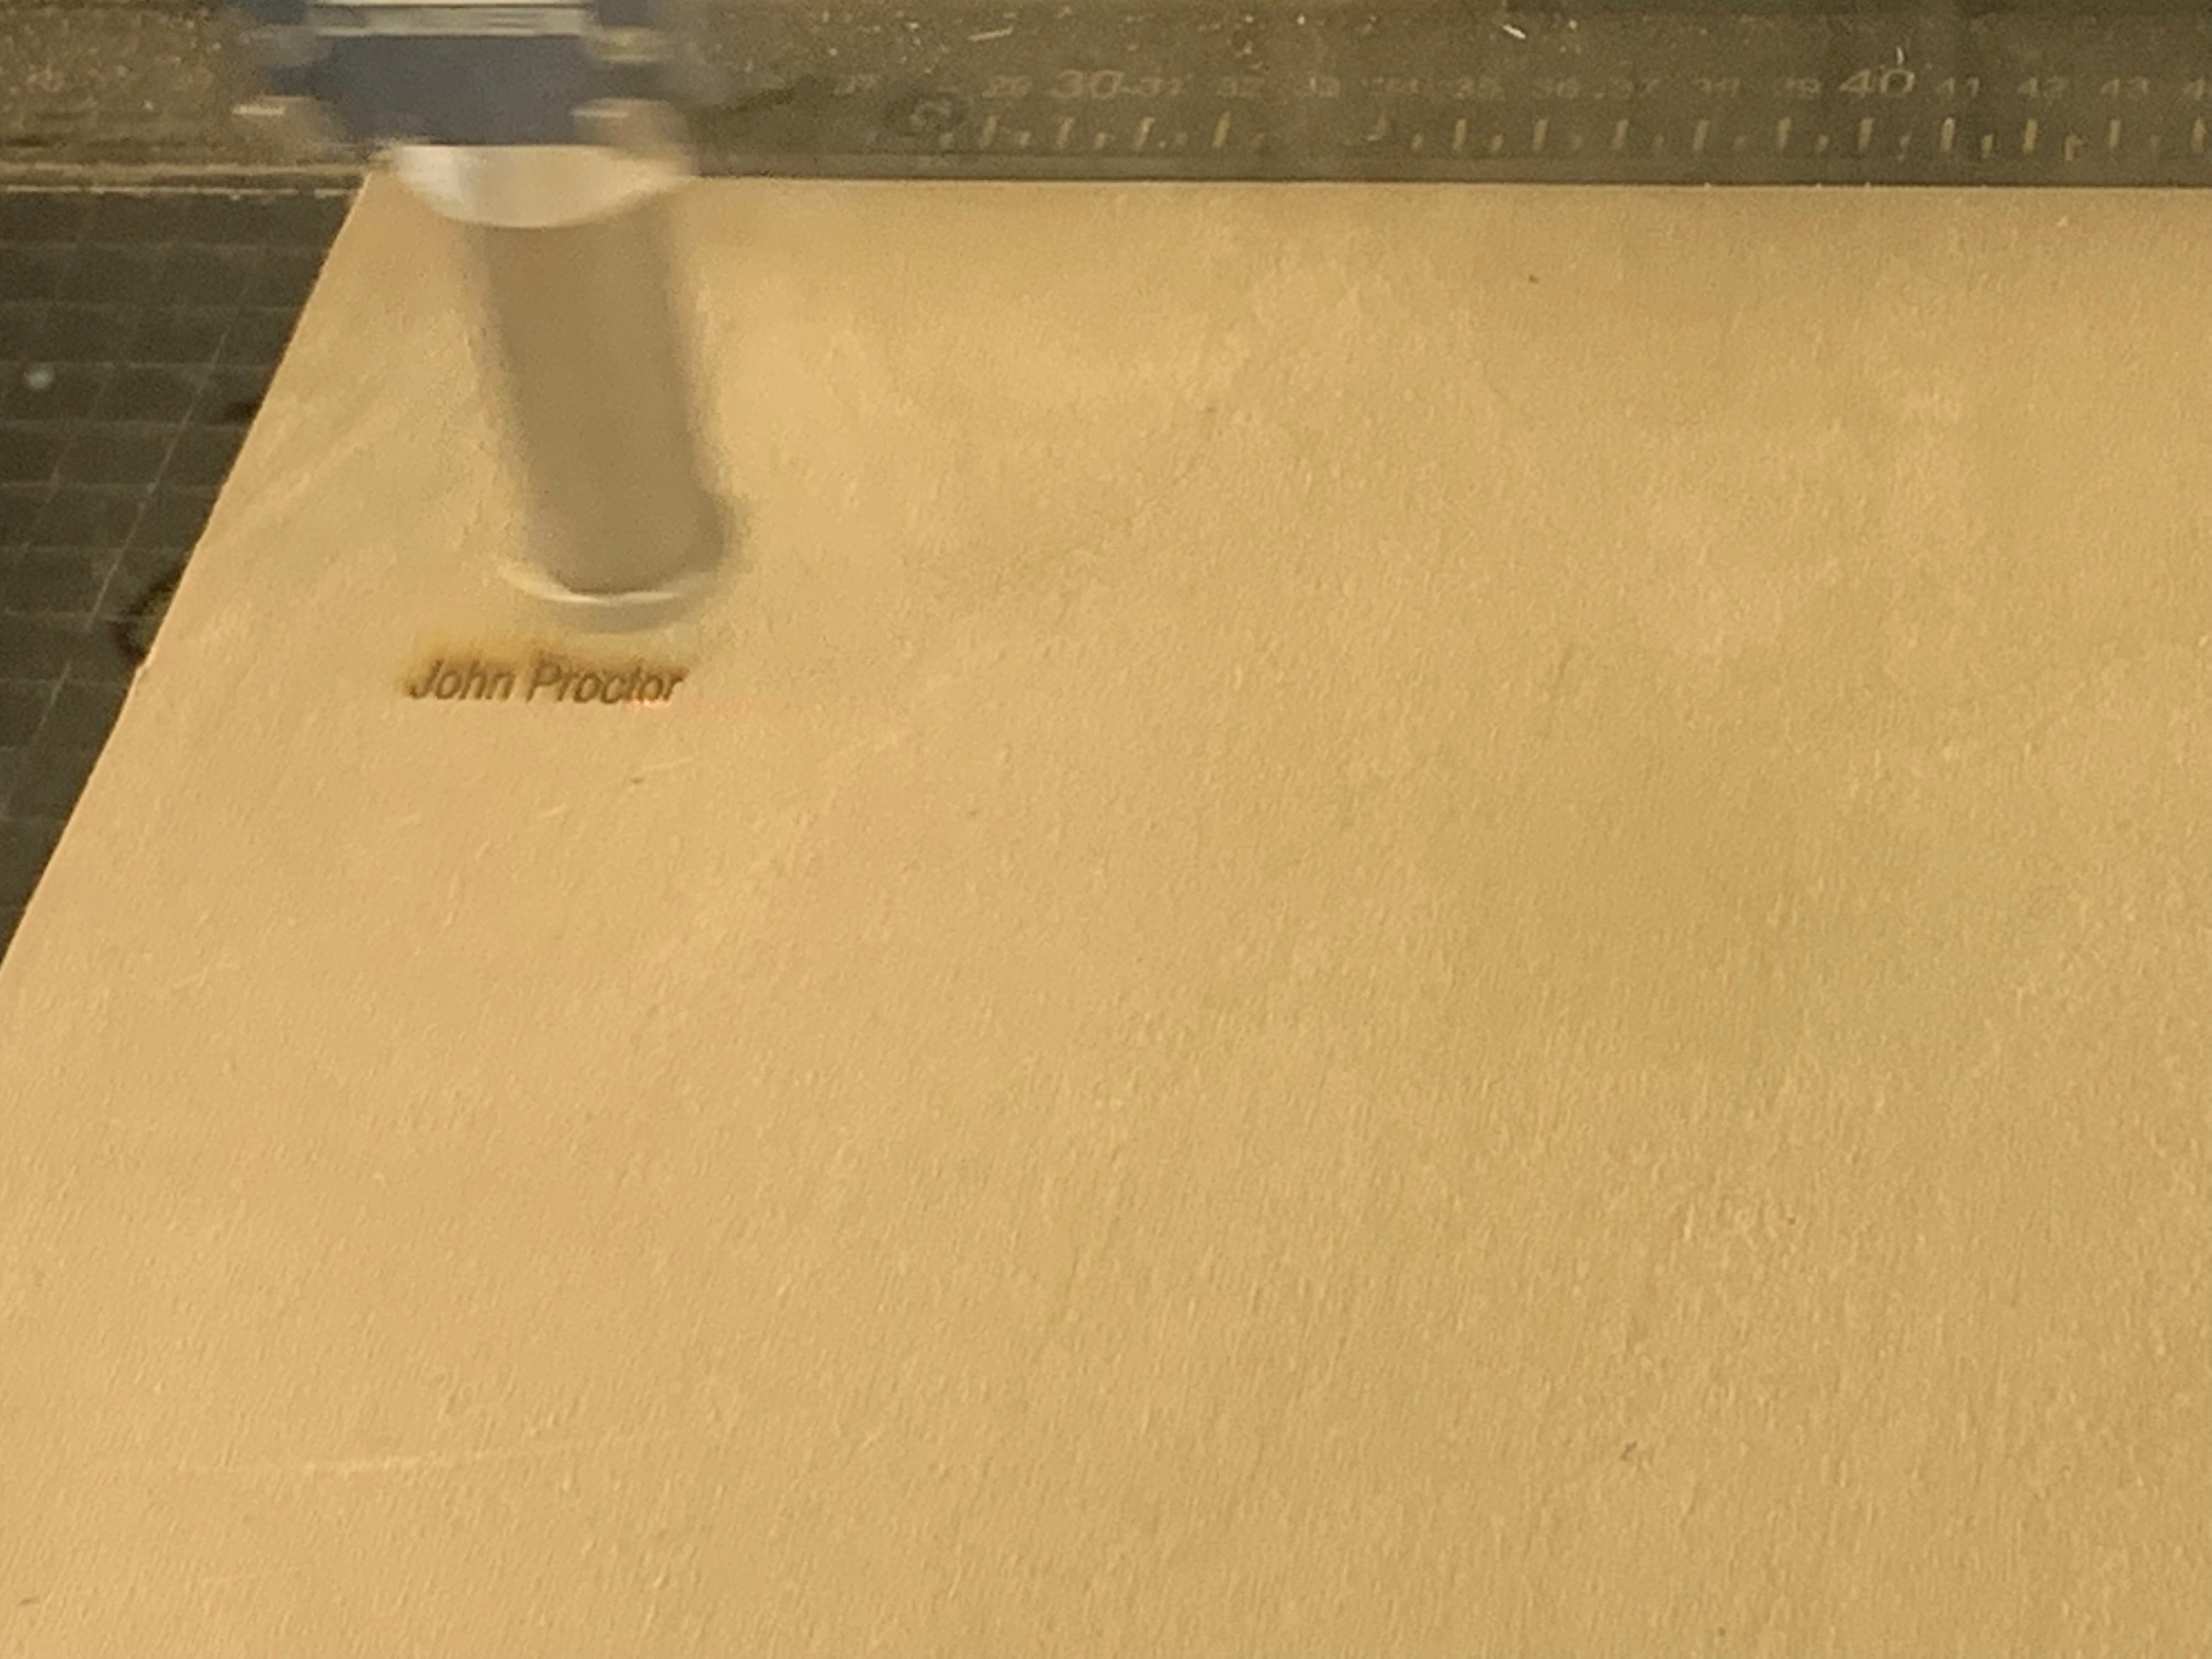
The first thing that I decided to cut was a piece of birch wood that on retrospect feels like I perhaps shouldn't have cut as there was a very pretty tree on it. However in my defense Kevin said it's okay so really it's all his fault. You'll also notice that I don't have a frequency setting for this swatch that is because I forgot that, that was a setting, and then when I remembered I felt that it wasn't important. Don't worry I had a change of heart later and changed it having frequency on it, but the swatches are a bit bigger. Also here is a picture of the birch in the laser cutter.

Cardboard

Cardboard also went very smoothly for me. Although still at this point we can notice that frequency is not apart of this swatch. This will be the last on of these swatches that I didn't have a problems with so the rest should be more interesting reading.
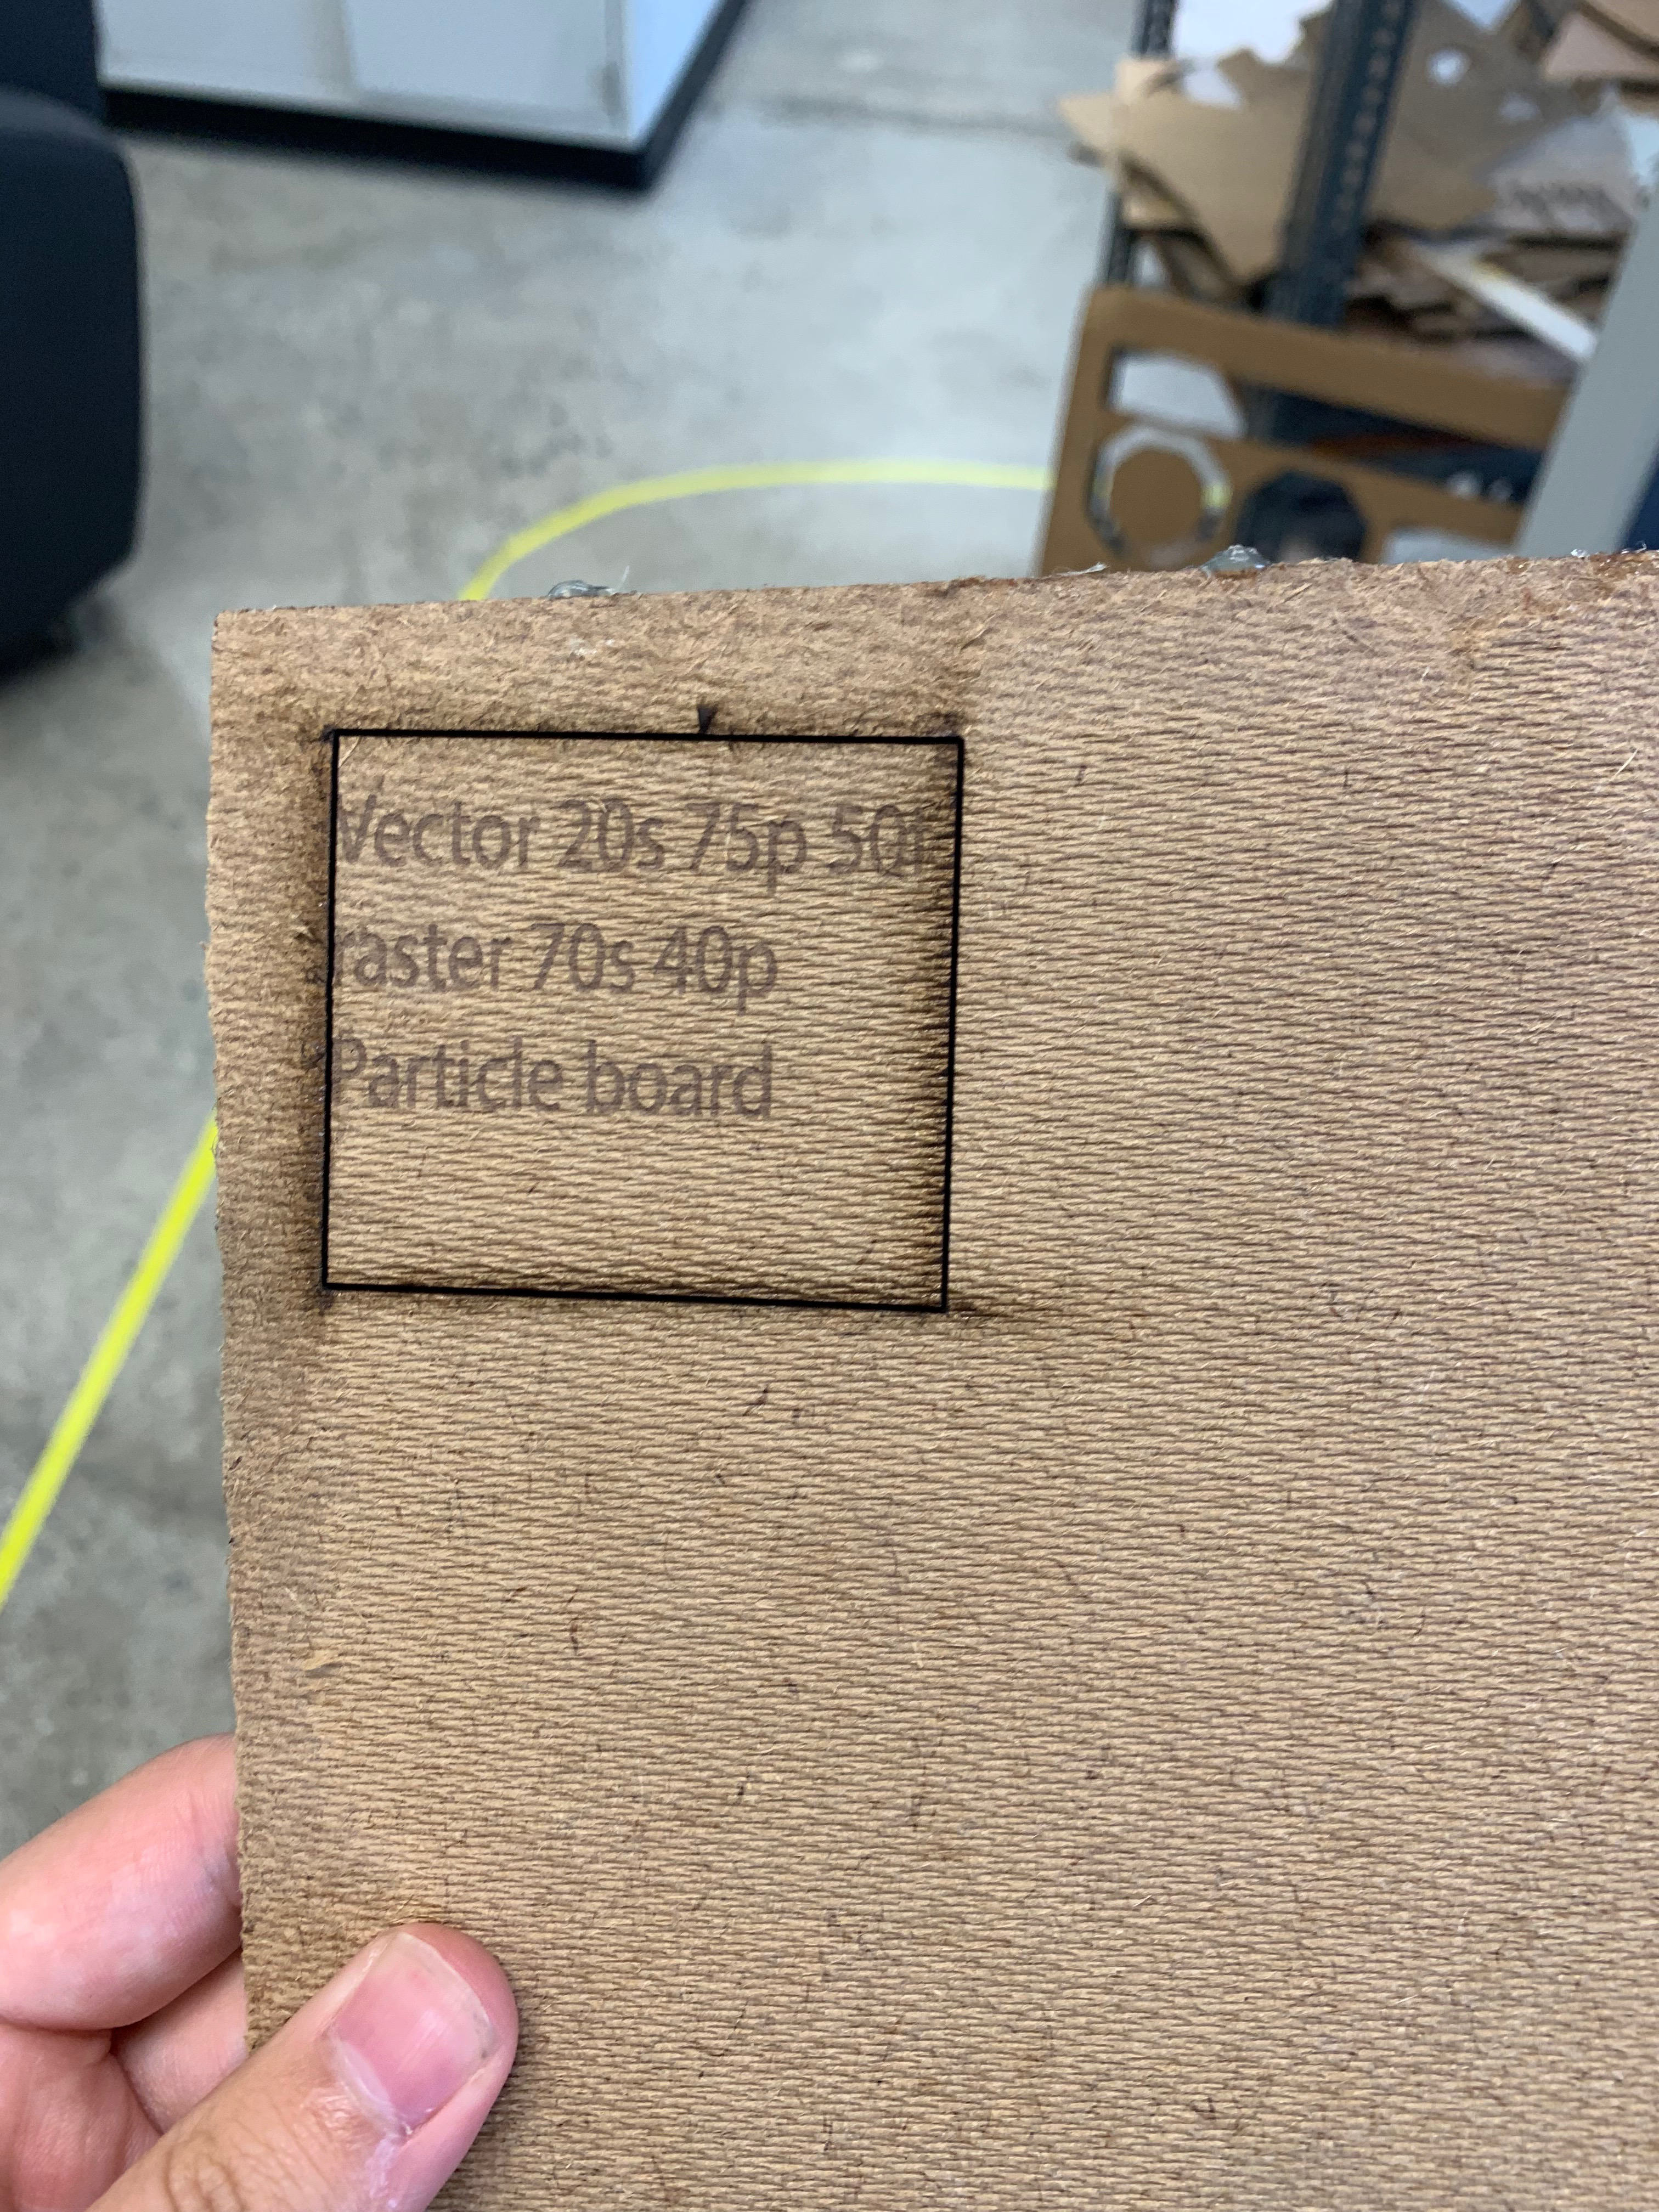
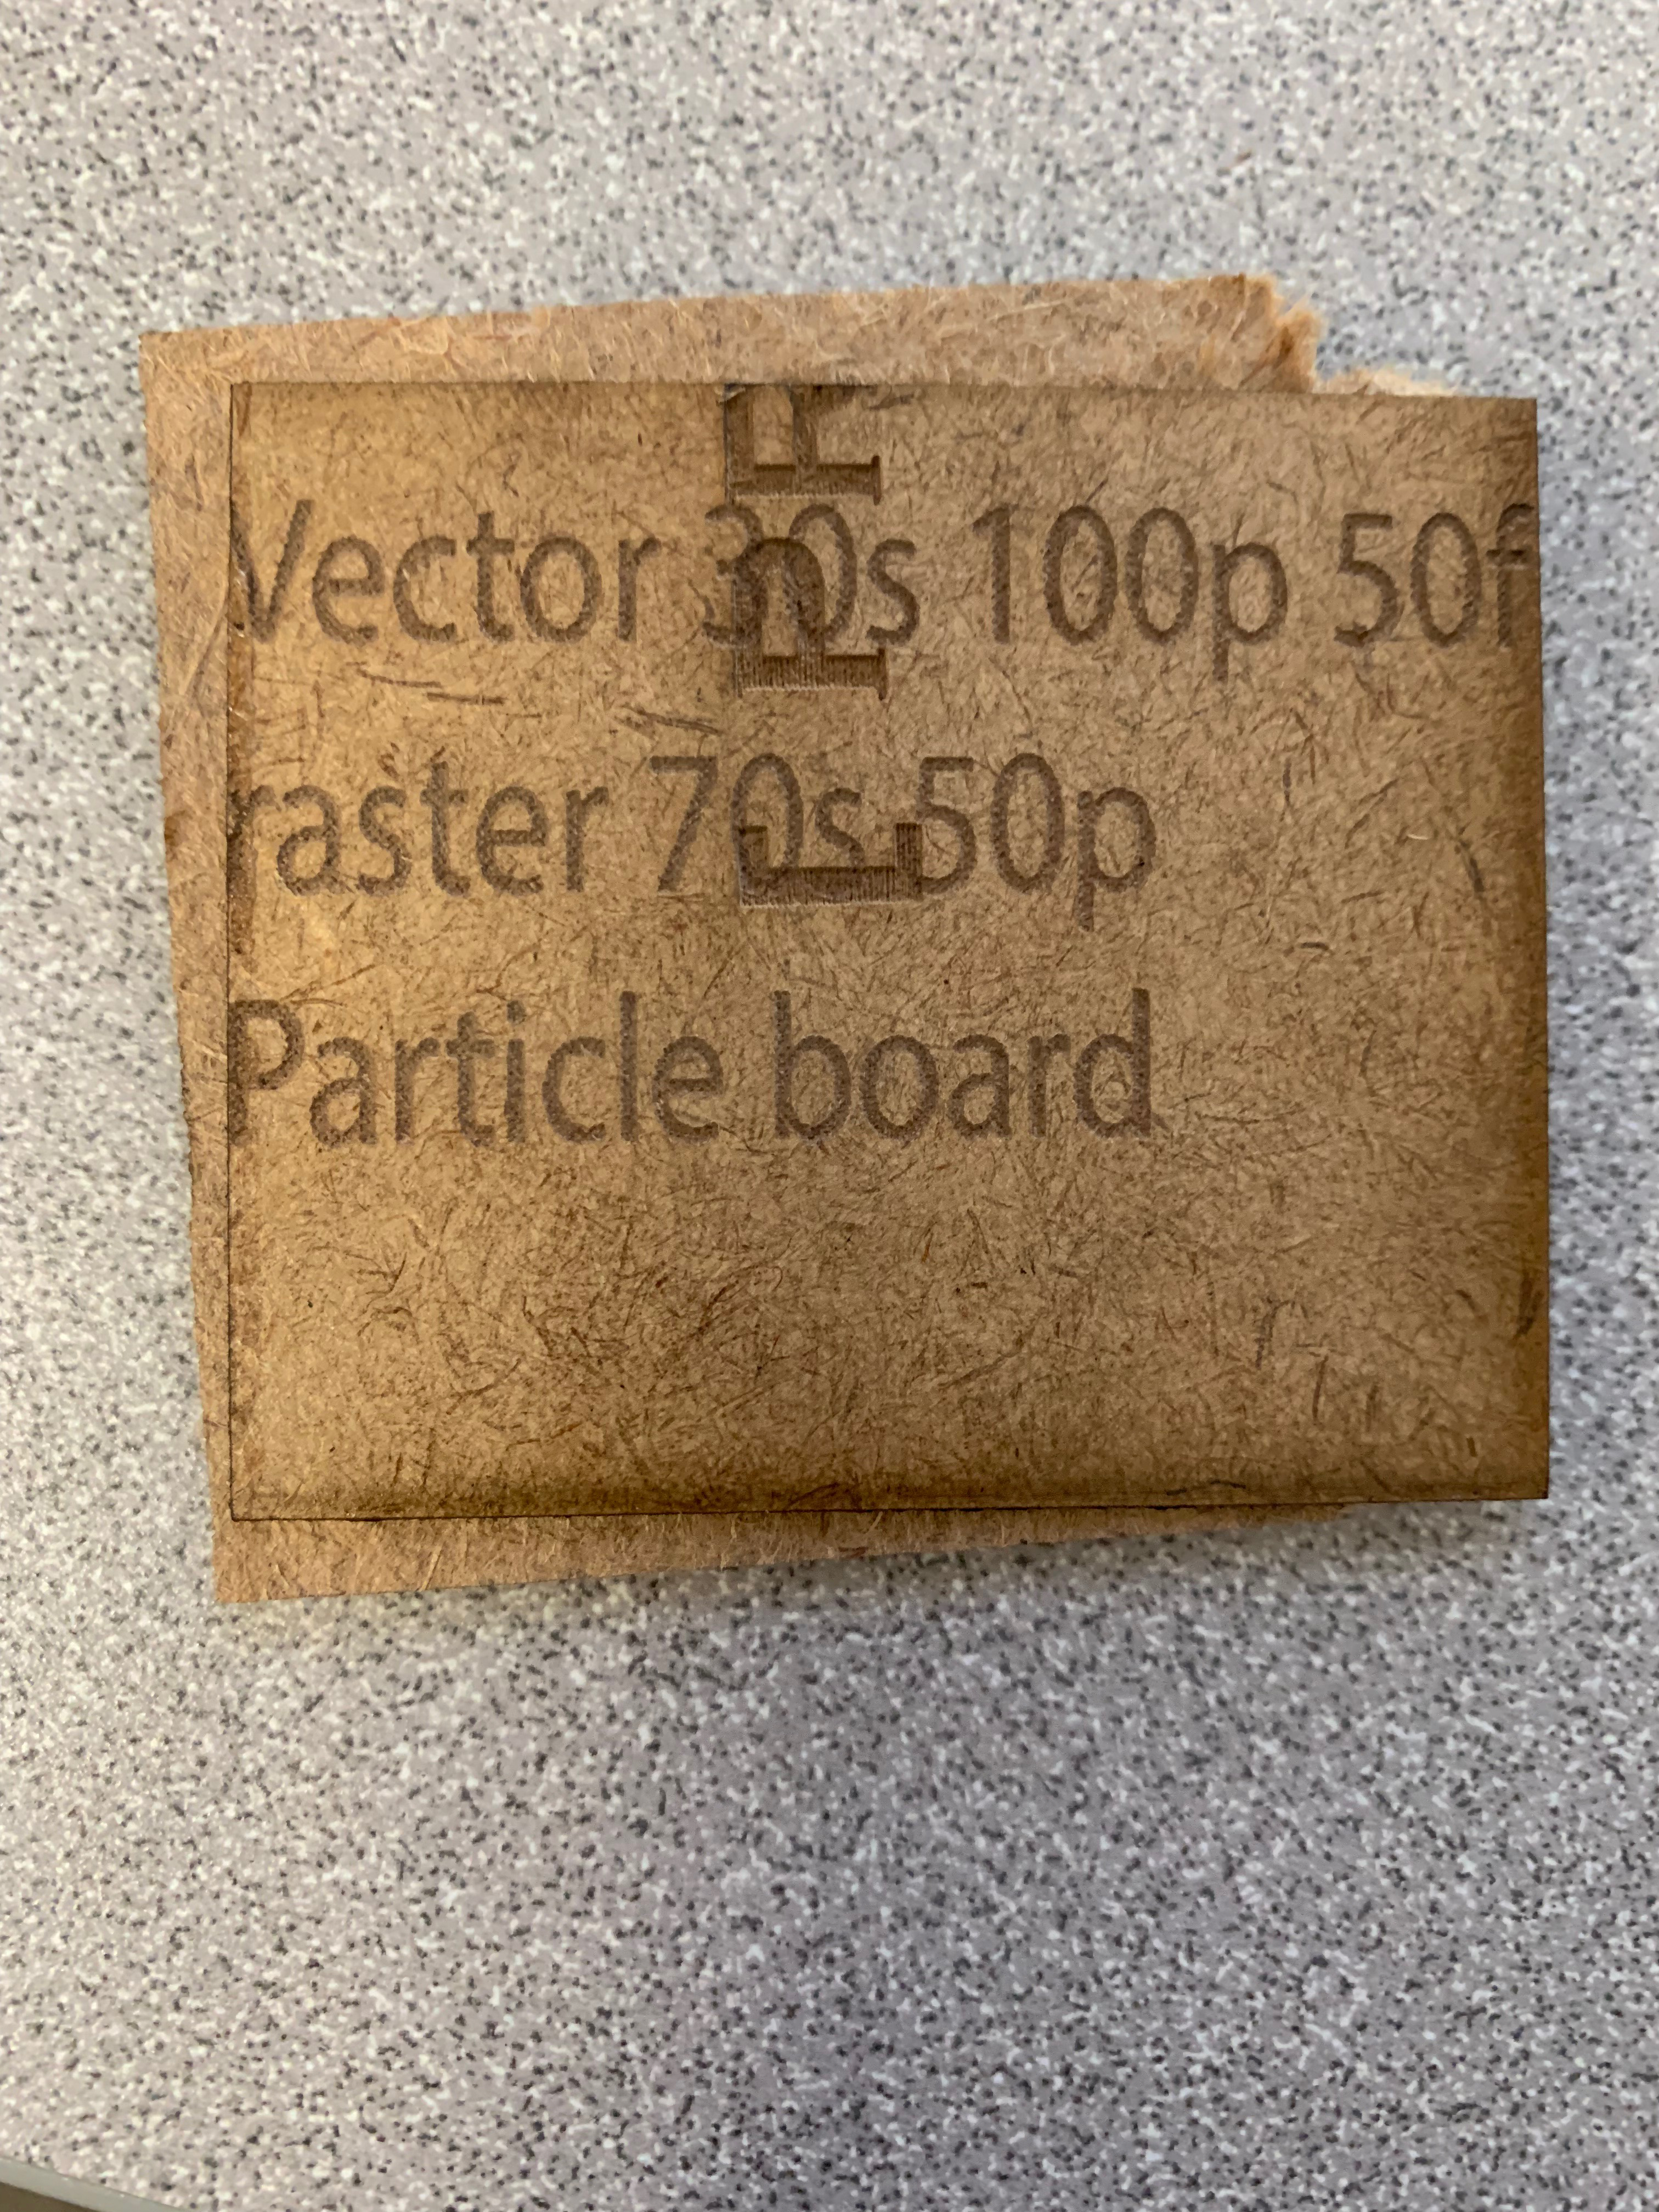
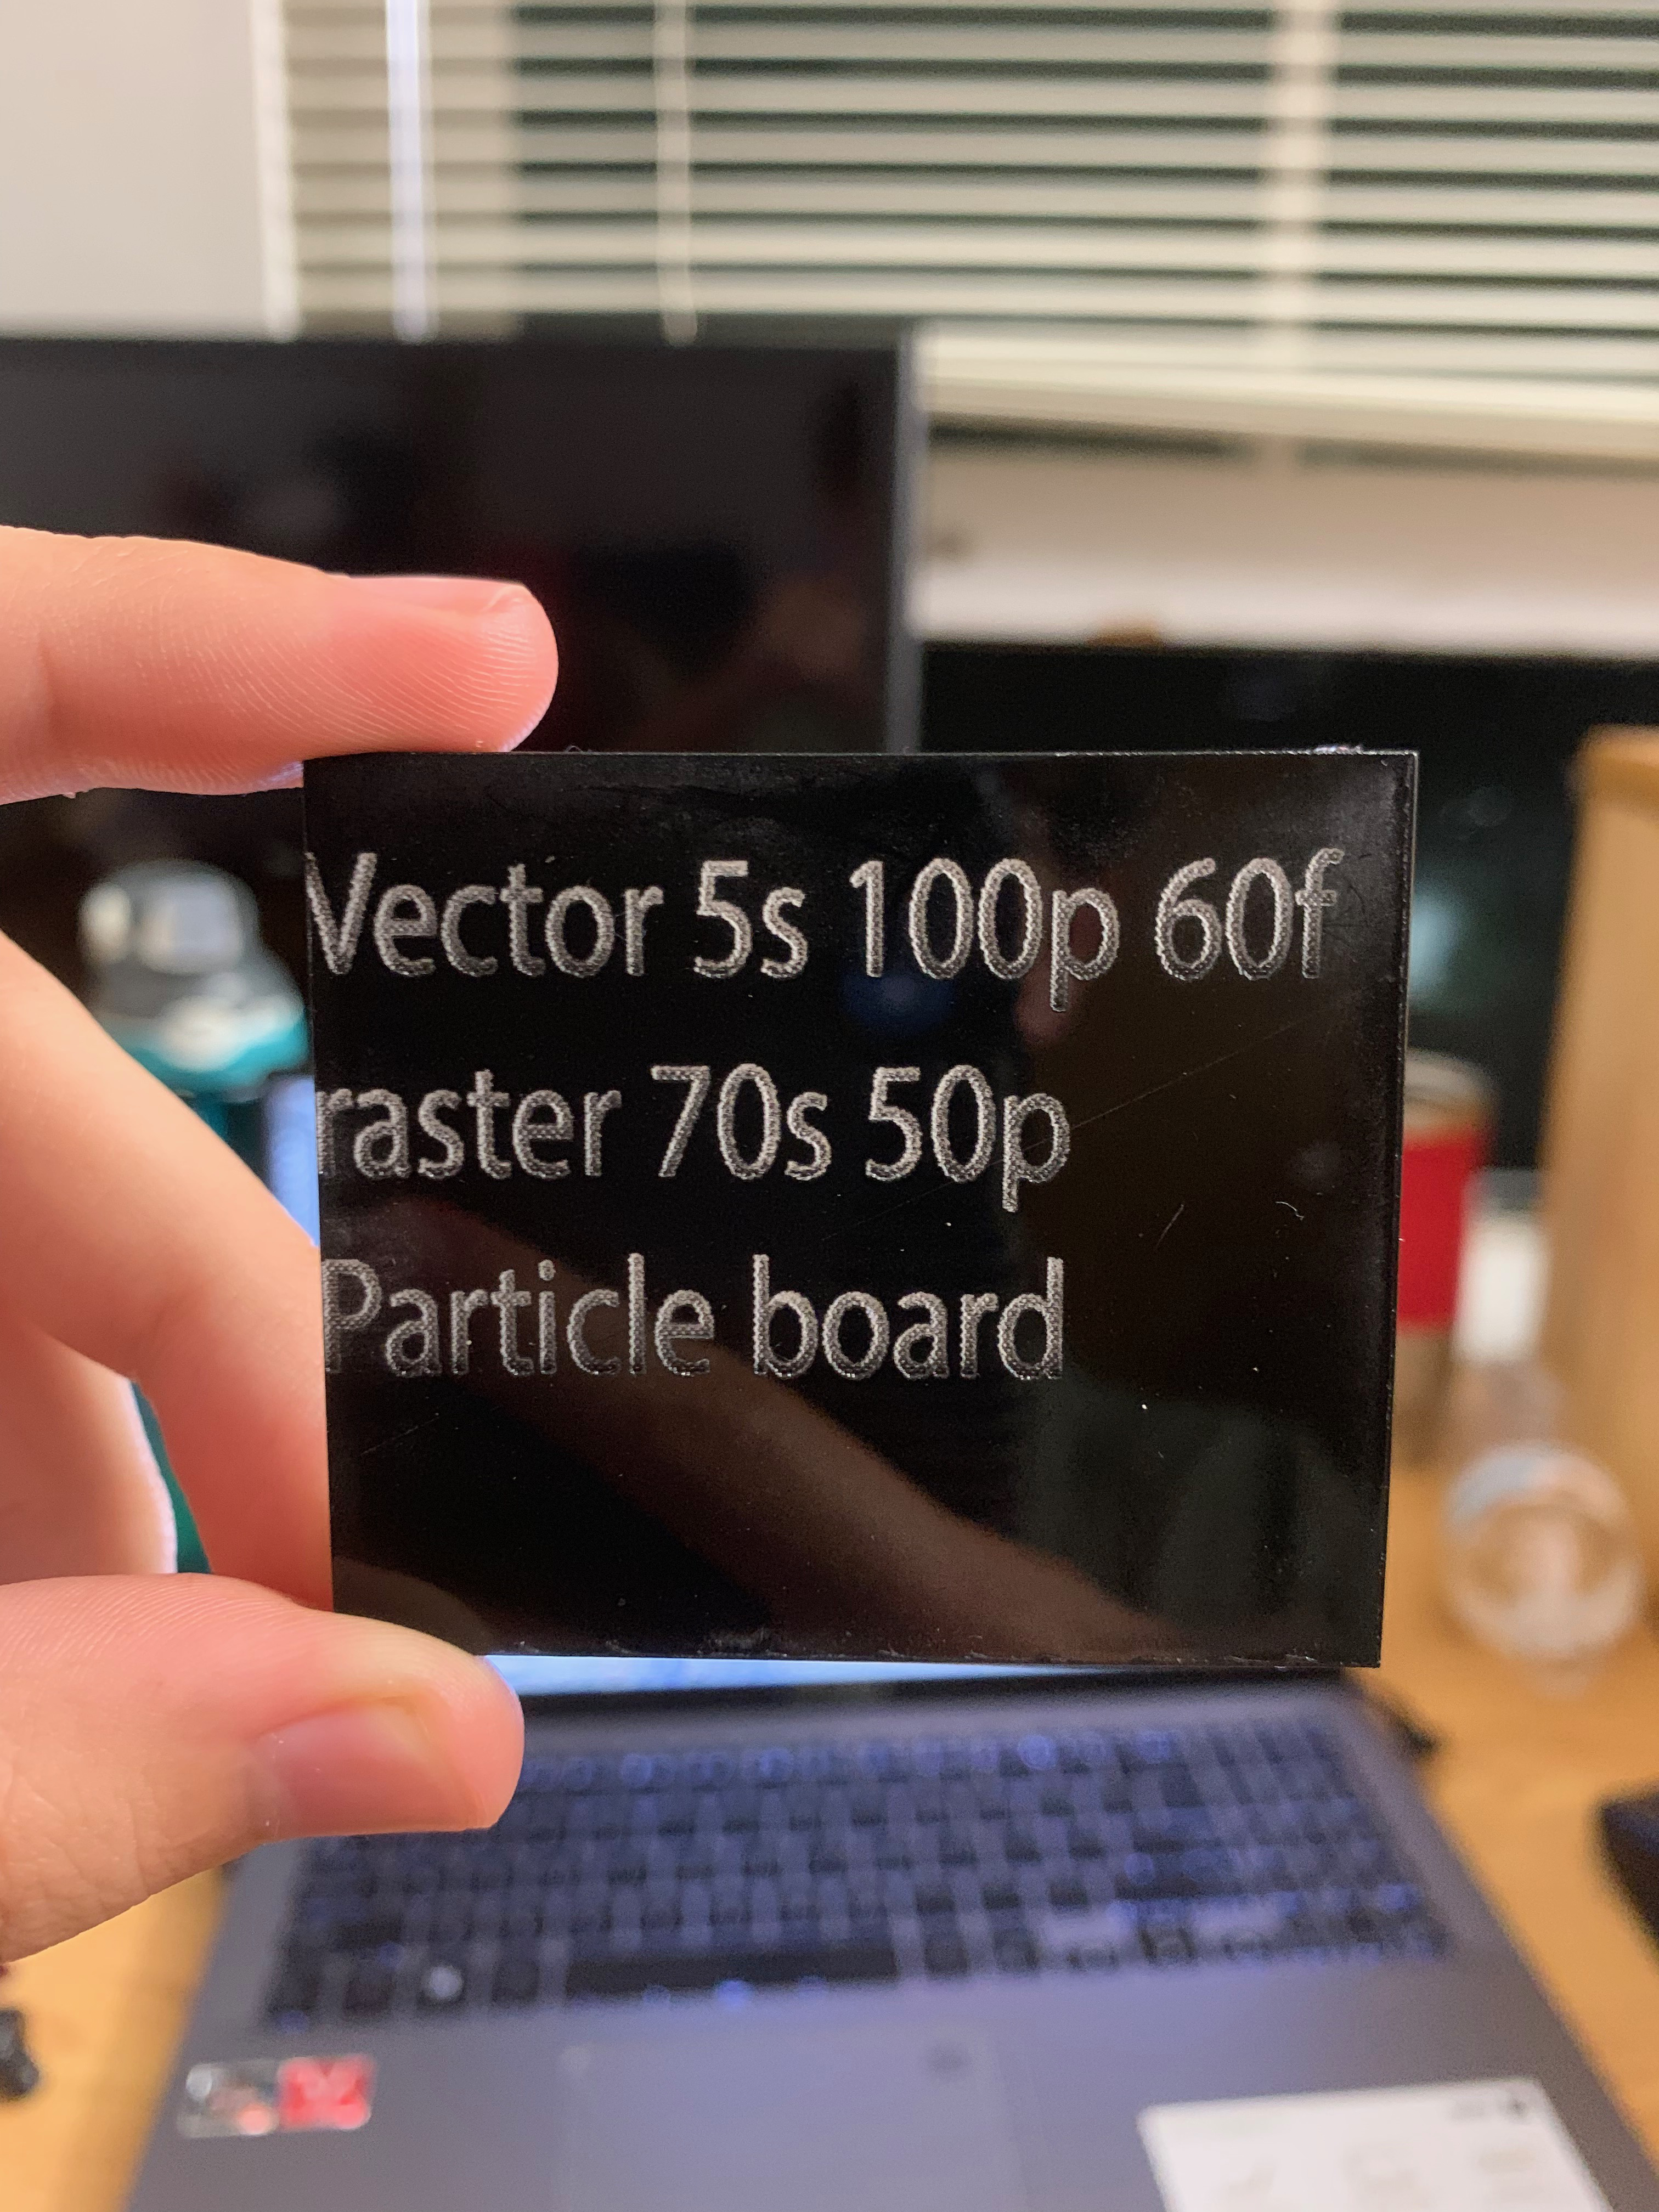
The Beginning of the Problems: Particle Board
"Woah John what do you mean problems first photo and you've got it! You've even put frequency finally this is clearly an improvement!" Wow, that is so kind of you to say but no in this photo I did not have the power on the vector settings high enough which resulted in it being stuck in the board. Which isn't great. While just flip that board around raise the vector settings and cut a new one! Ok lets see how that went.
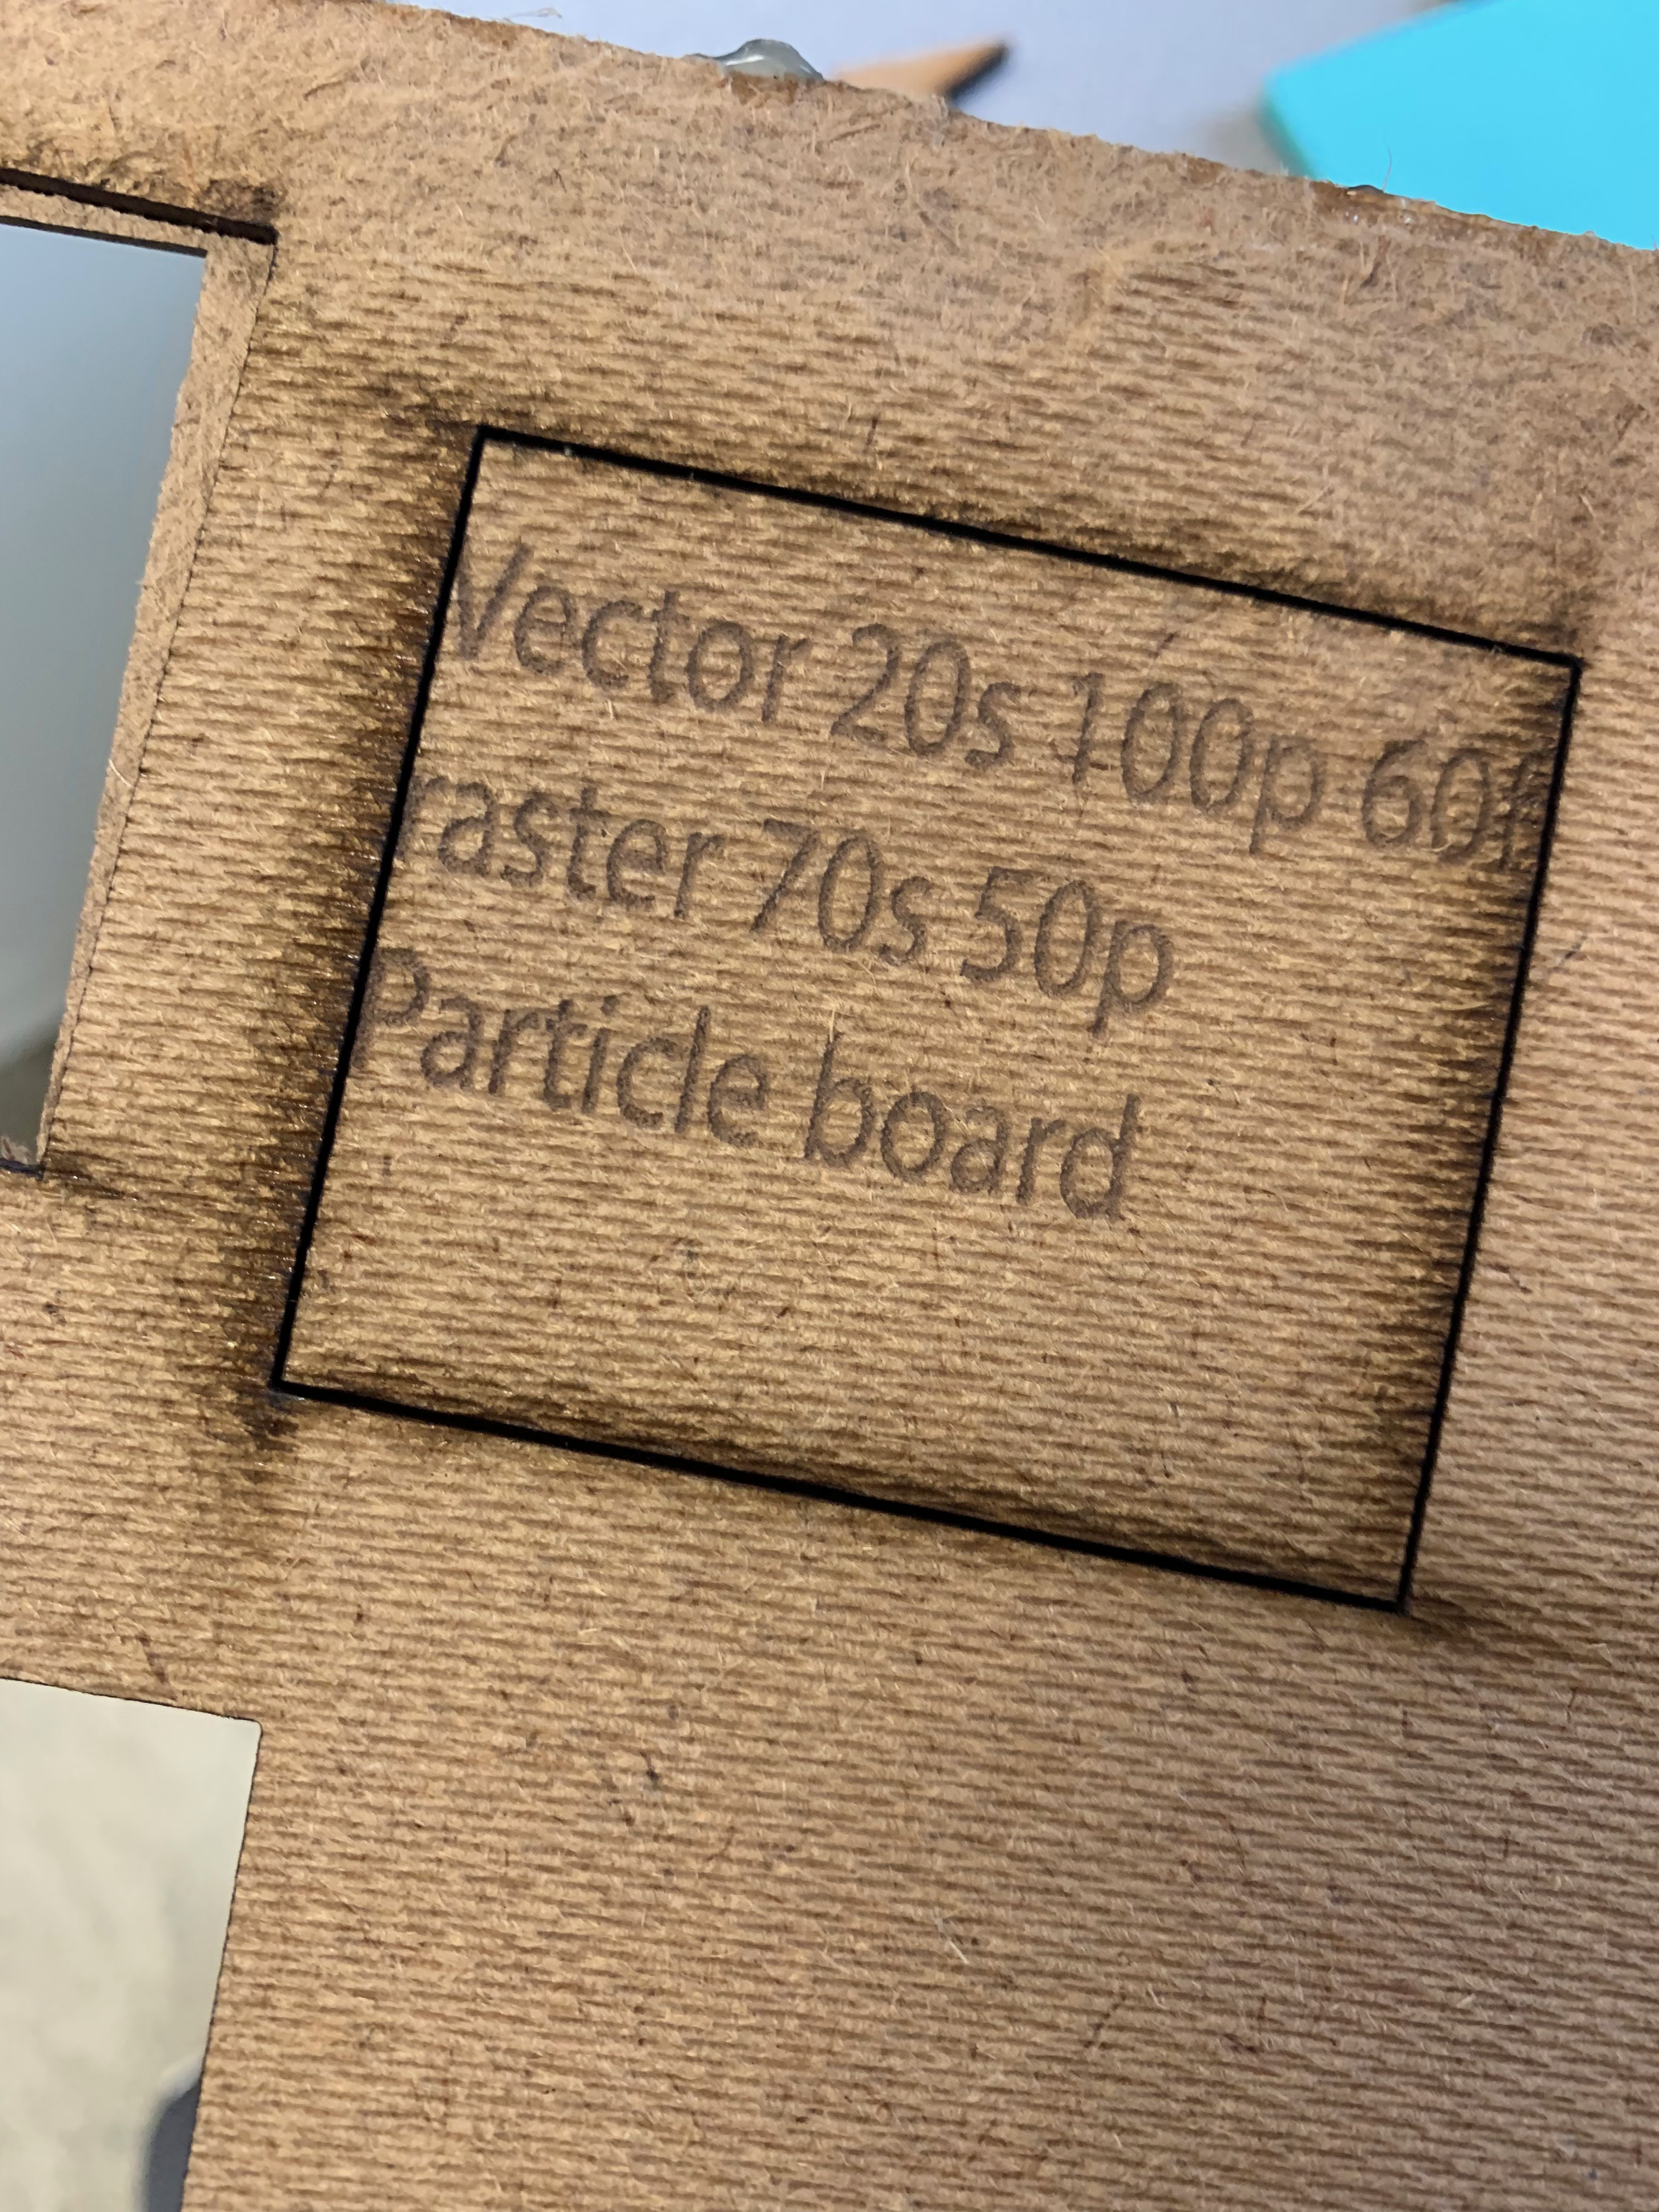
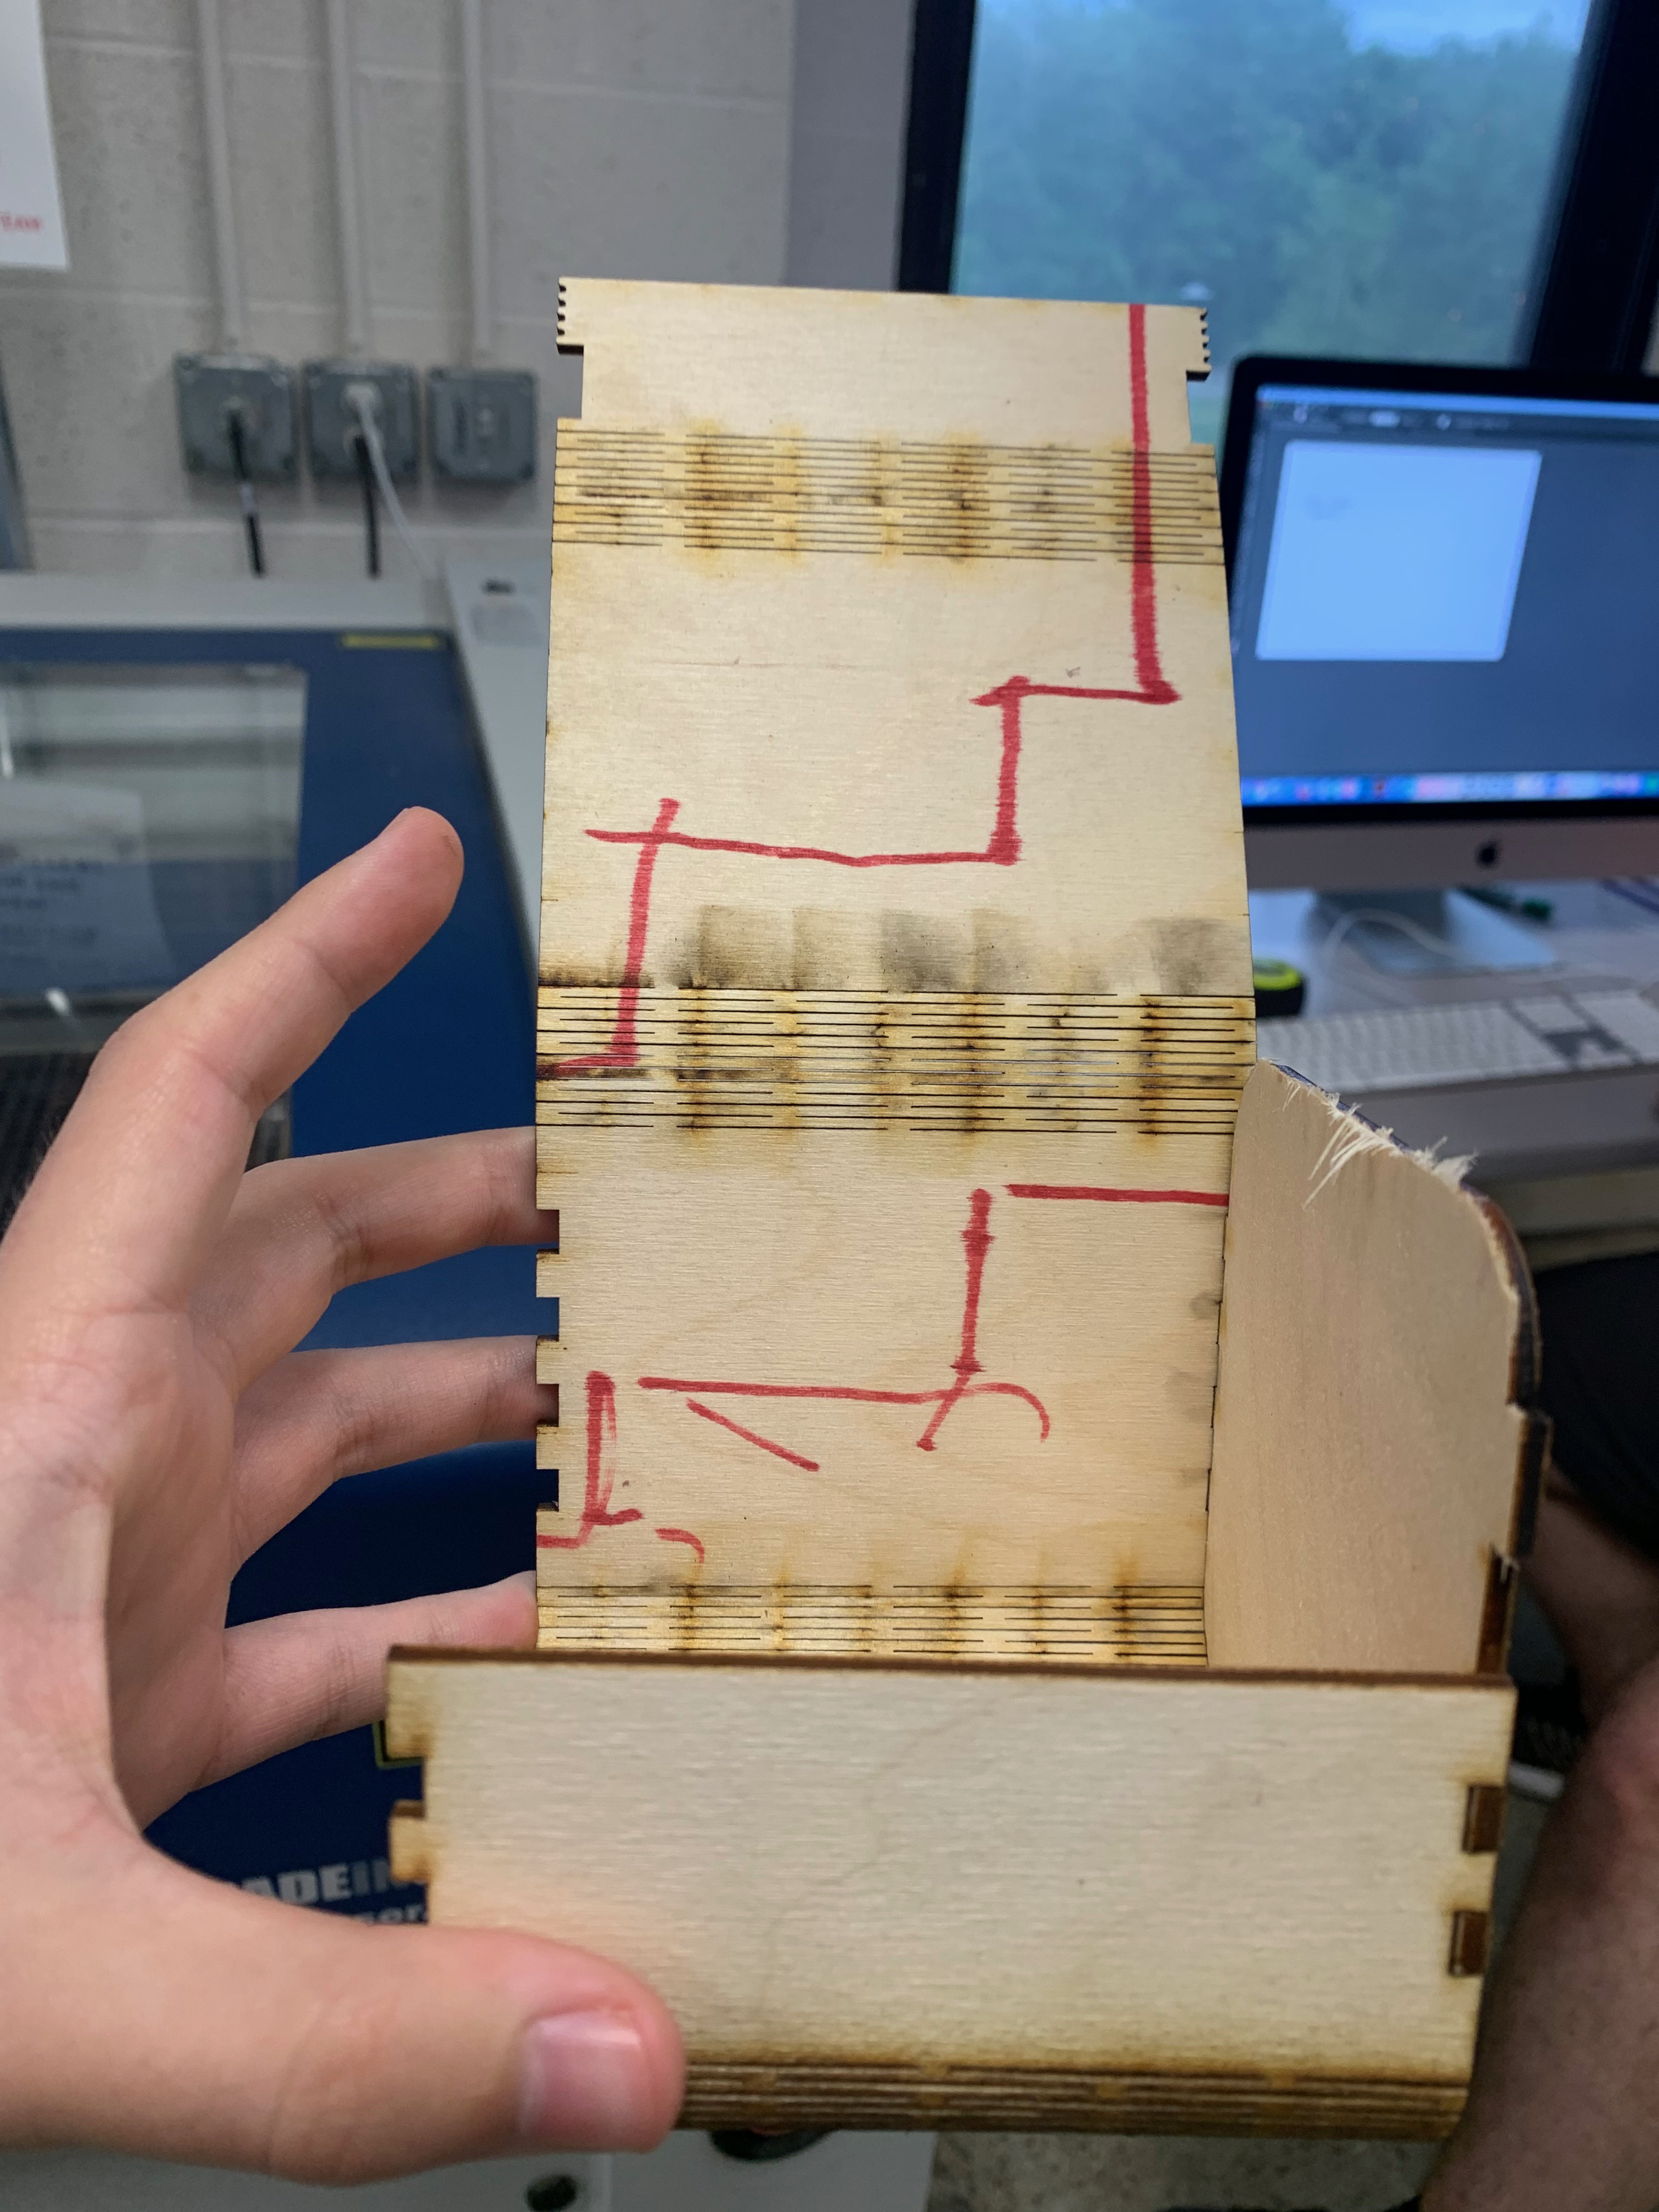
So now we have a slightly different issue. So what I wanted to do to conserve particle board is flip it and cut in the same spot I had started before. Which did result in cutting through kind of. As I'm sure you've noticed the board isn't entirely cut cleanly. So this cut went about halfway through met the other half of the cut and broke of in a new and interesting way that I'm sure you, as the grader would not have appreicated as the final form. So now we go back go to a different place and lower the speed to cut the particle board again and boom.
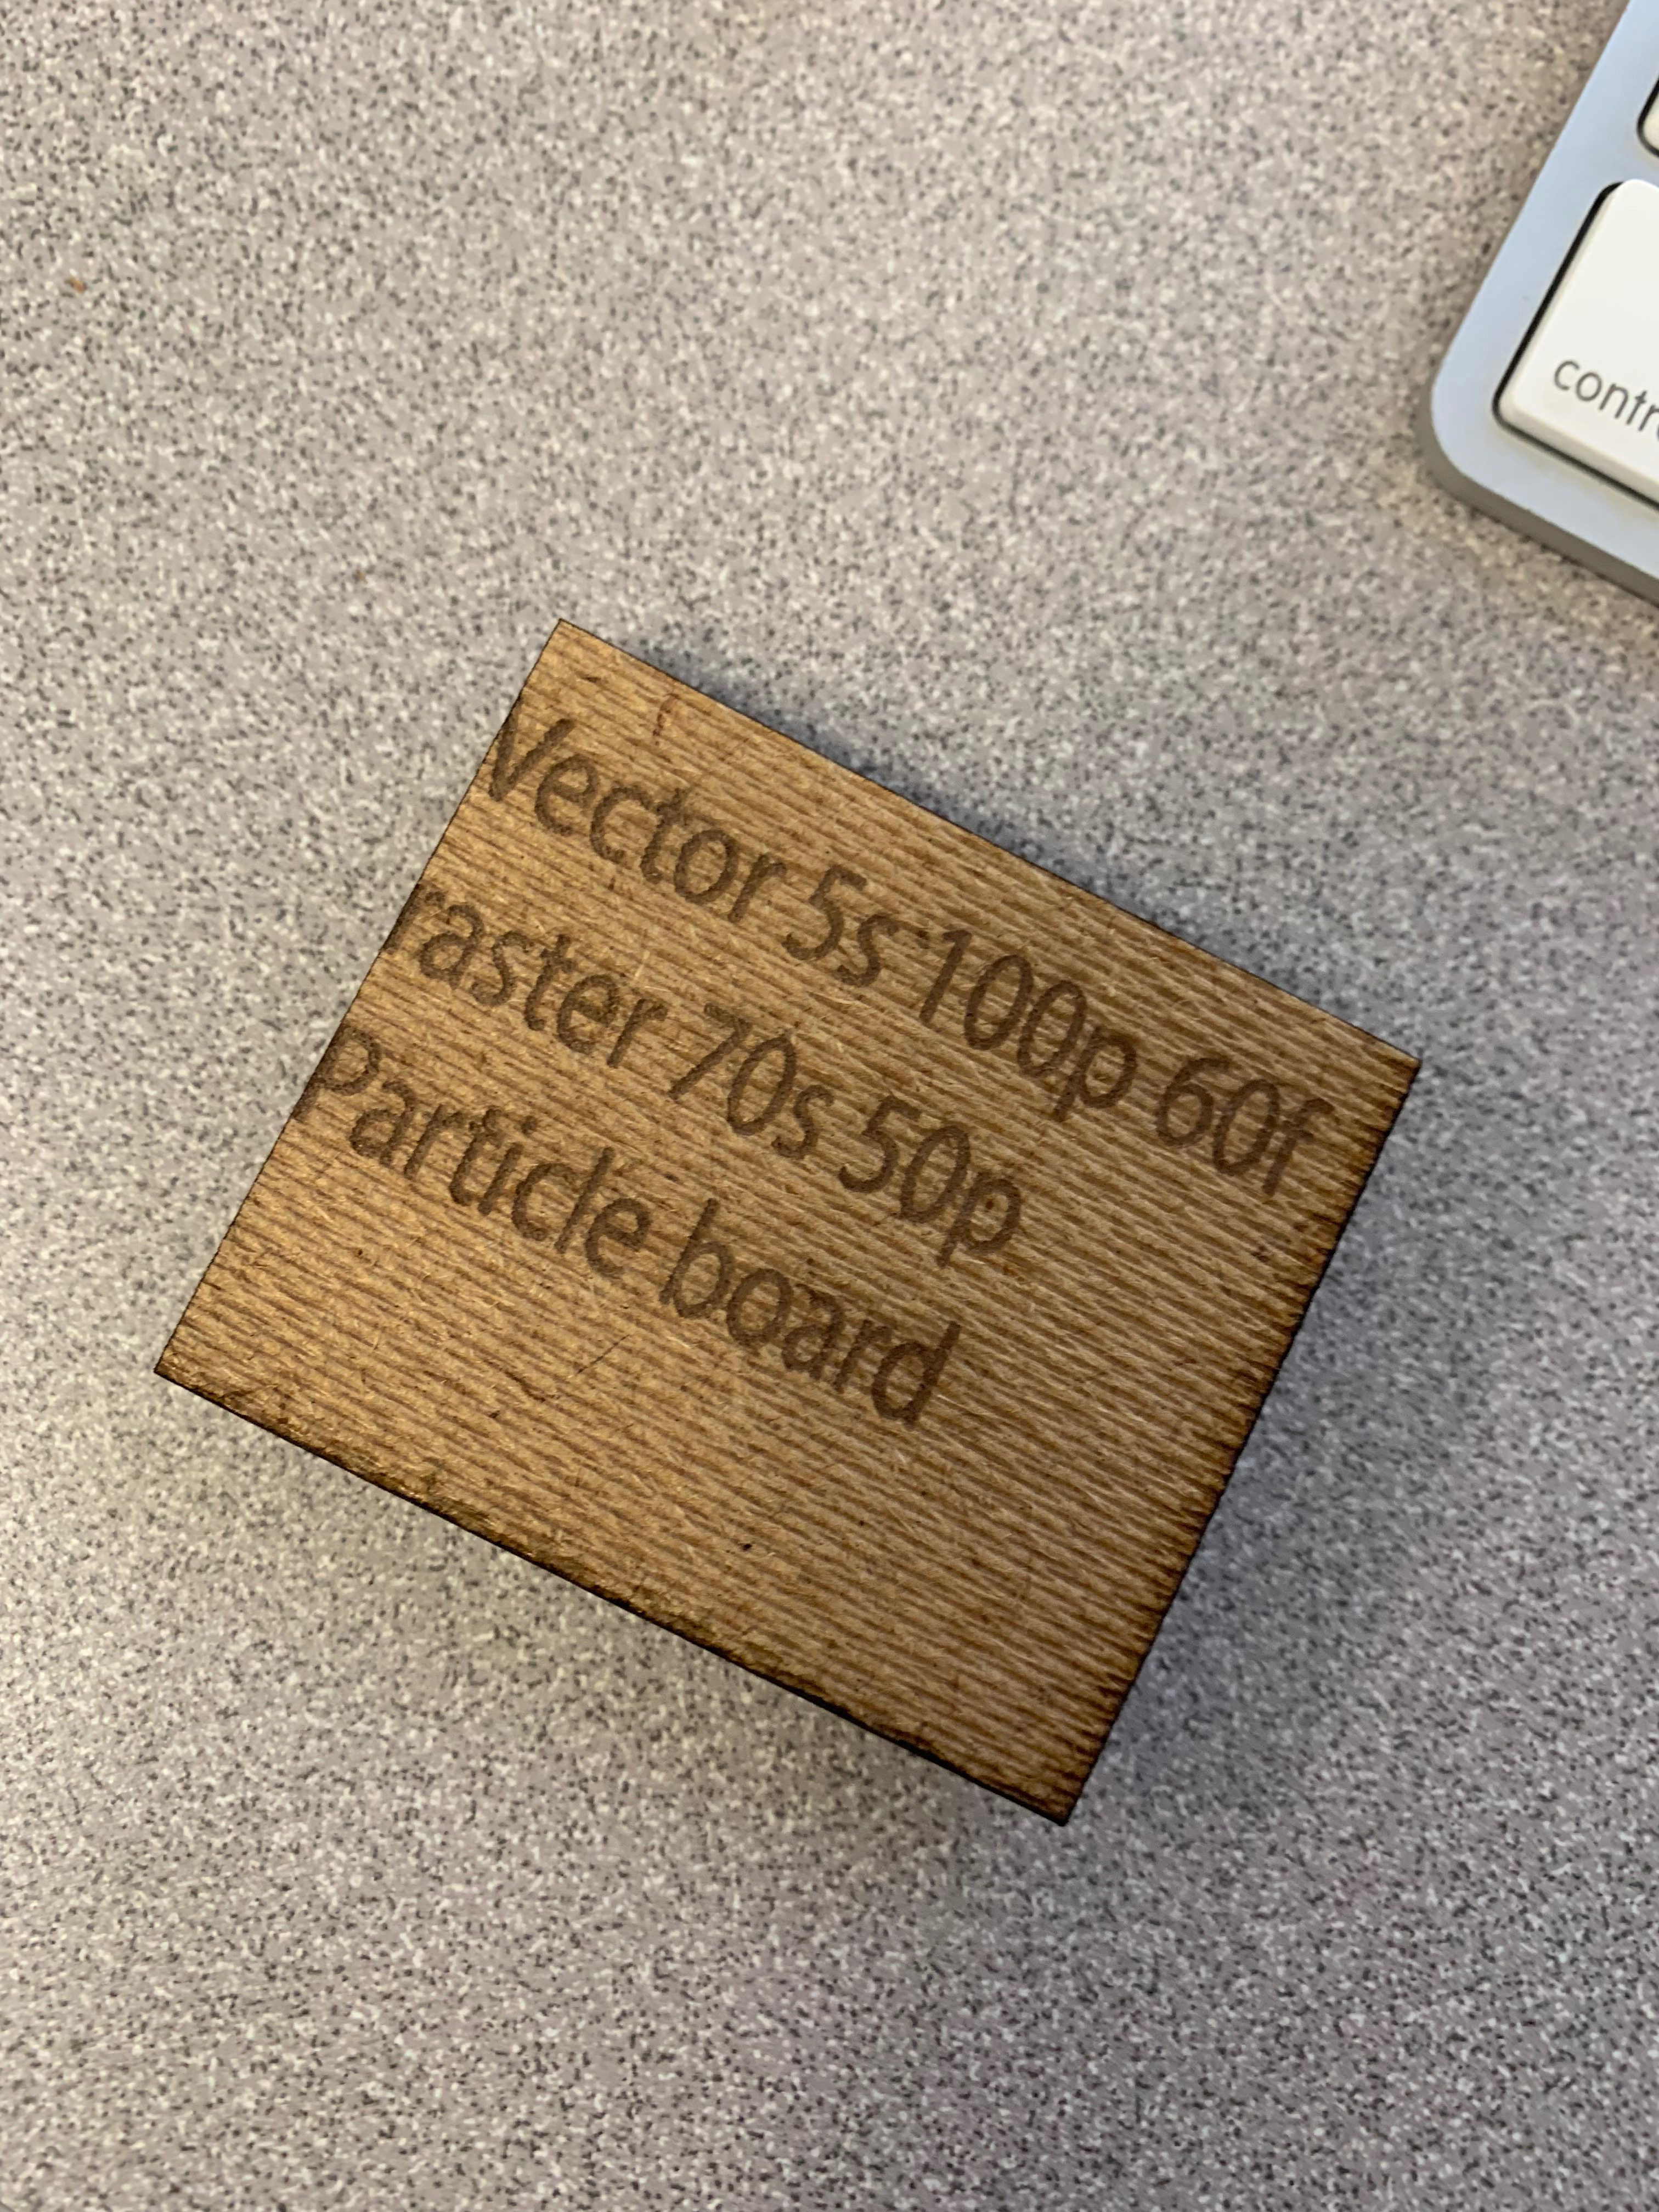
No boom same mistake as the second time but nothing on the other side to break off with so we just end up with it stuck. Need to lower the speed even more.
Victory
Particle Board Strikes Back: Thick Black Acrylic
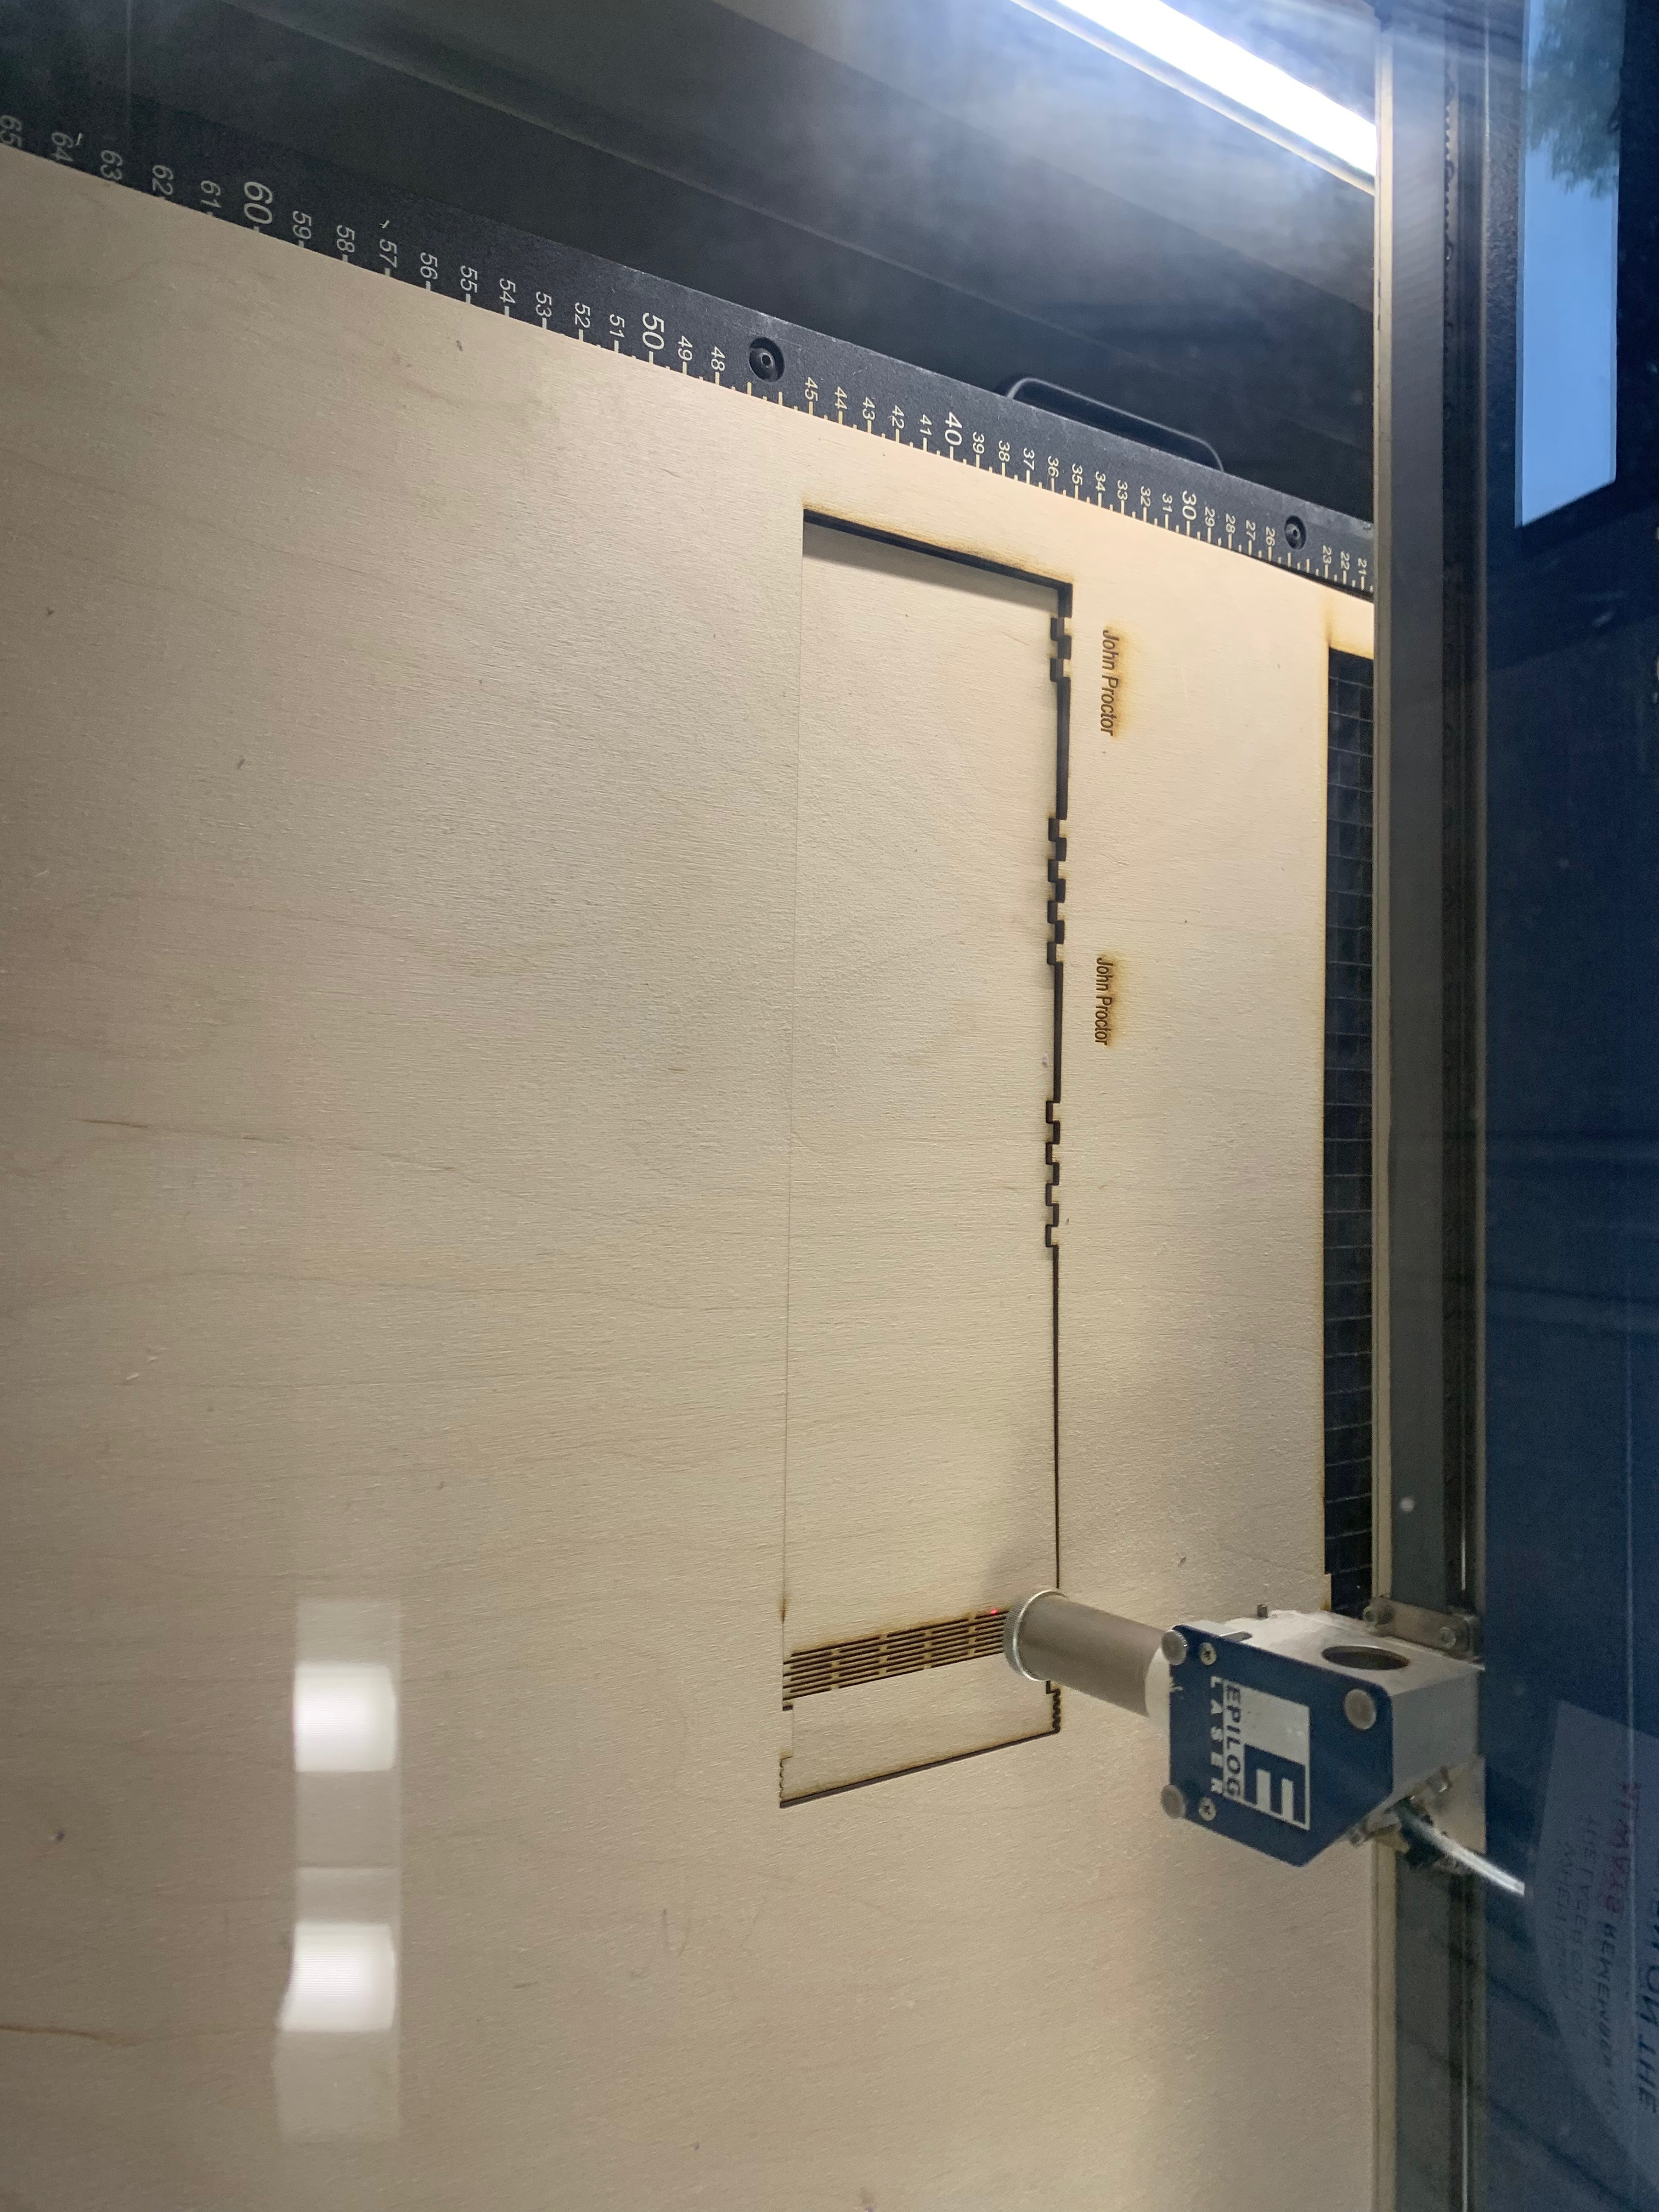
The upside of this swatch is the mistake I made was only a little annoying, but I got some shots of the laser going in the machine. I would've taken a video but that seems kind of scary, so I will put two photos and you can create the scene in your minds eye.
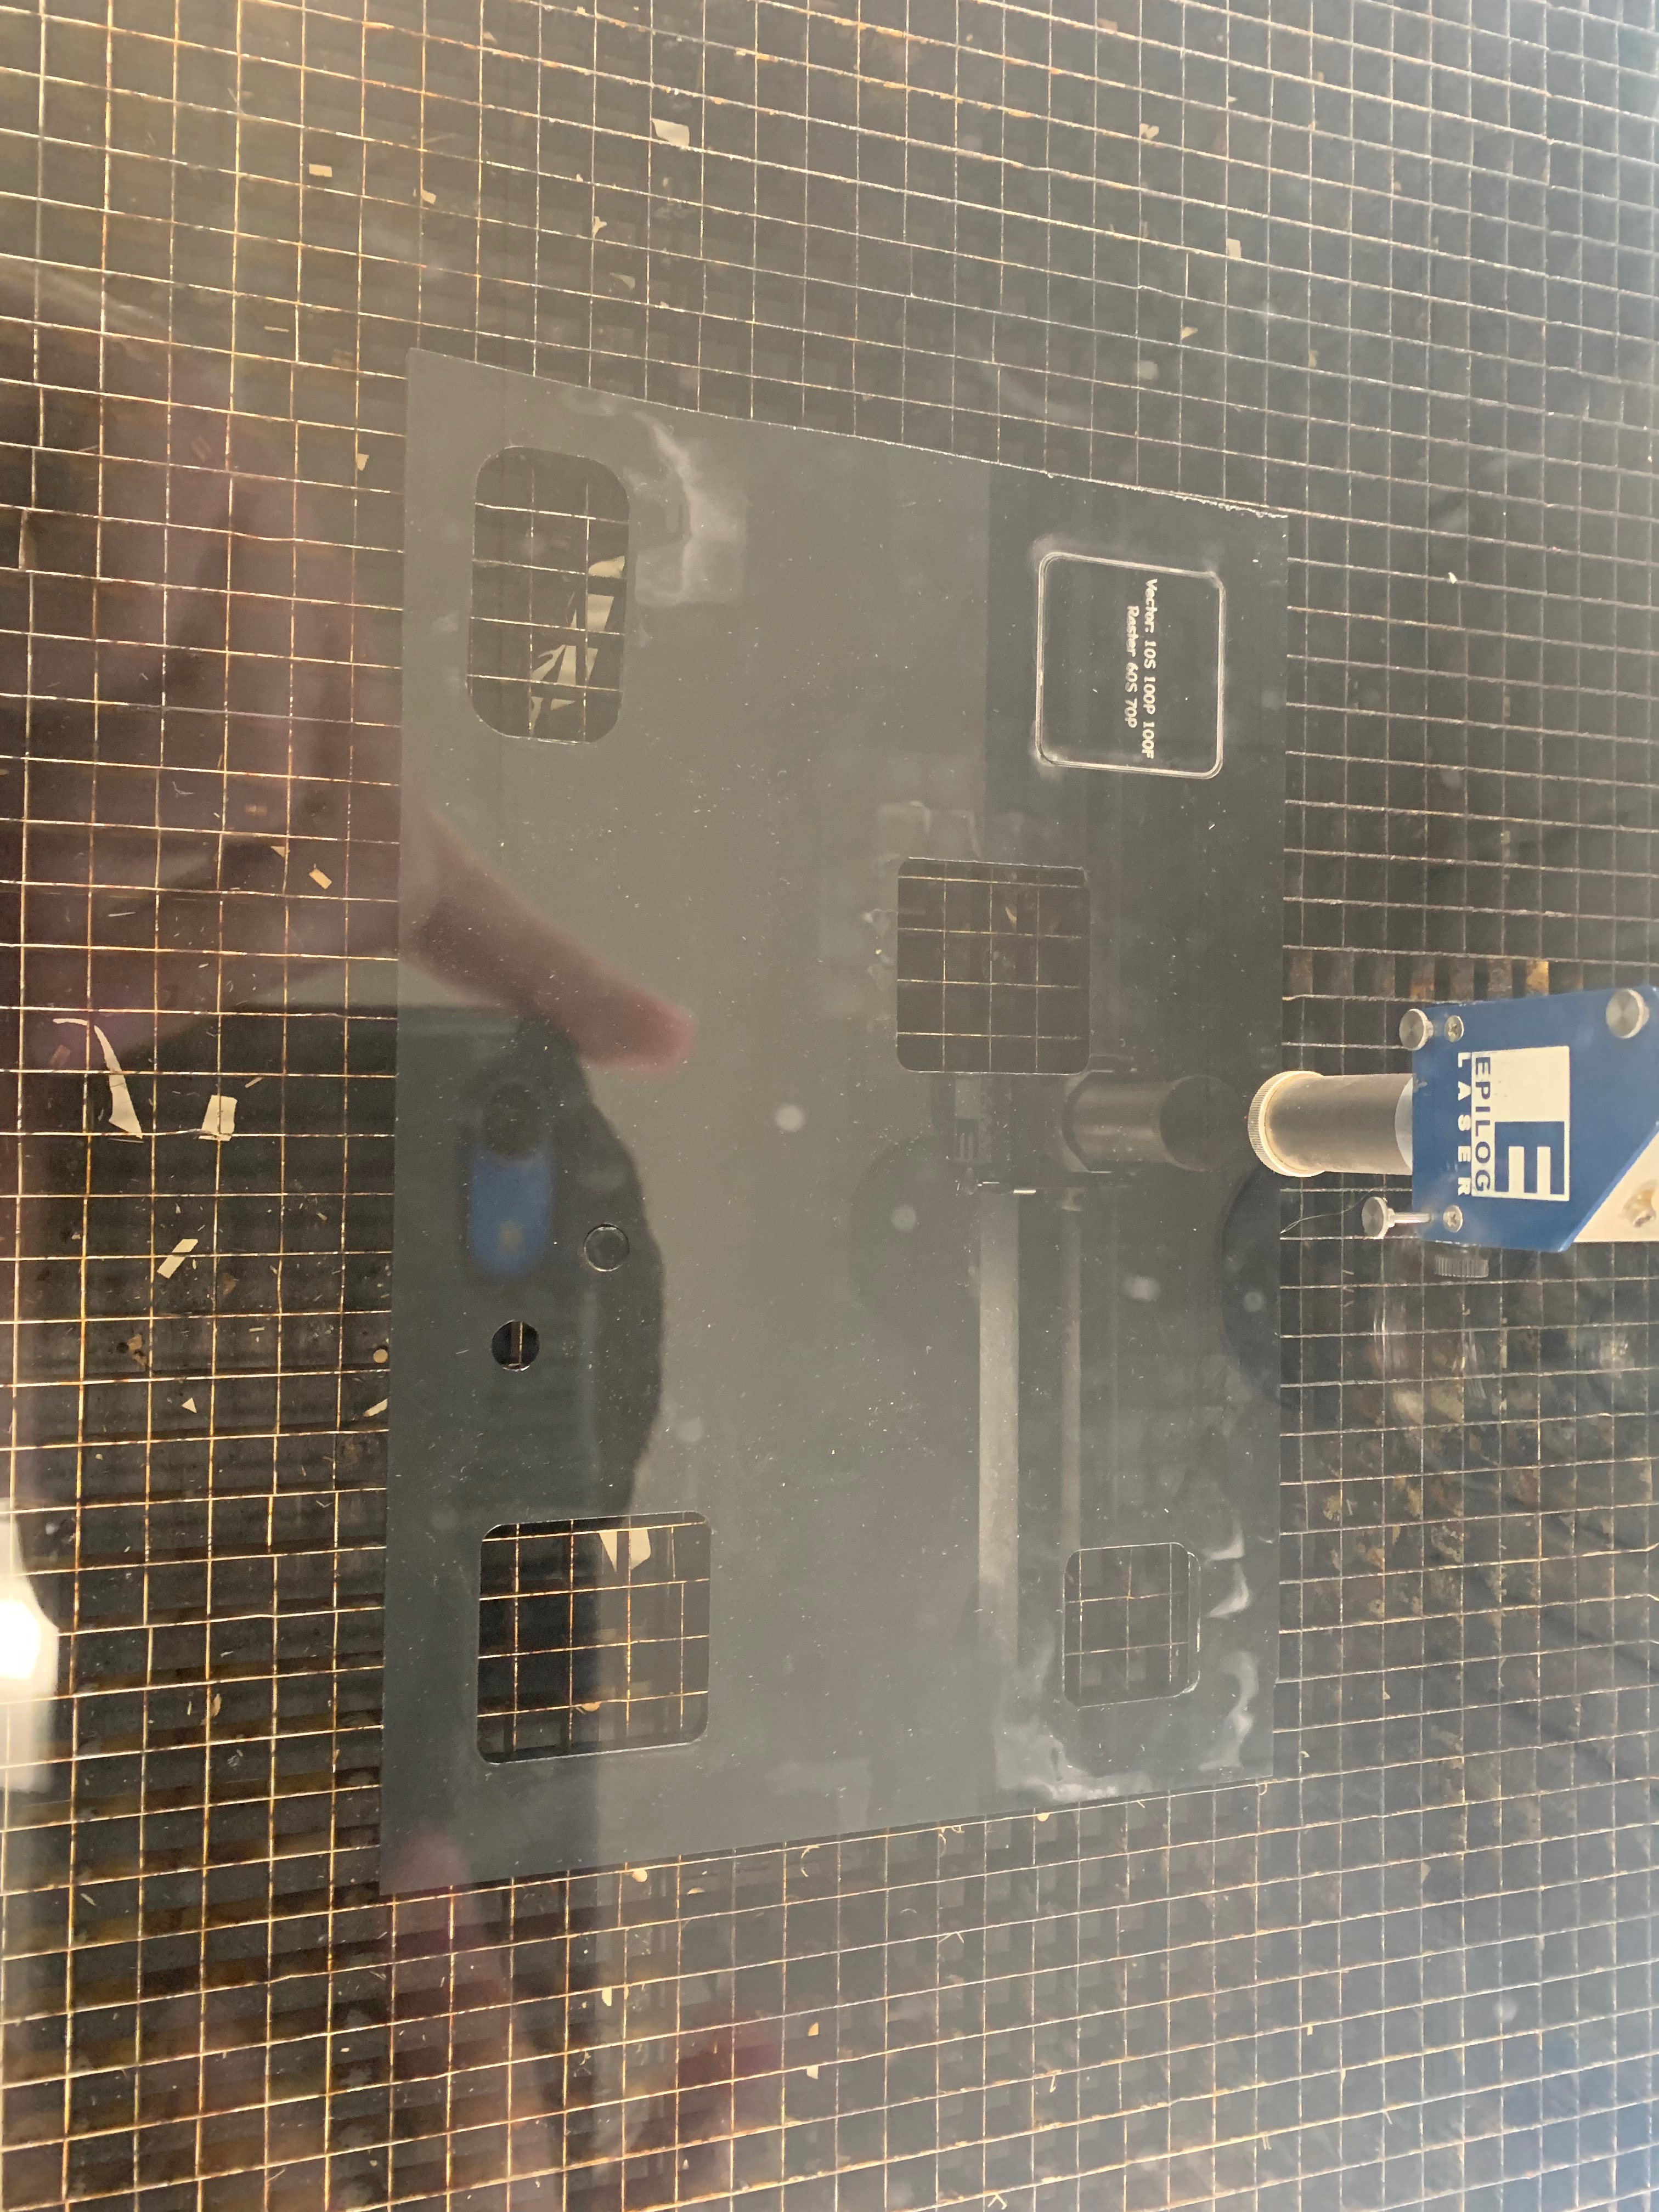

Now about that problem thing I'll show you another two photos and we'll see if you can figure out the mistake I made.
wrong
right
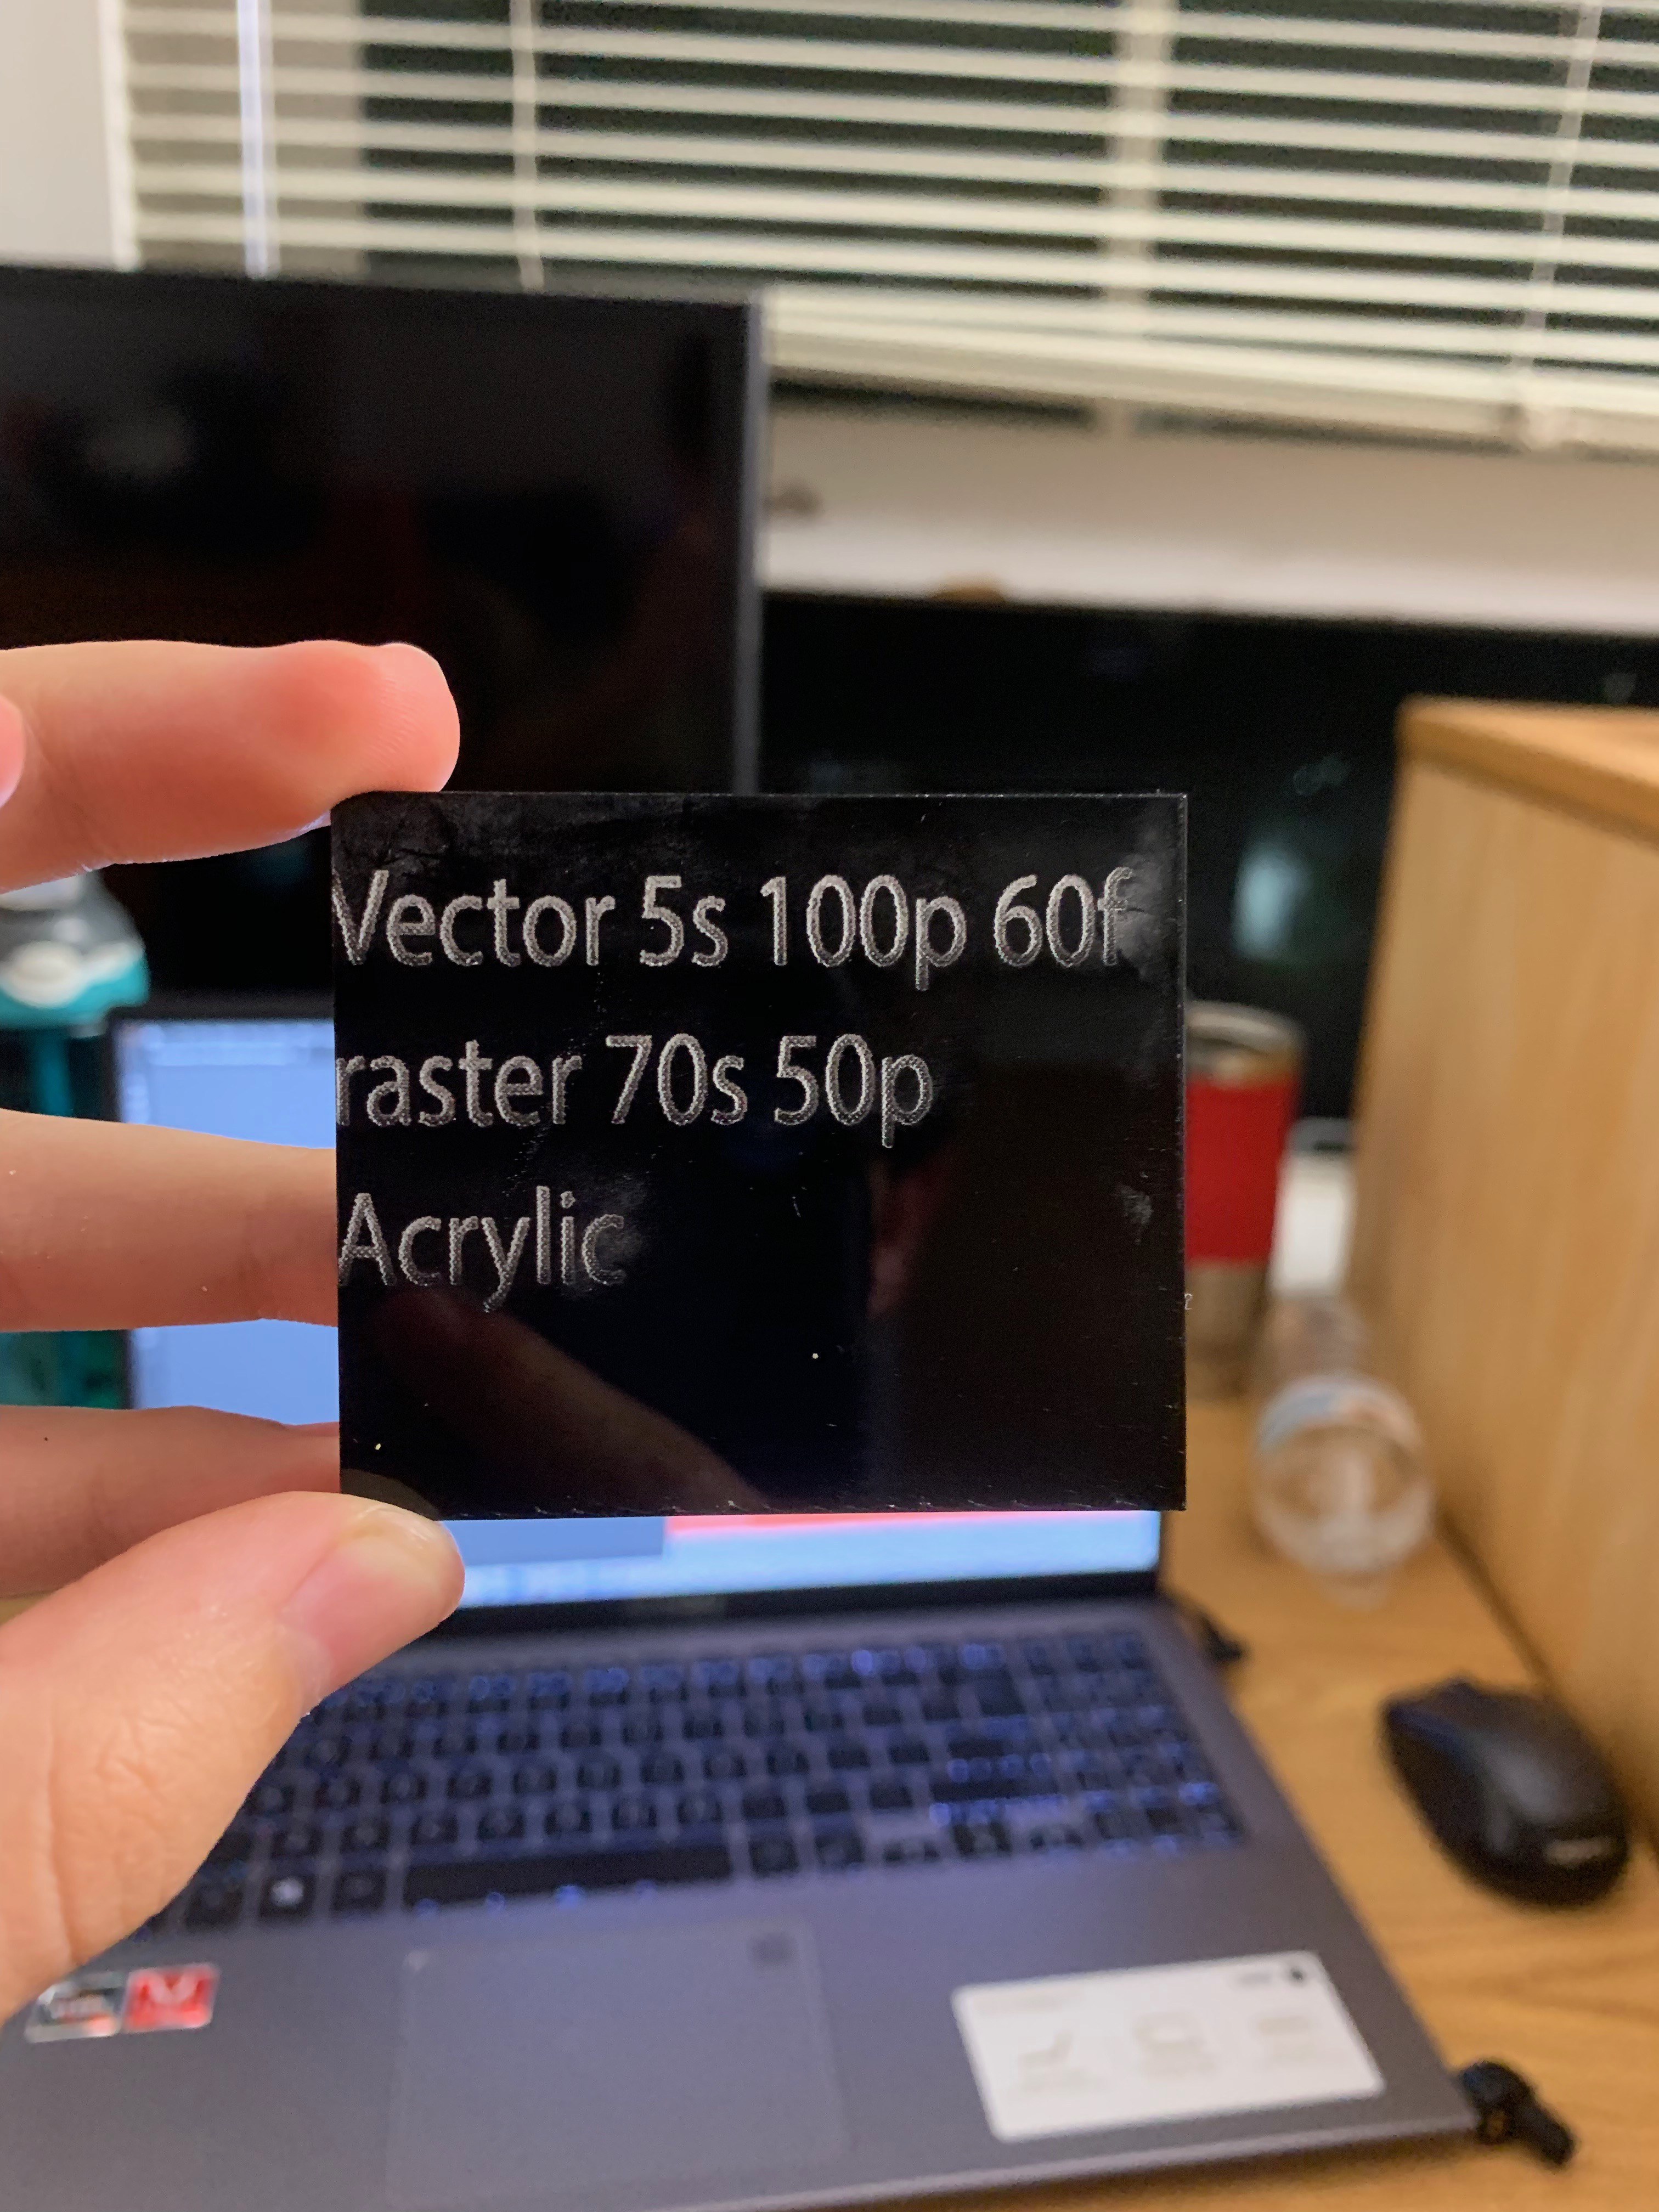
This wasn't a Earth shattering mistake I just figured the settings for the particle board would also work nicely for the acrylic and felt I wouldn't need to change them so didn't think to change what was written on the swatch. As it didn't occur to me that the name of the material was on it. Not the end of the world
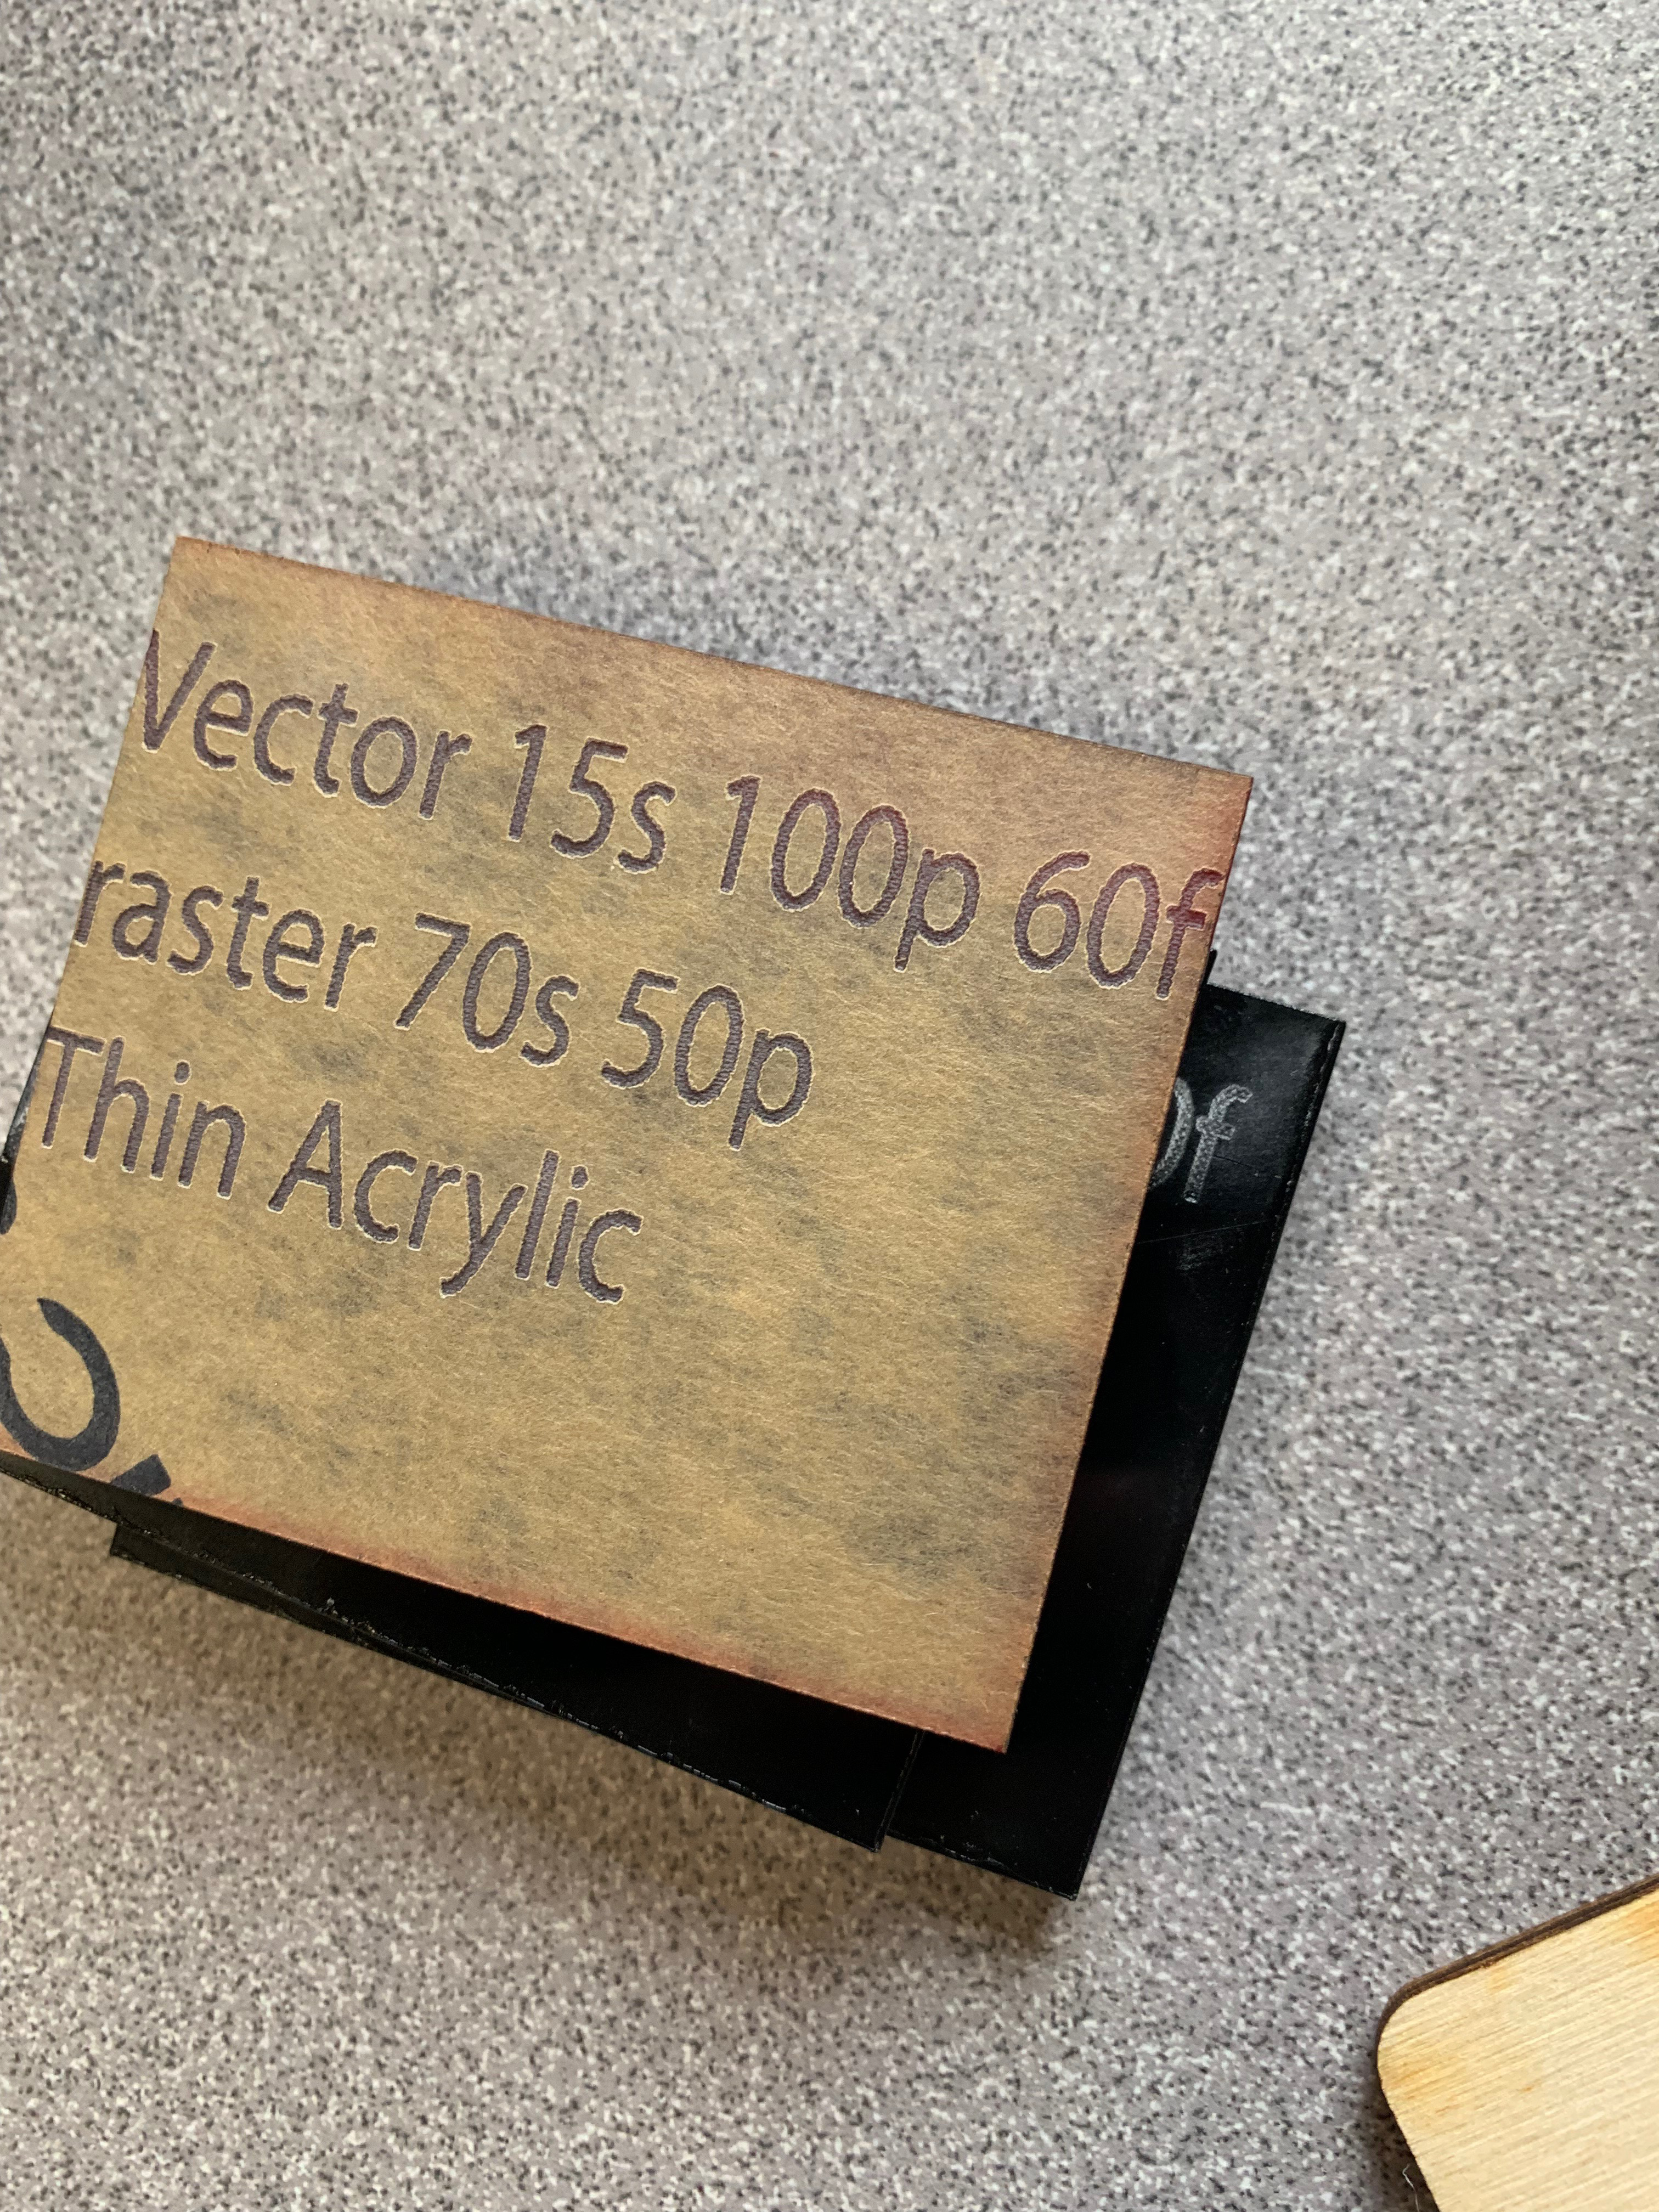
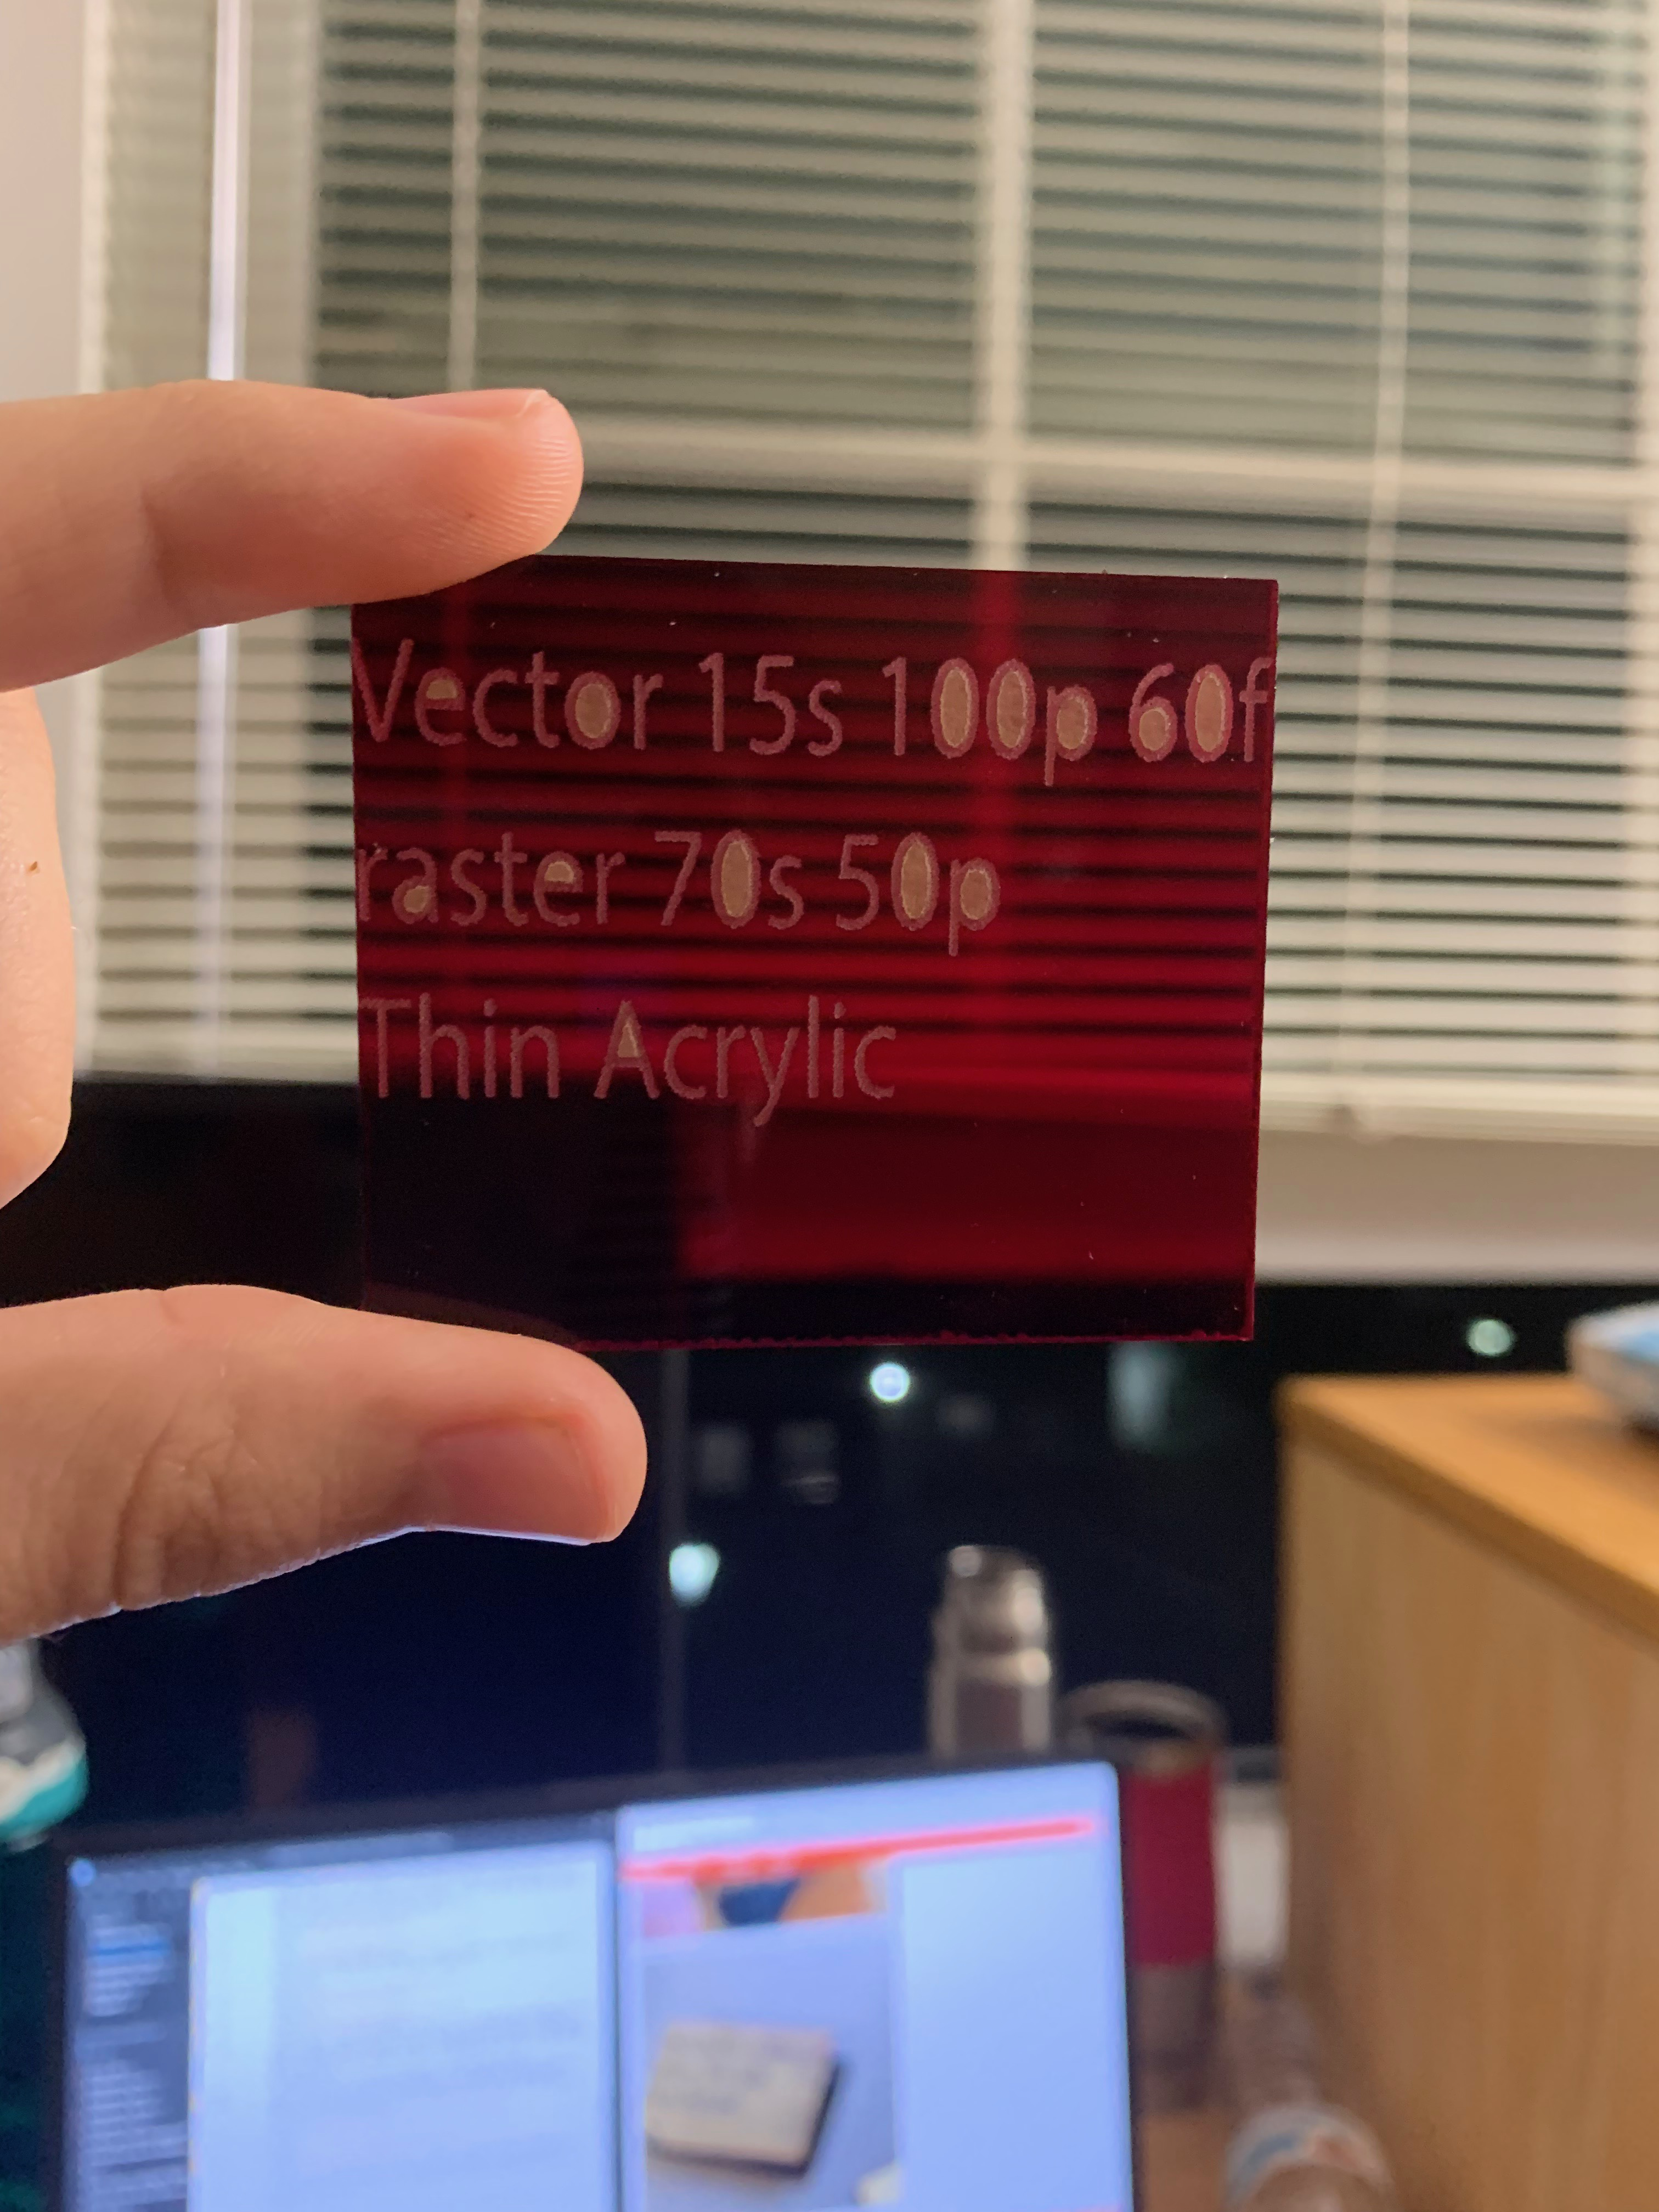
The Last Swatch: Thin Red Acrylic
This one also really went pretty well I just had one kinda cool thing happen. That being that for the settings that I picked out the vector strenghth was strong enough to cut through the acrylic but not the paper on the back of the acrylic.
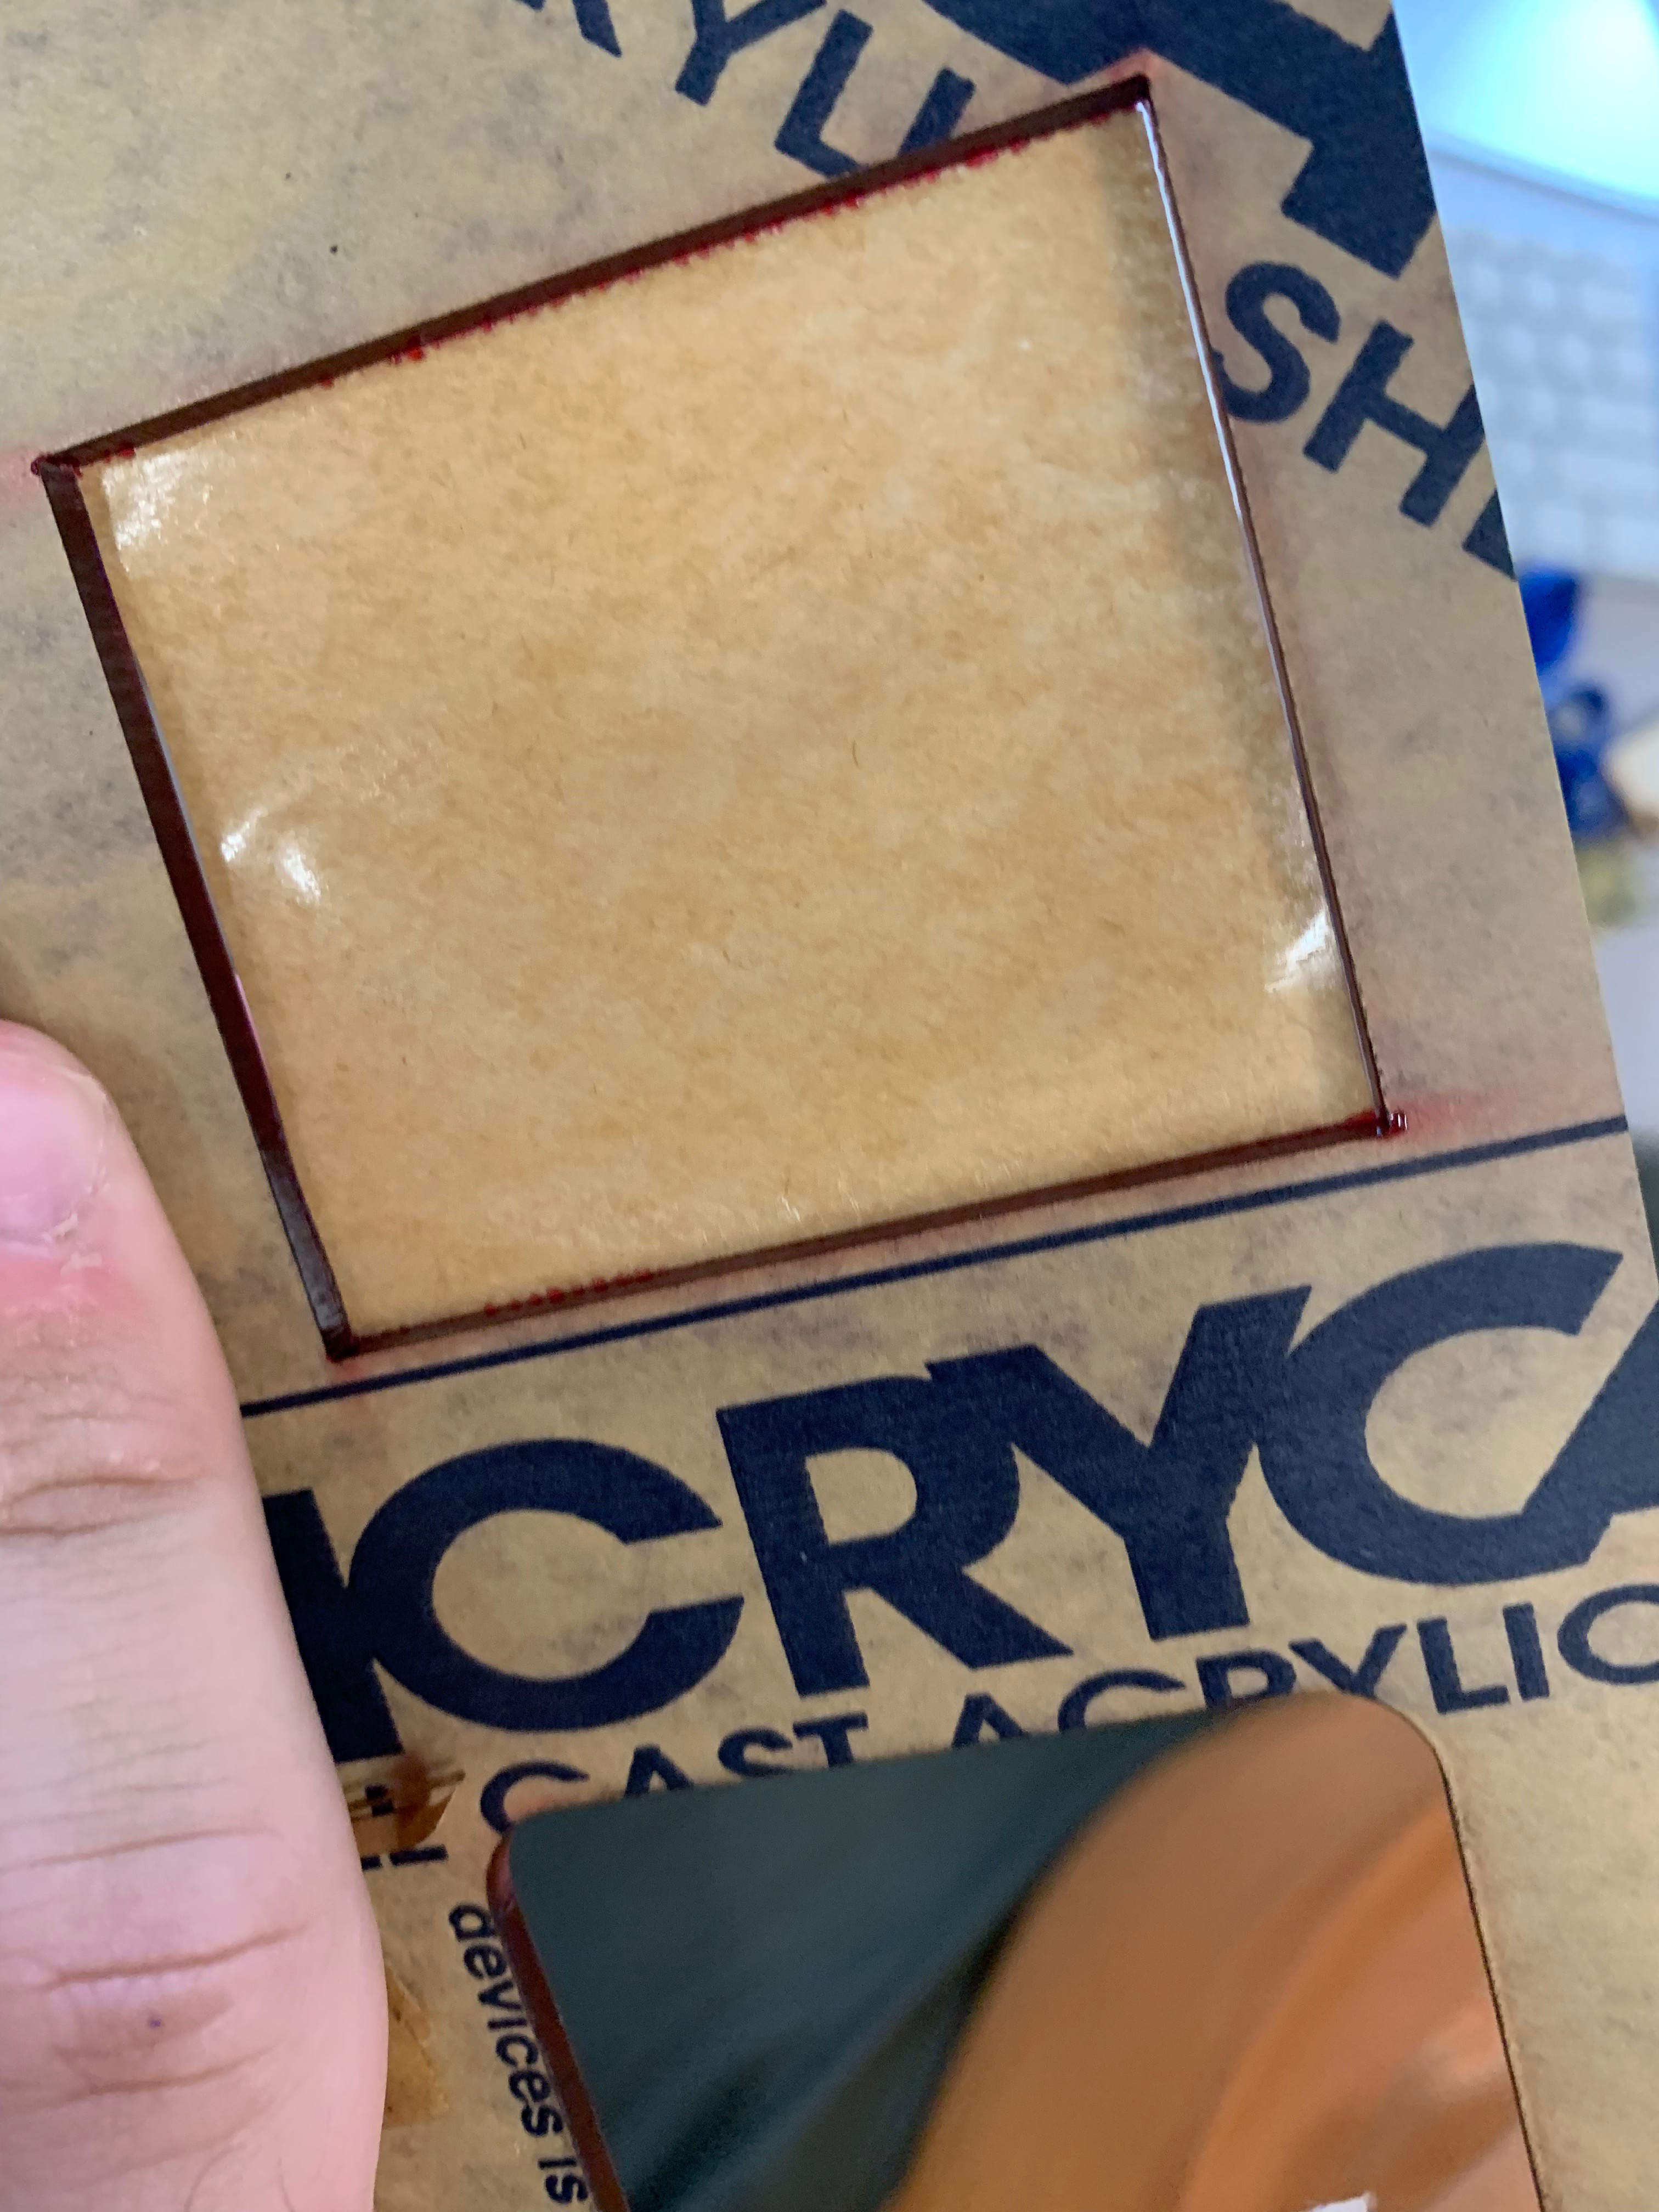
You also may have noticed that the paper is still on the is because I couldn't get it off with my nails so I just assumed it was a feature not a bug and rolled with it. Until I got back to my room and managed to get it off.
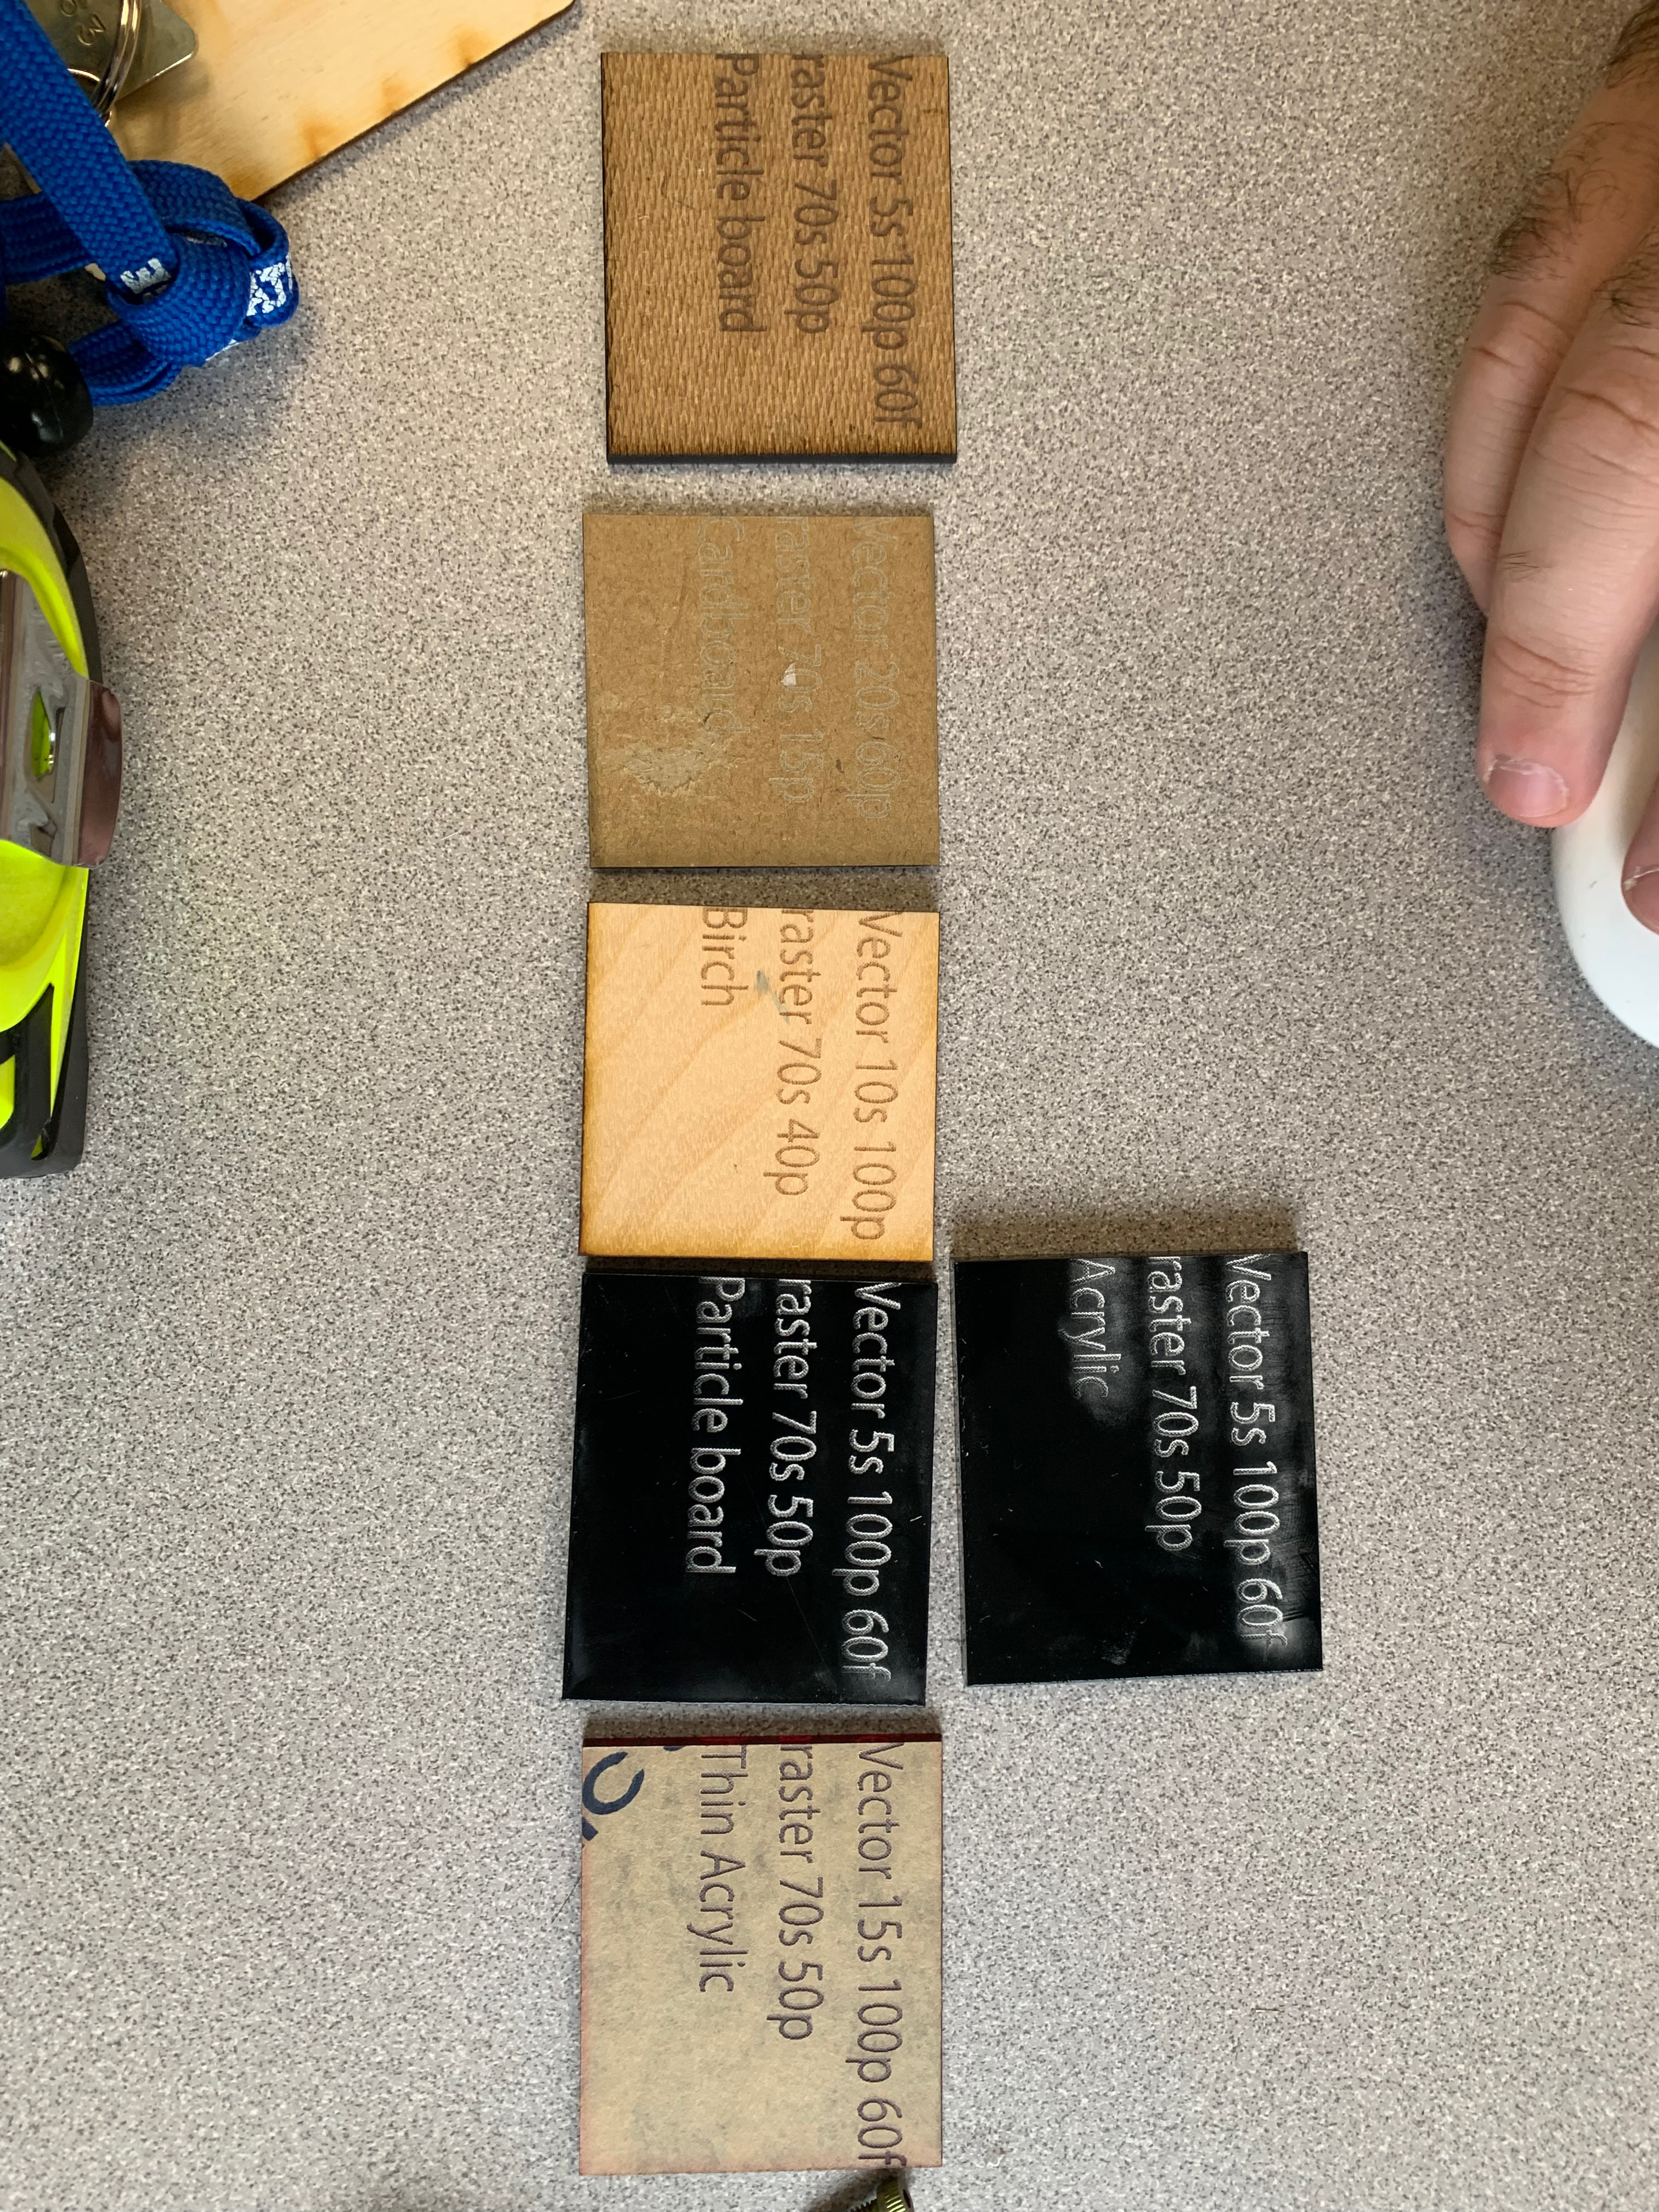
All of the Swatchs!
The Box
As of right now I do not have a box although one will be added herer sooner rather then later. However I do have the schematics of the box! So i'm going to show you that. And I'll show you where the box would go if I had one.
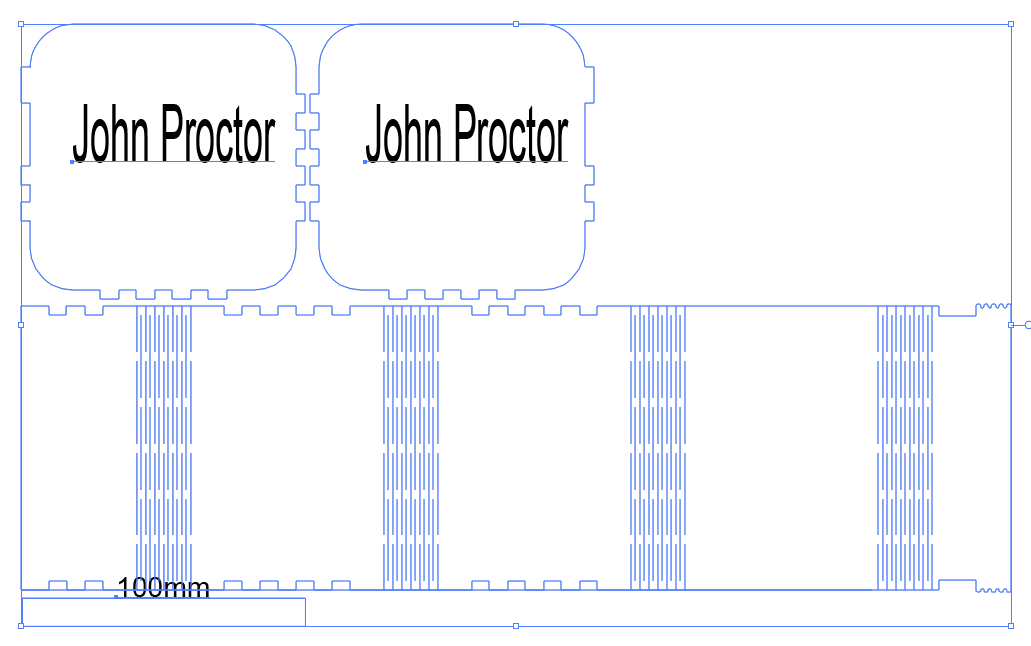
This template is the flex box 1 template from the website linked to us and hopefully when I'm have it all cut and glued together it will look something like this
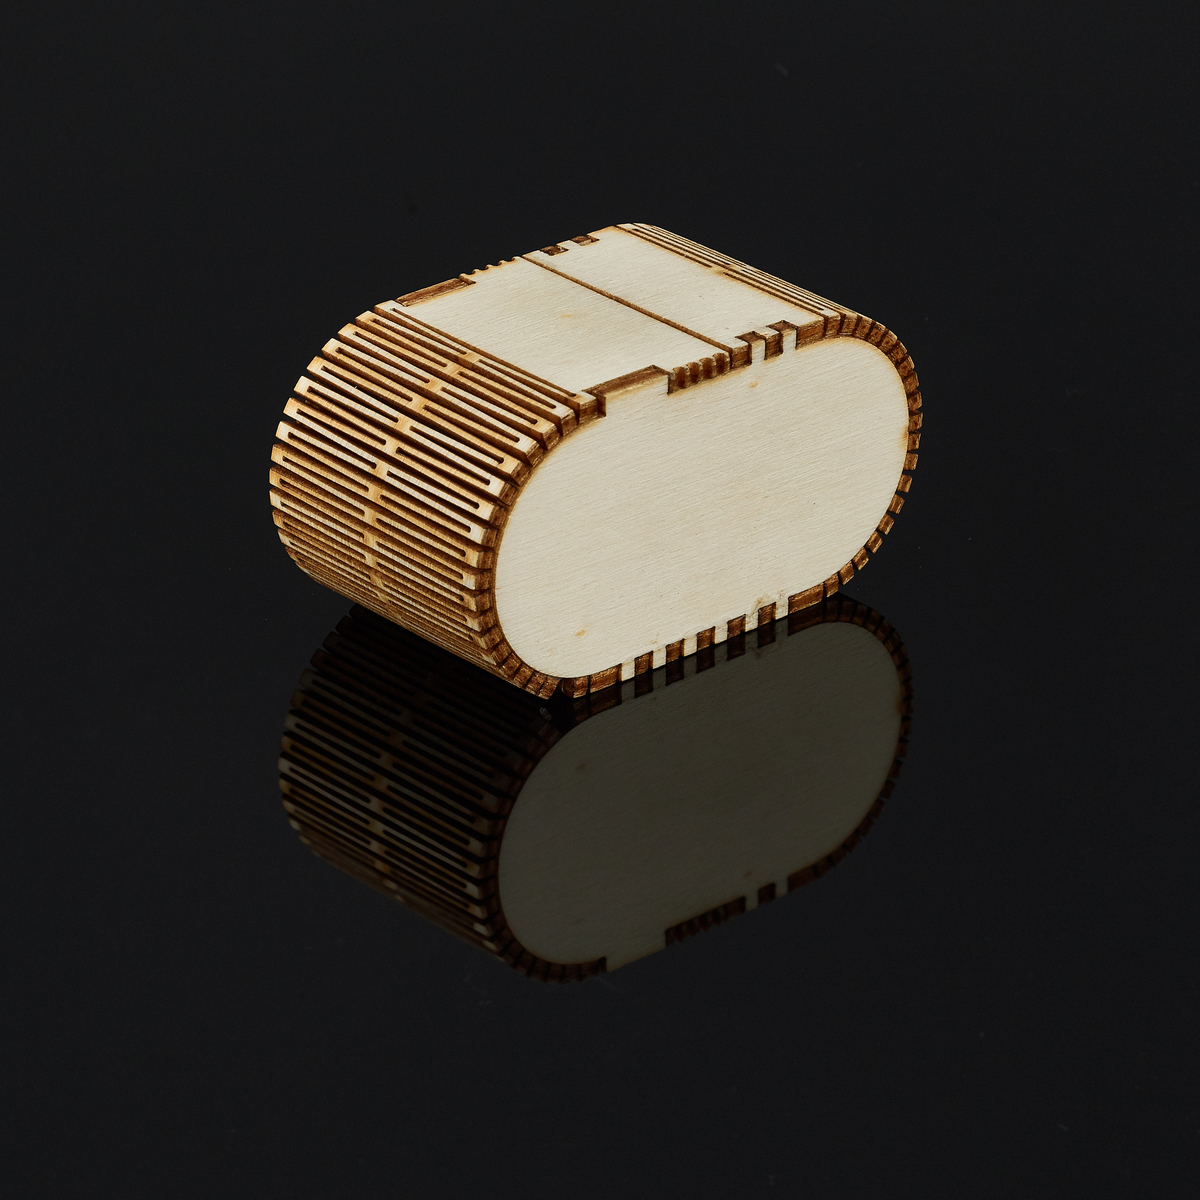
Woah Attempt Two!
Hey! I finally finished the assignment I now have a box which is pretty great! Well really I have a box and like a cup... yeah I guess cup would be the right word. Well I should explain that so based off of instructions and common sense it would probably be a good idea to cut a test cut to make sure my settings are alright, and that the teeth catch one another. The template that I picked though only came in three pieces so when I needed to do a test cut to see if they worked I still had to cut two thirds of the boards, which is what it is.
it was really a good thing that I did do the test cut because the speed setting that I had for a little to fast and it didn't cut all the way through in some places. Luckily that wasn't to big of a fix just a quick changing of settings and I could pring out my final box.
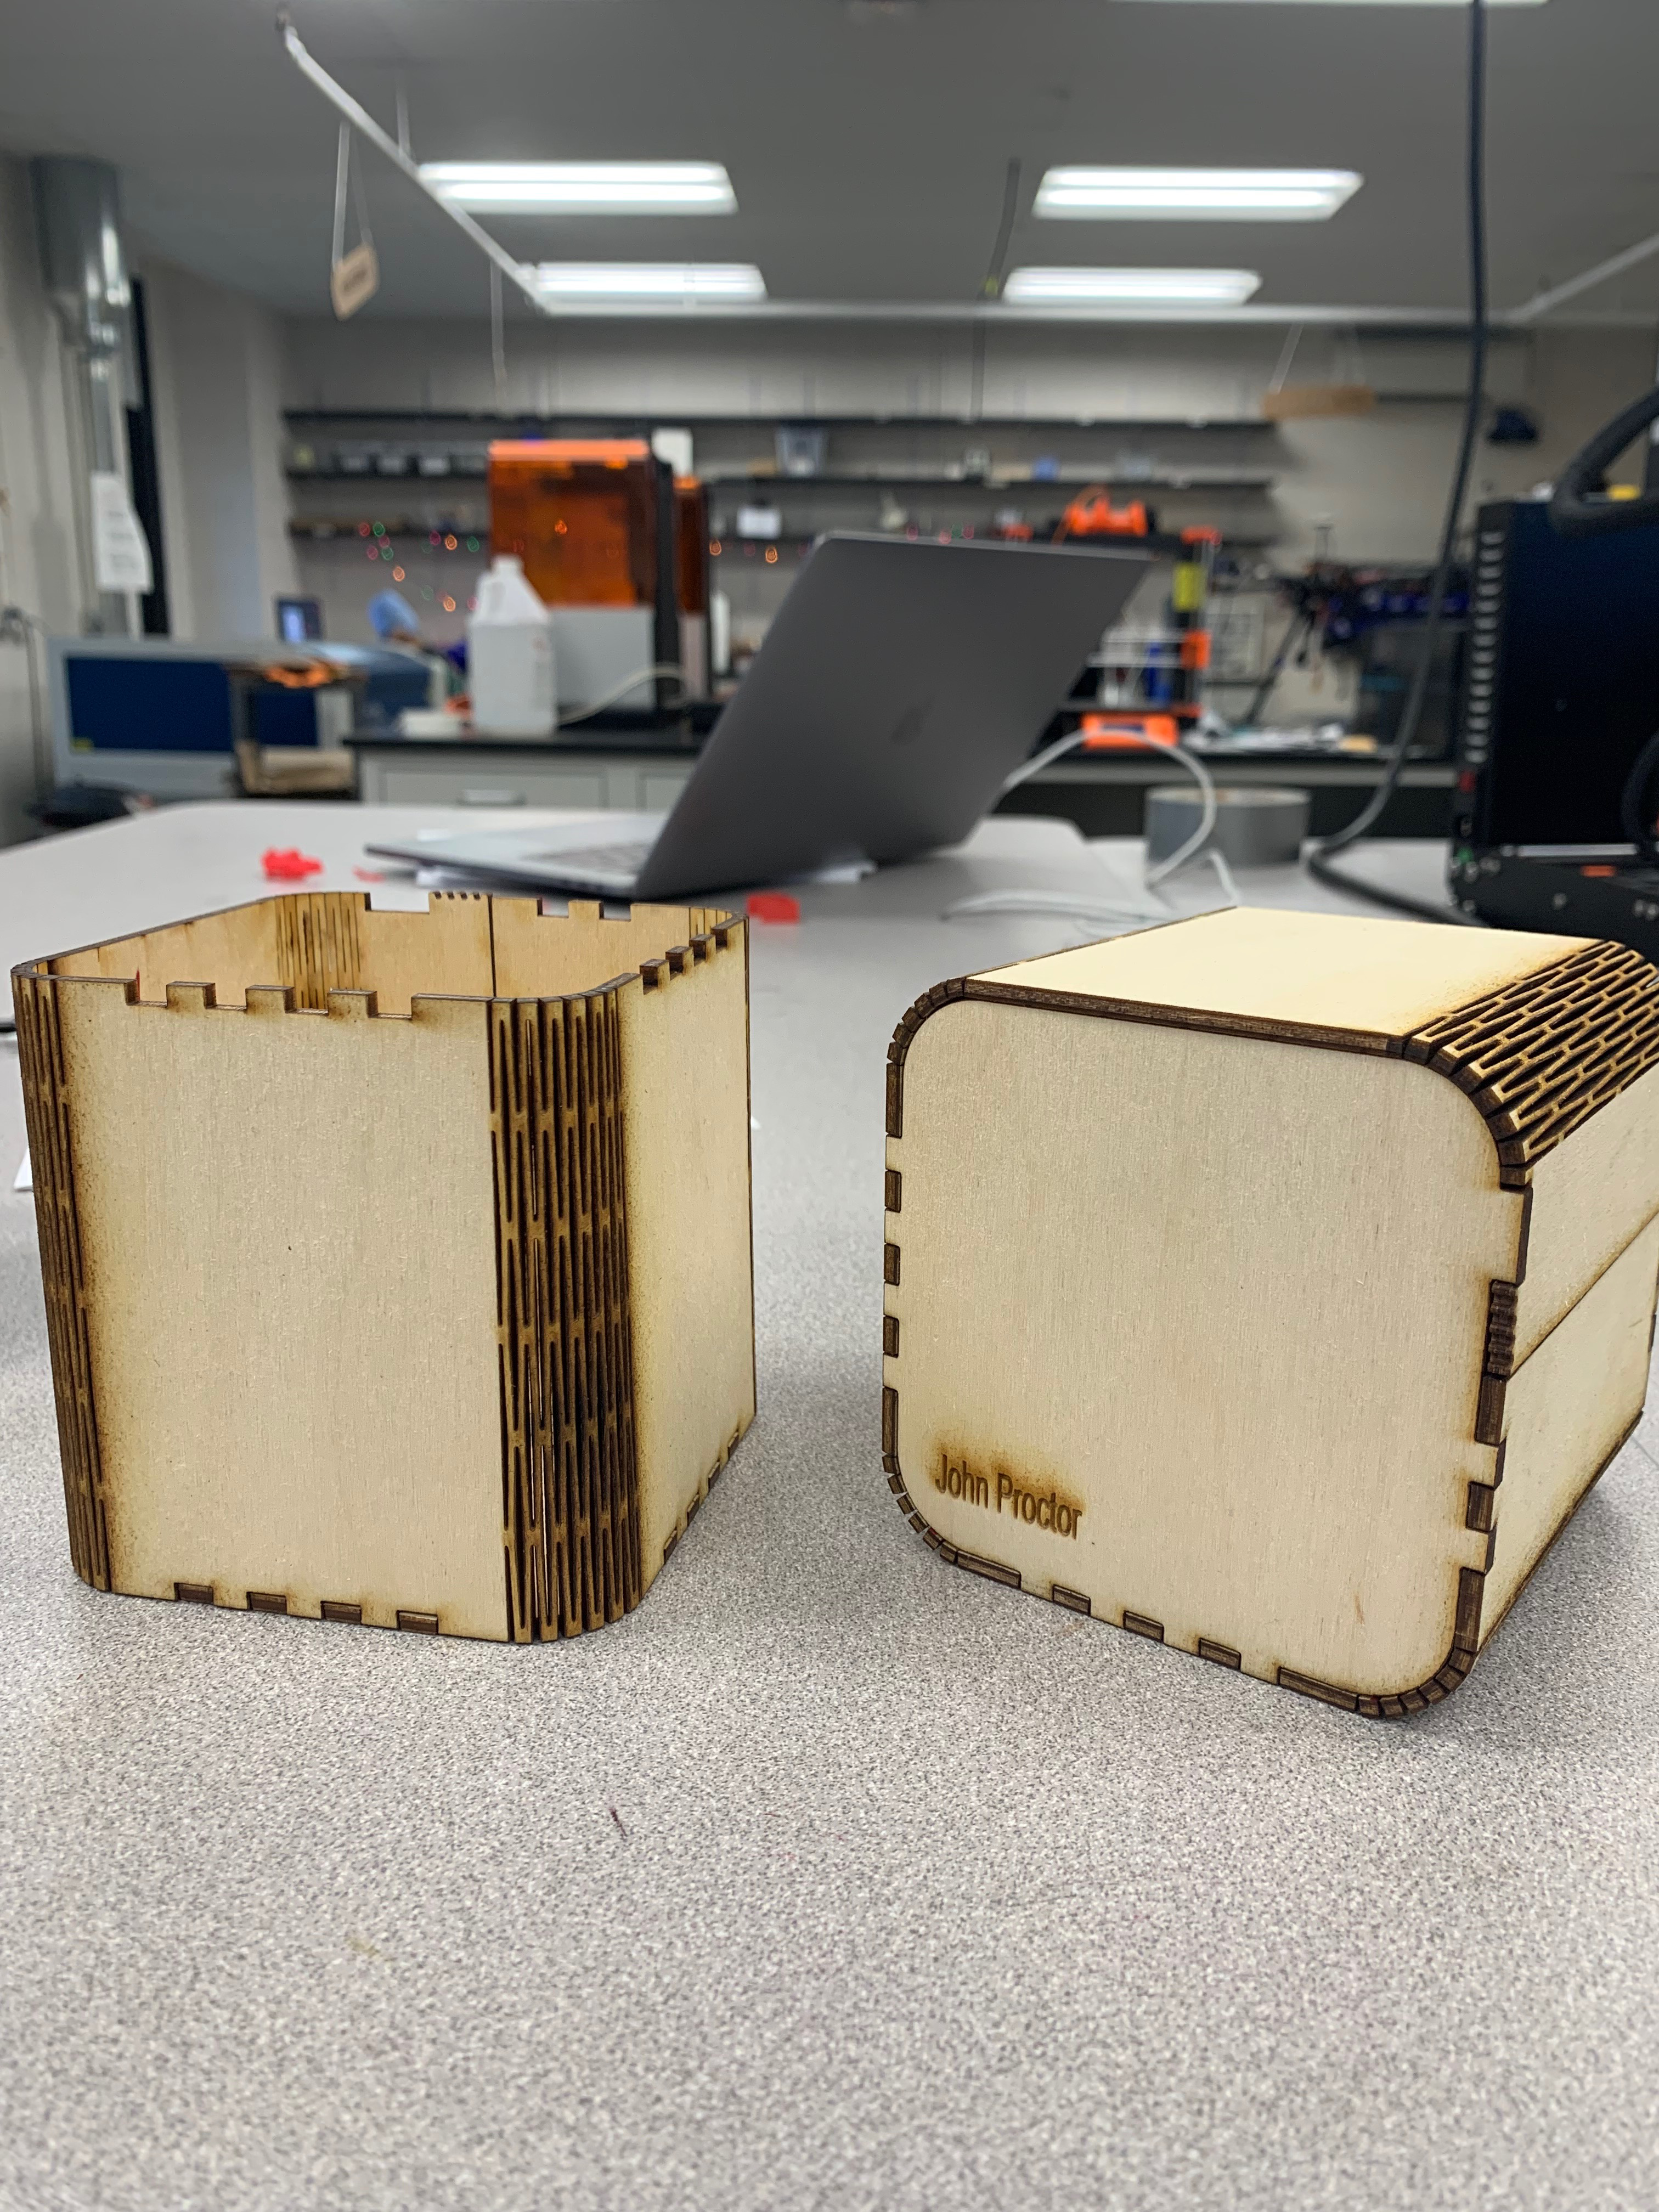
If I'm being honest during the cut for the final box I was really concerned because the shape of the main bendy piece feel part way when it was first vectored so it was partially at a slant, and I was ready to need to make a third box but nope it came out really well, and gives off a pleasant burnt wood smell.
You can click here to download the link but the swatches are artistic representations of the originals because it was done first on the Mac in the makerspace and I forgot to save them. Sorry Madison.