Project 5
Working on this project was a little bit more difficult then I initially thought. I knew it was going to be a little hard since I had to use my nogin. However the idea of coming up with something to make was really tricky for me. Like I obvoisly could've gone with like a chair, or little table. In retrospect those both may have been better ideas because I intend to spend a good deal of words trying to convince you that my idea is in fact a good artistic idea that hold loads of merit.
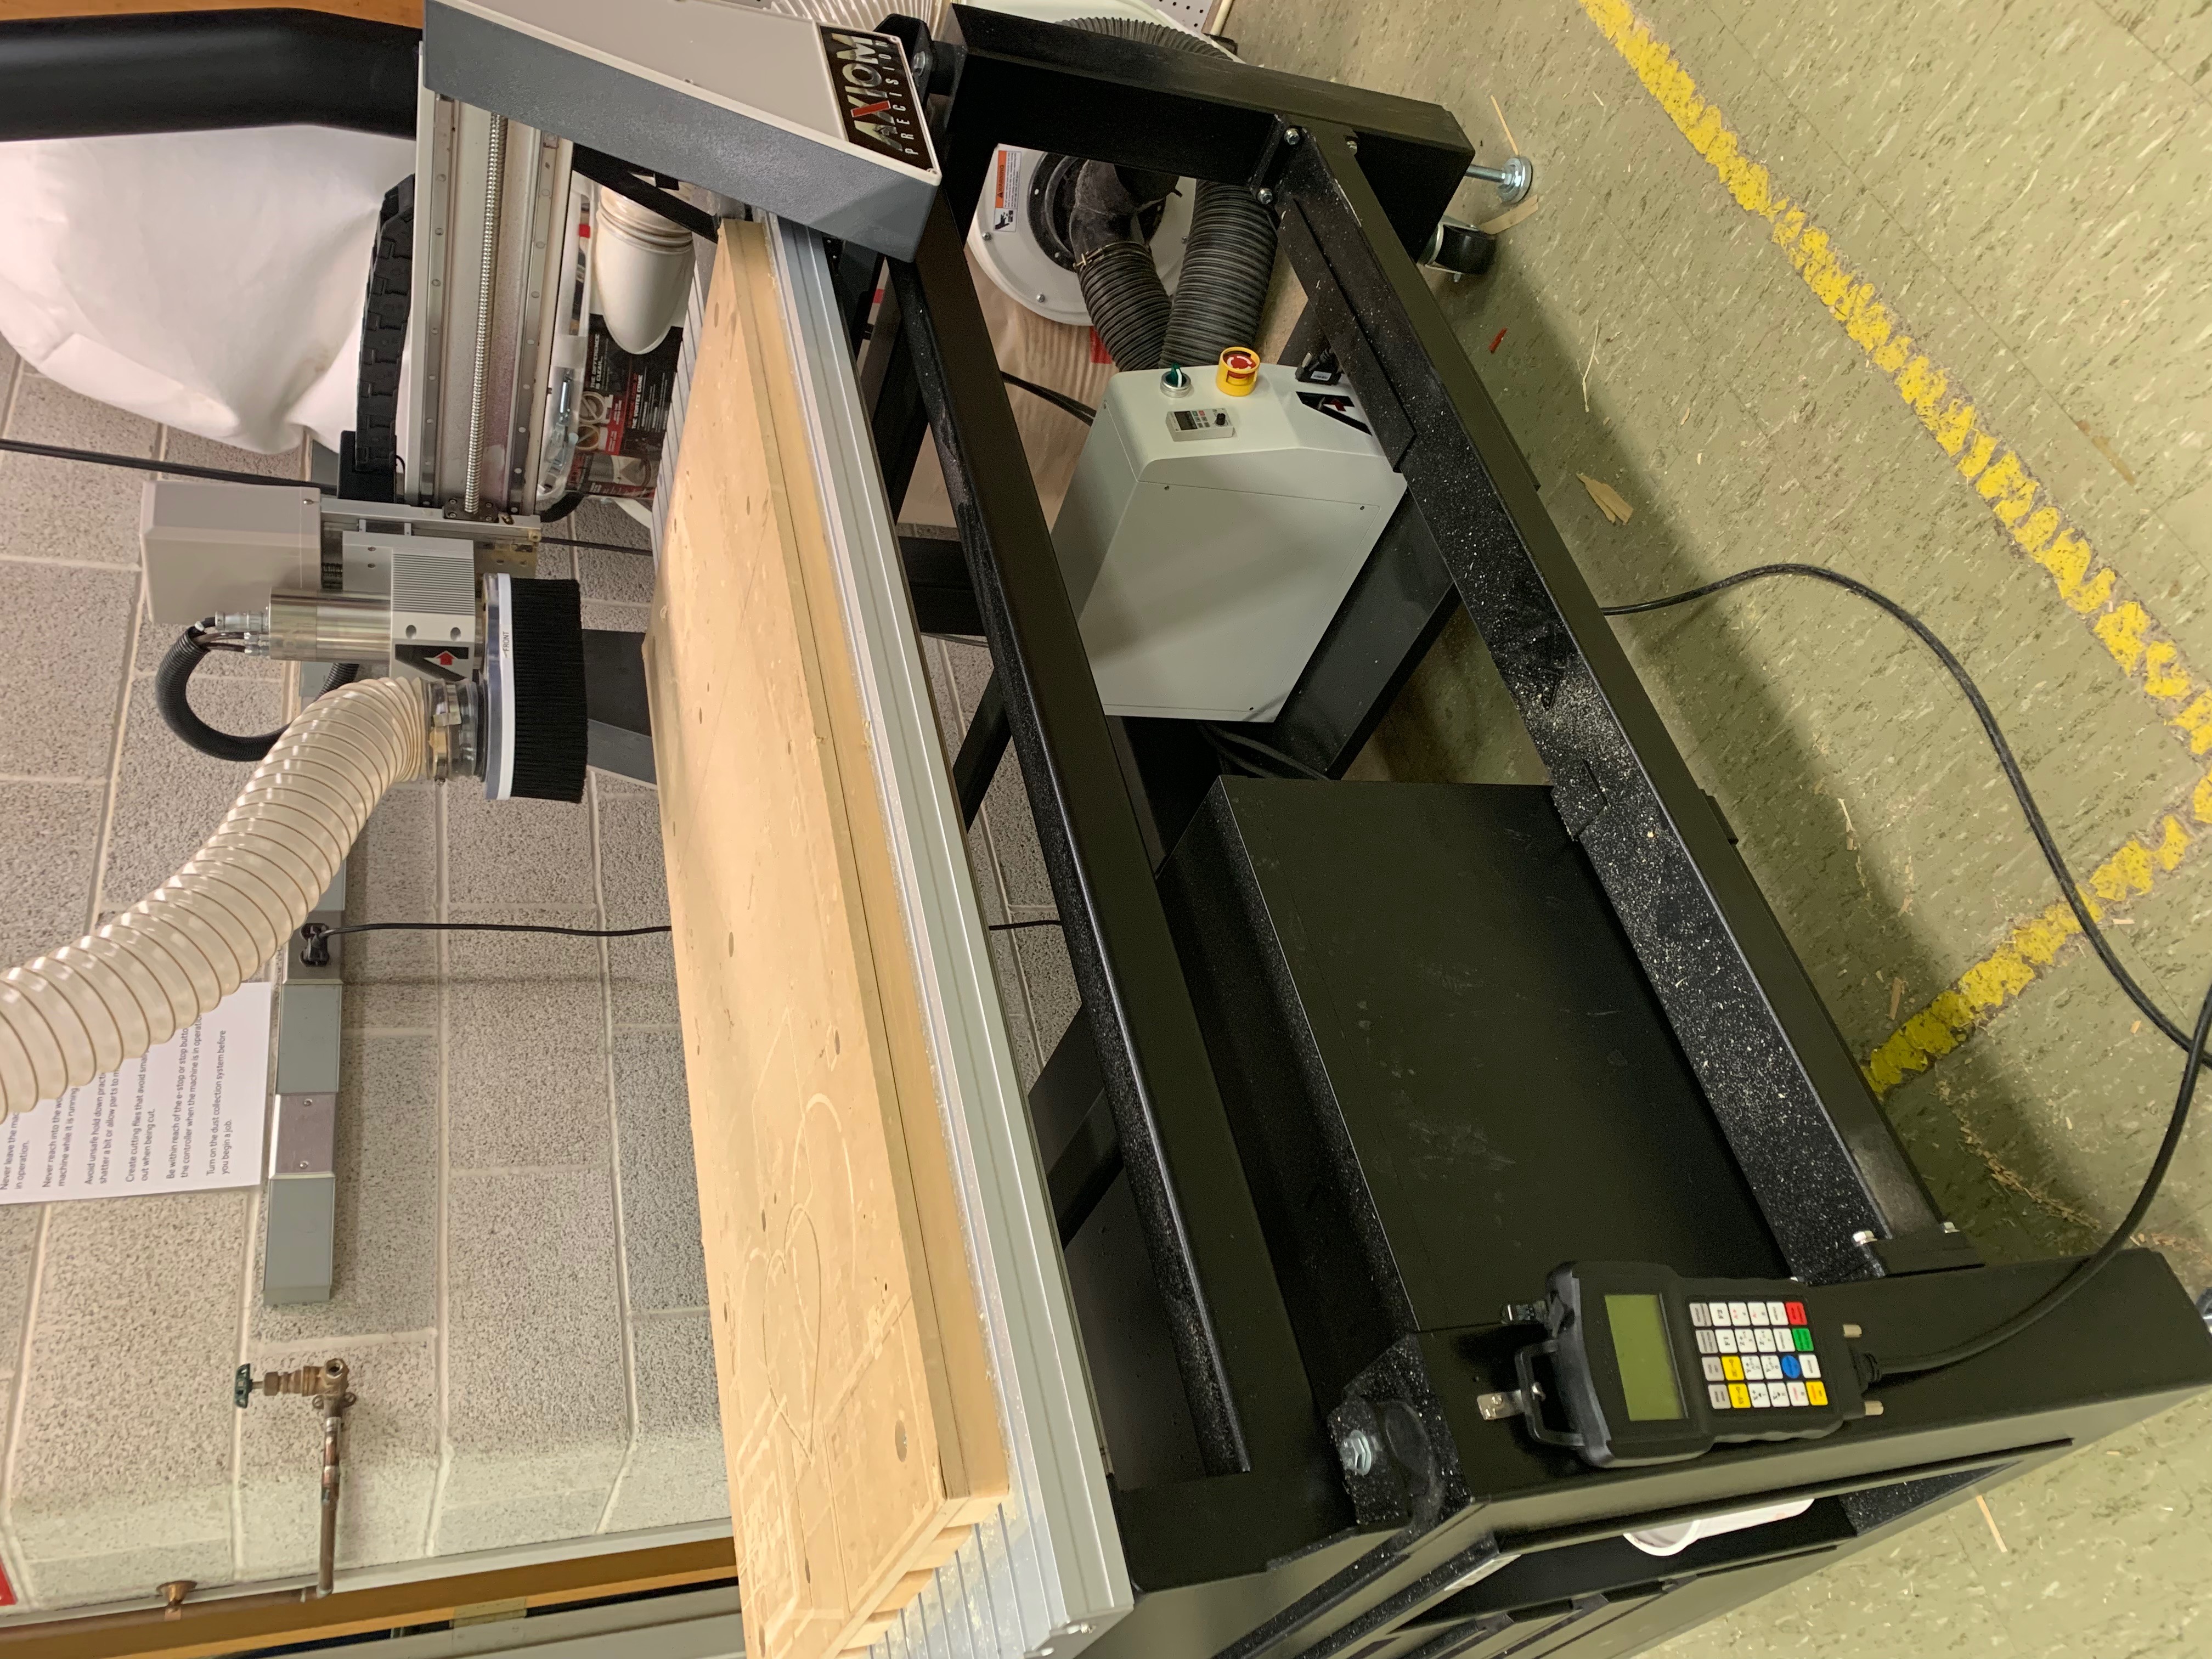
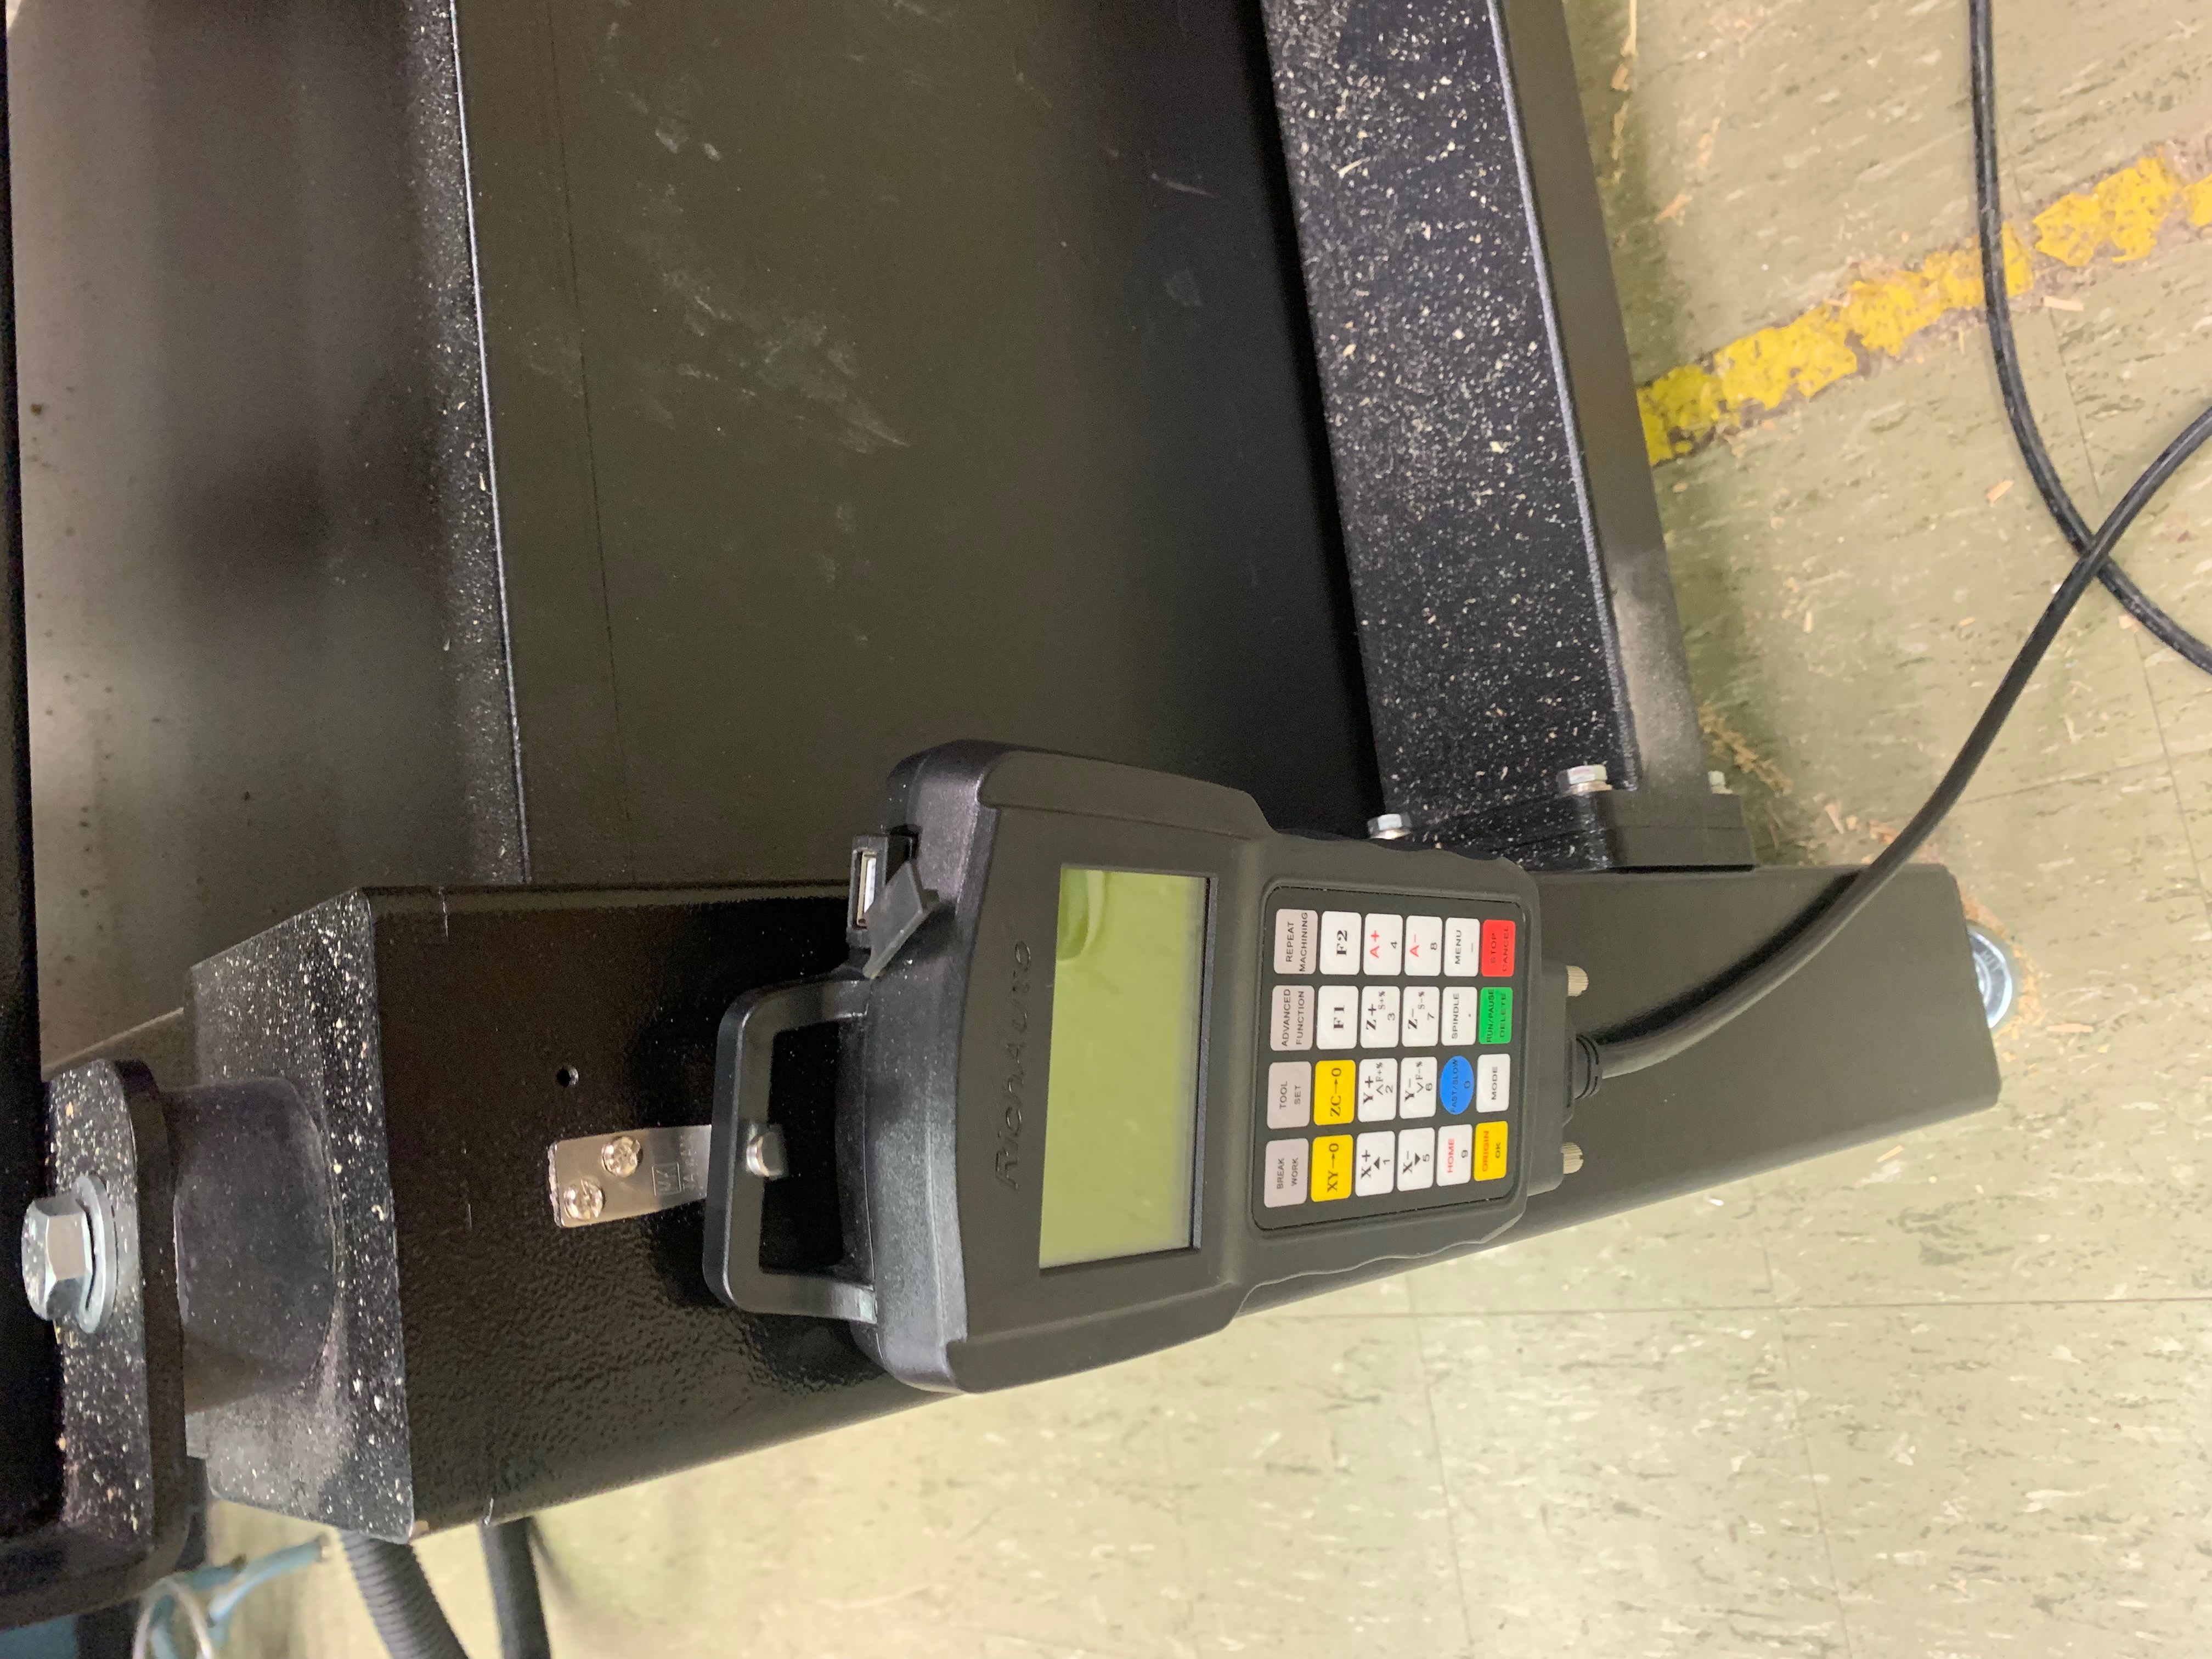
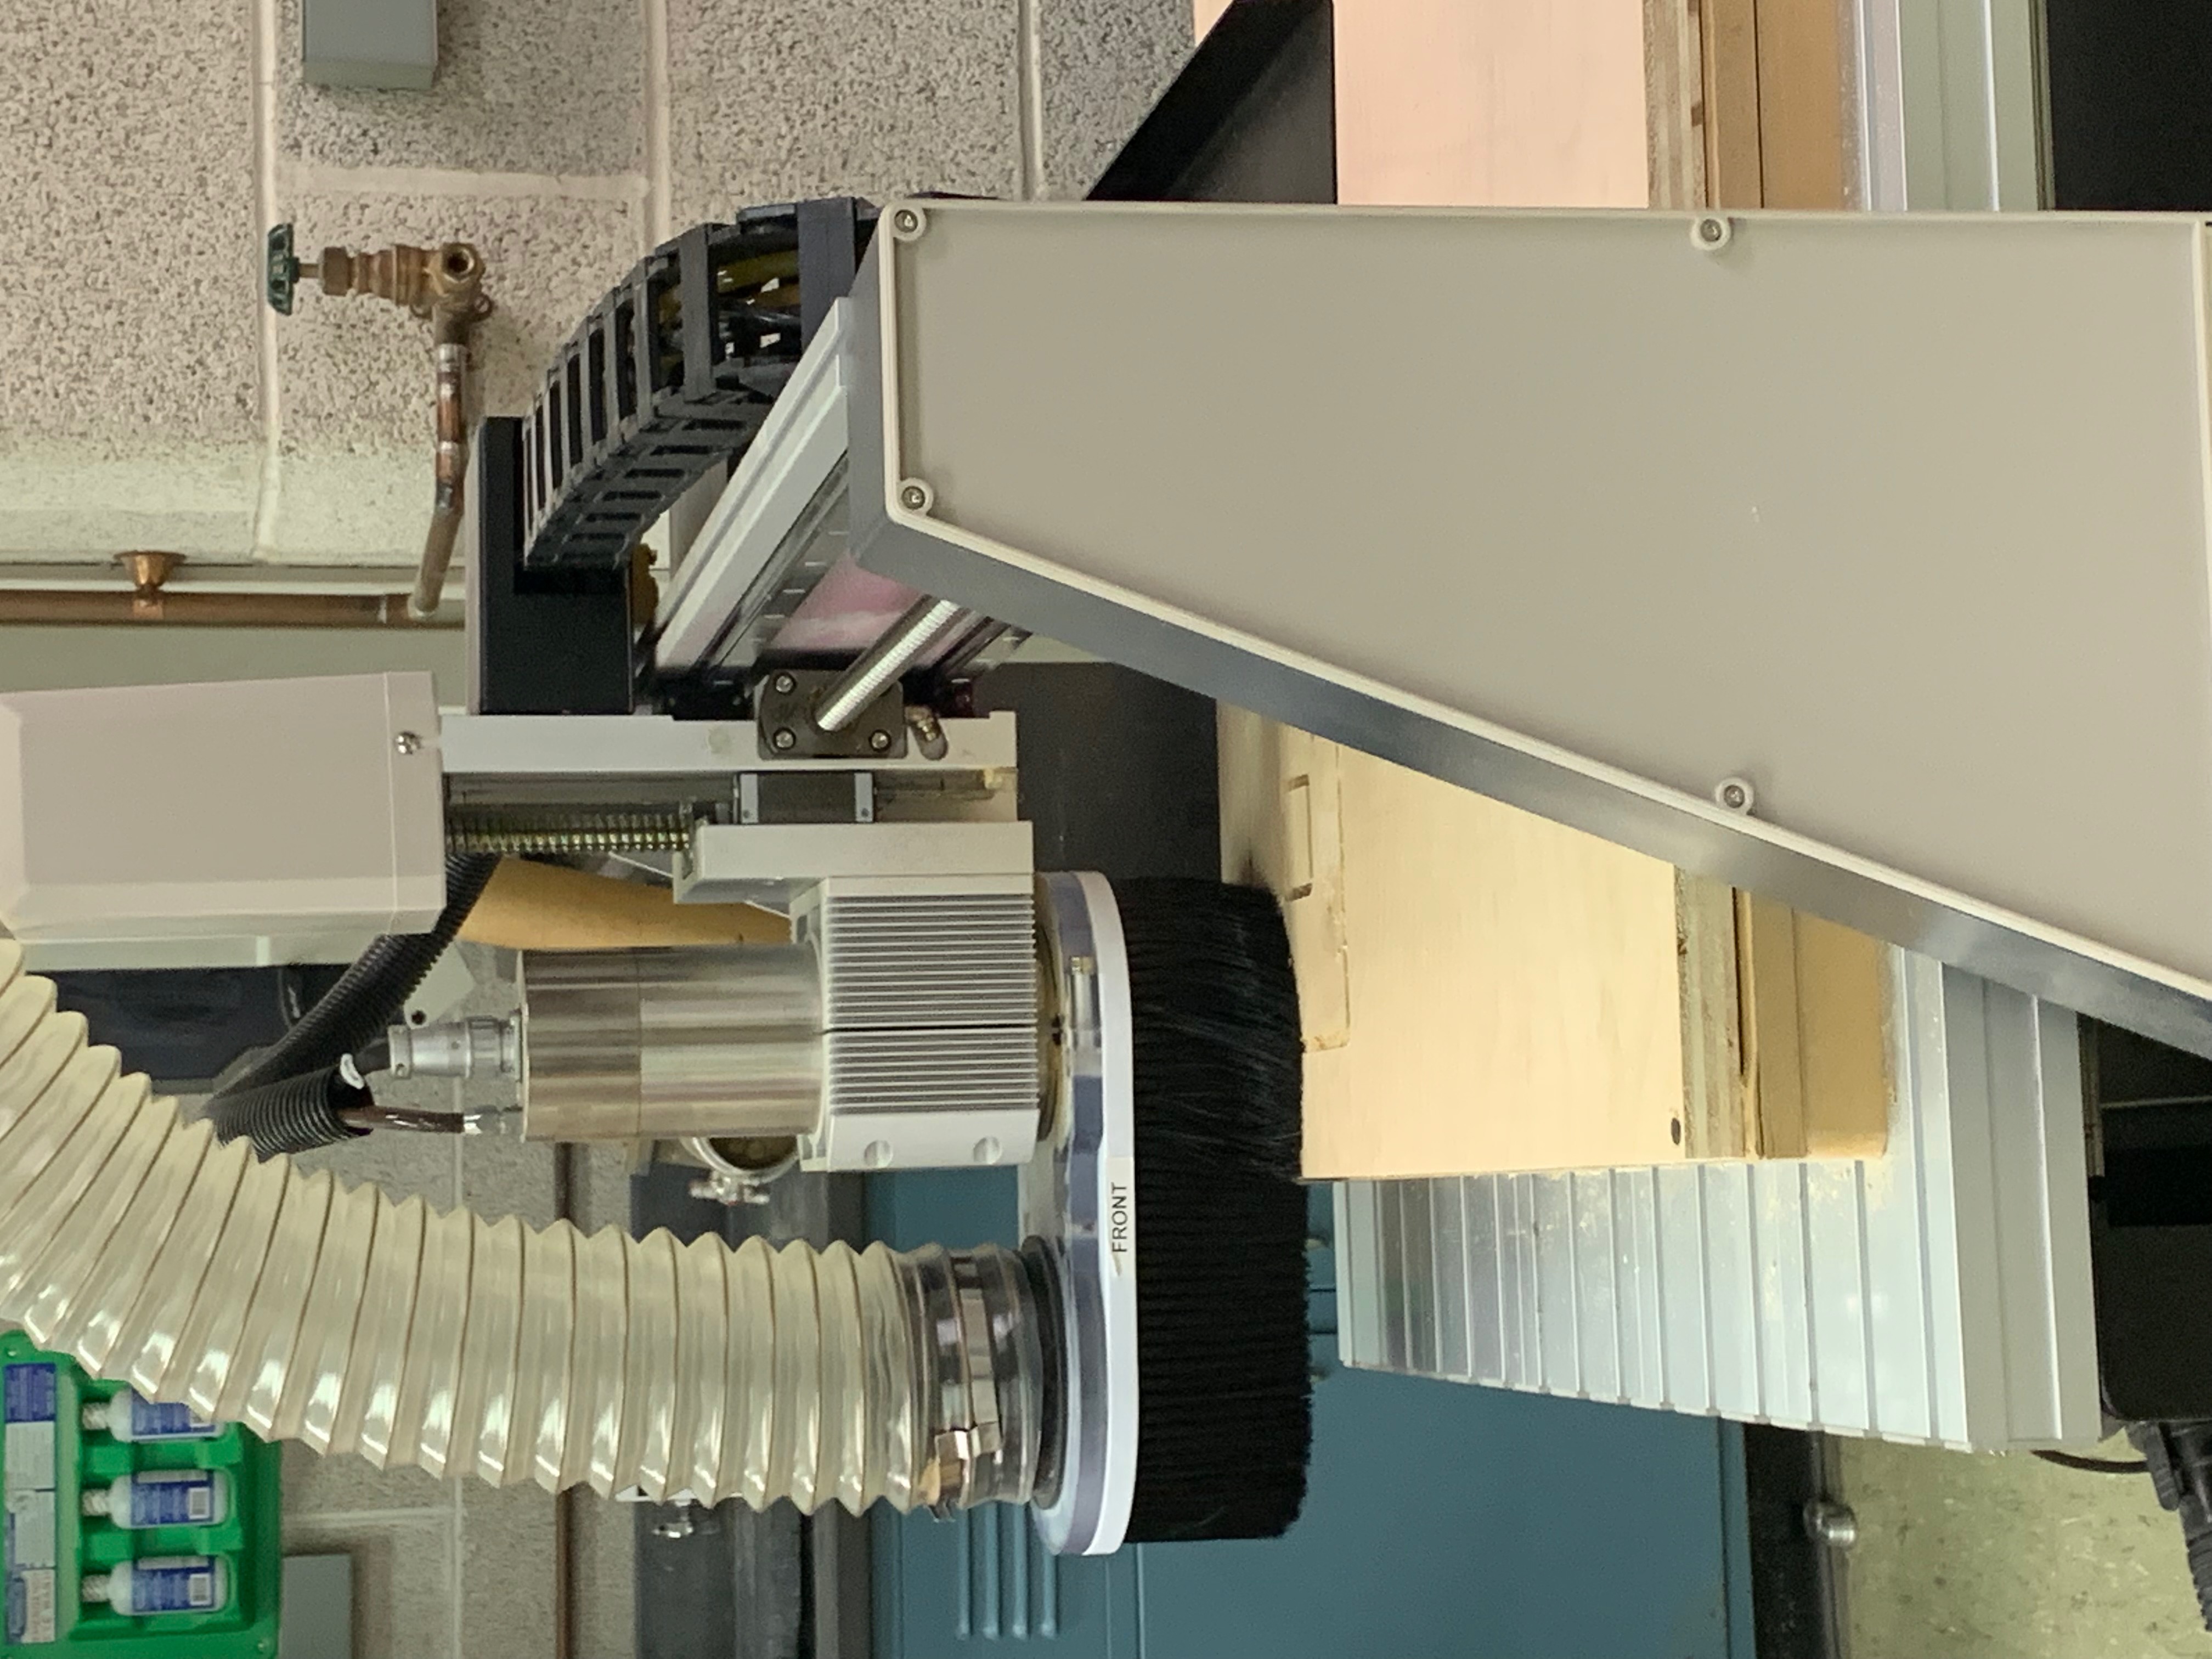
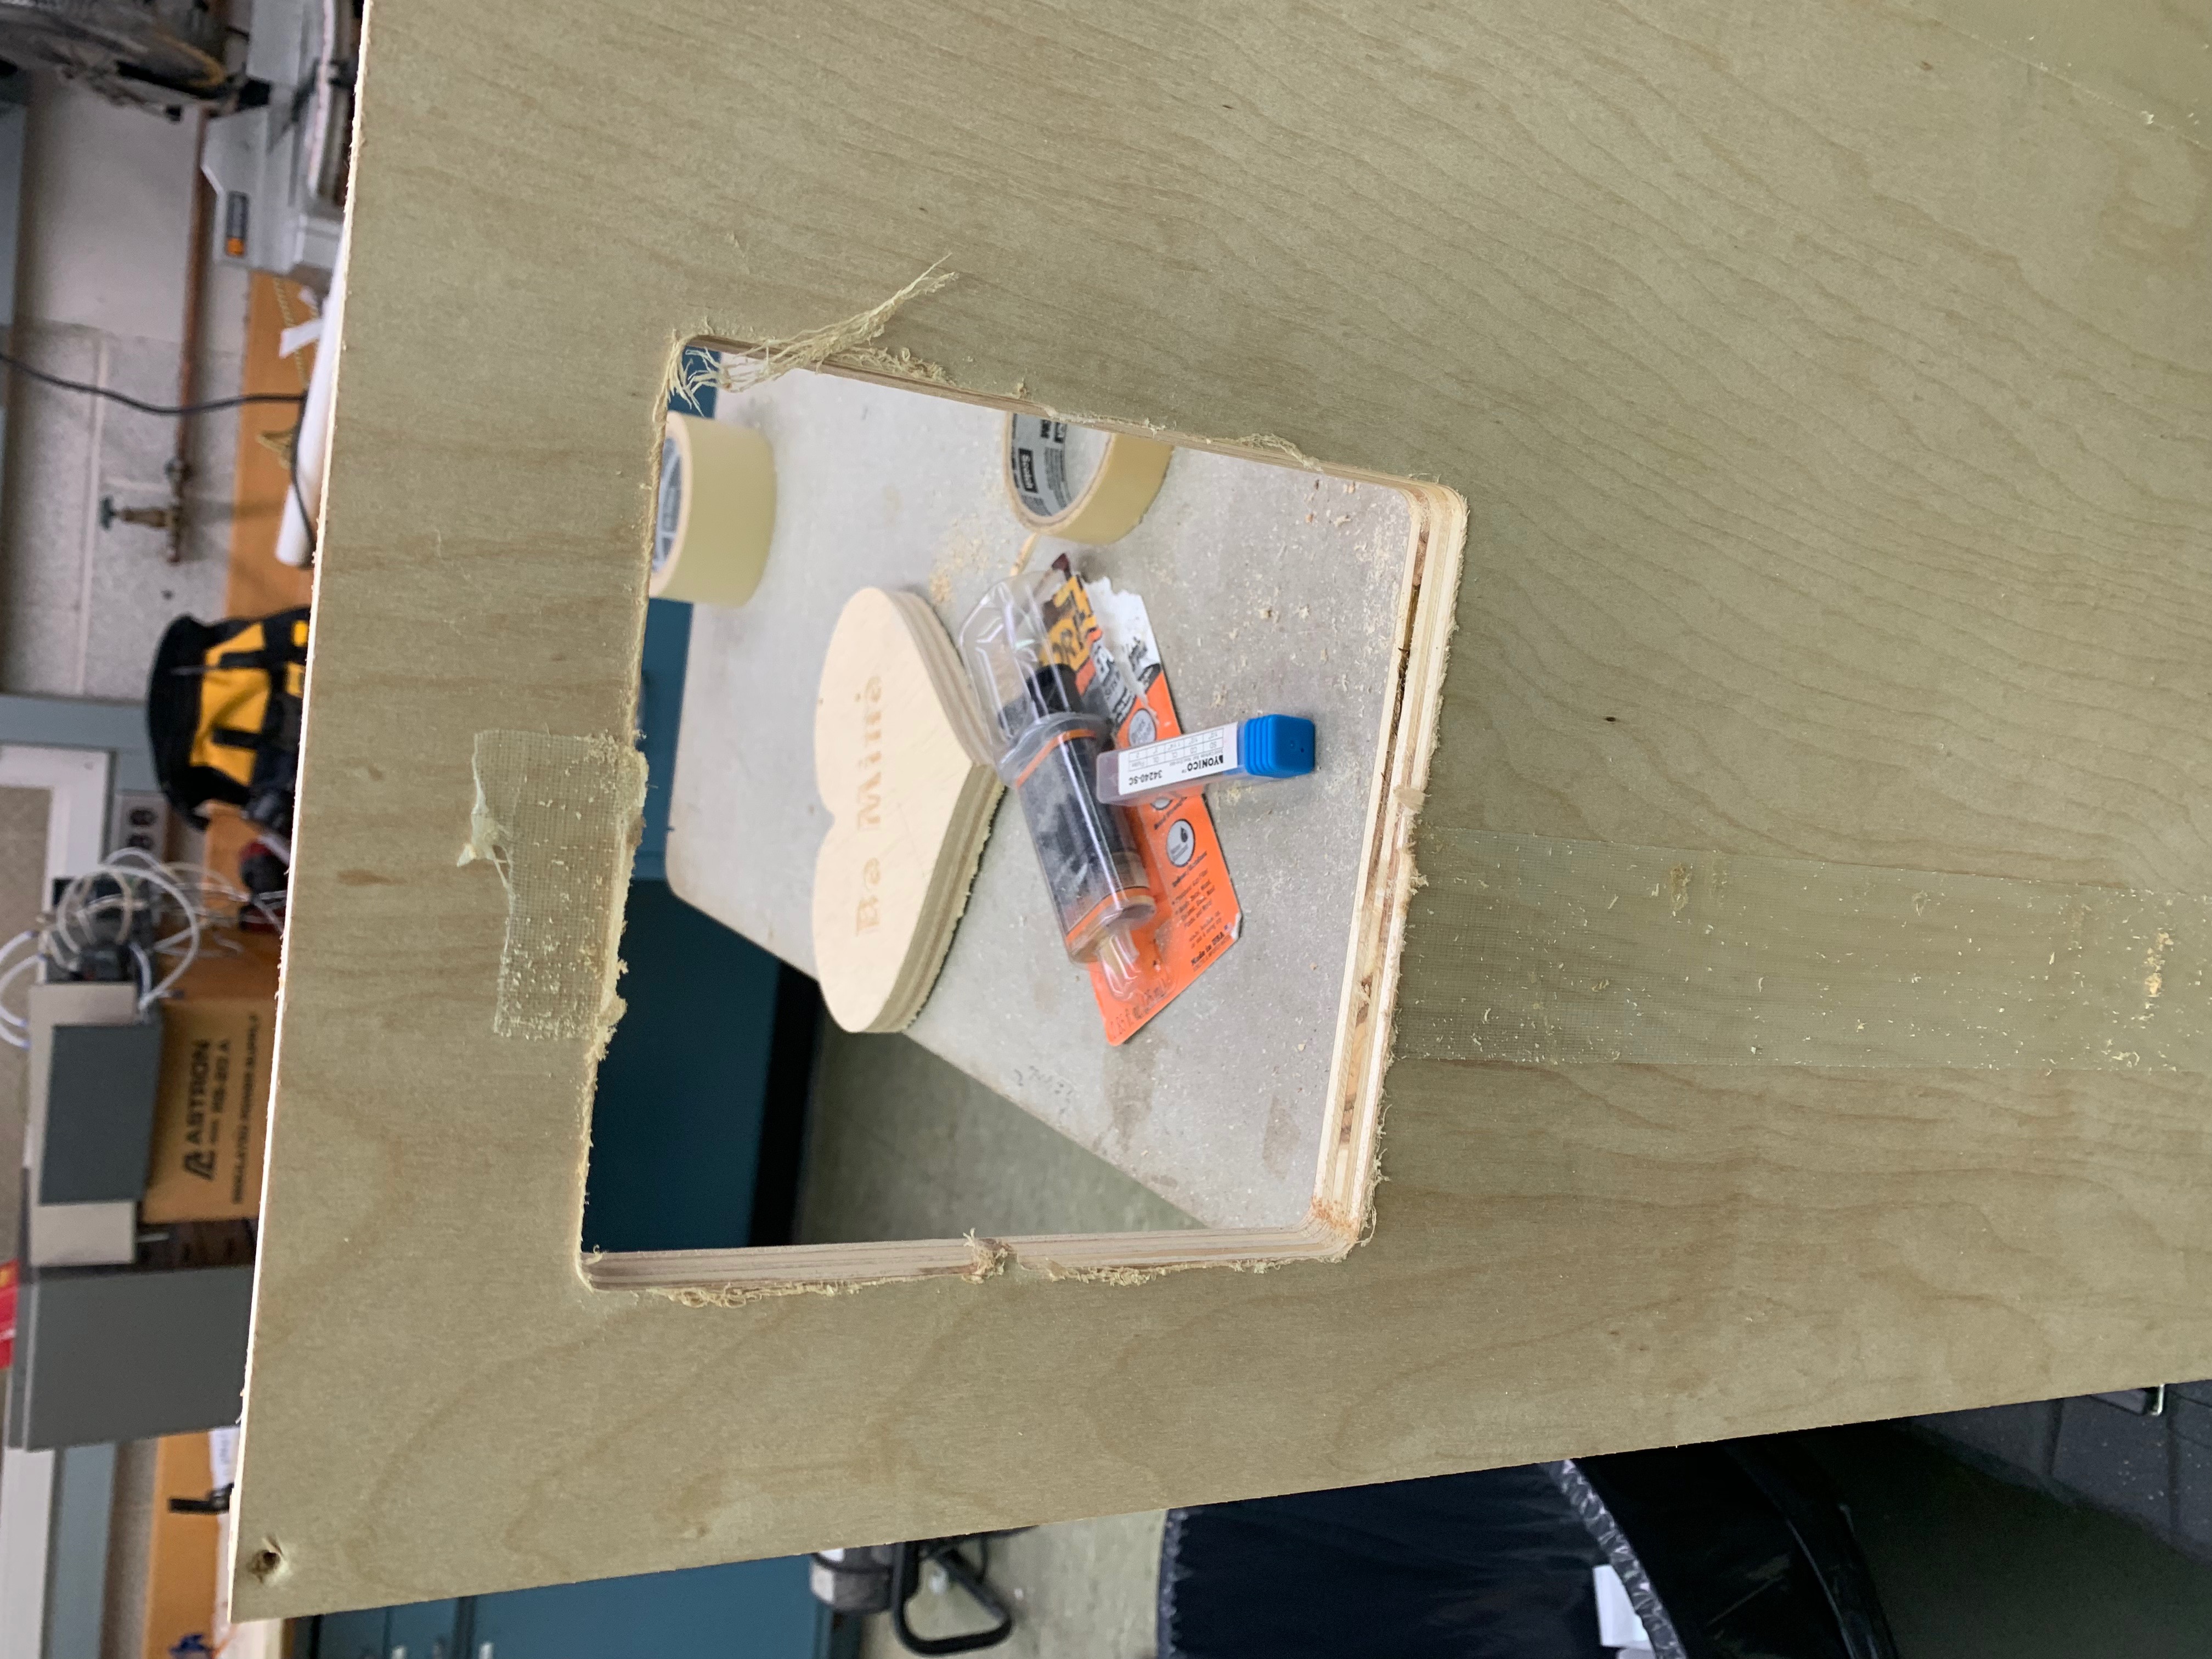
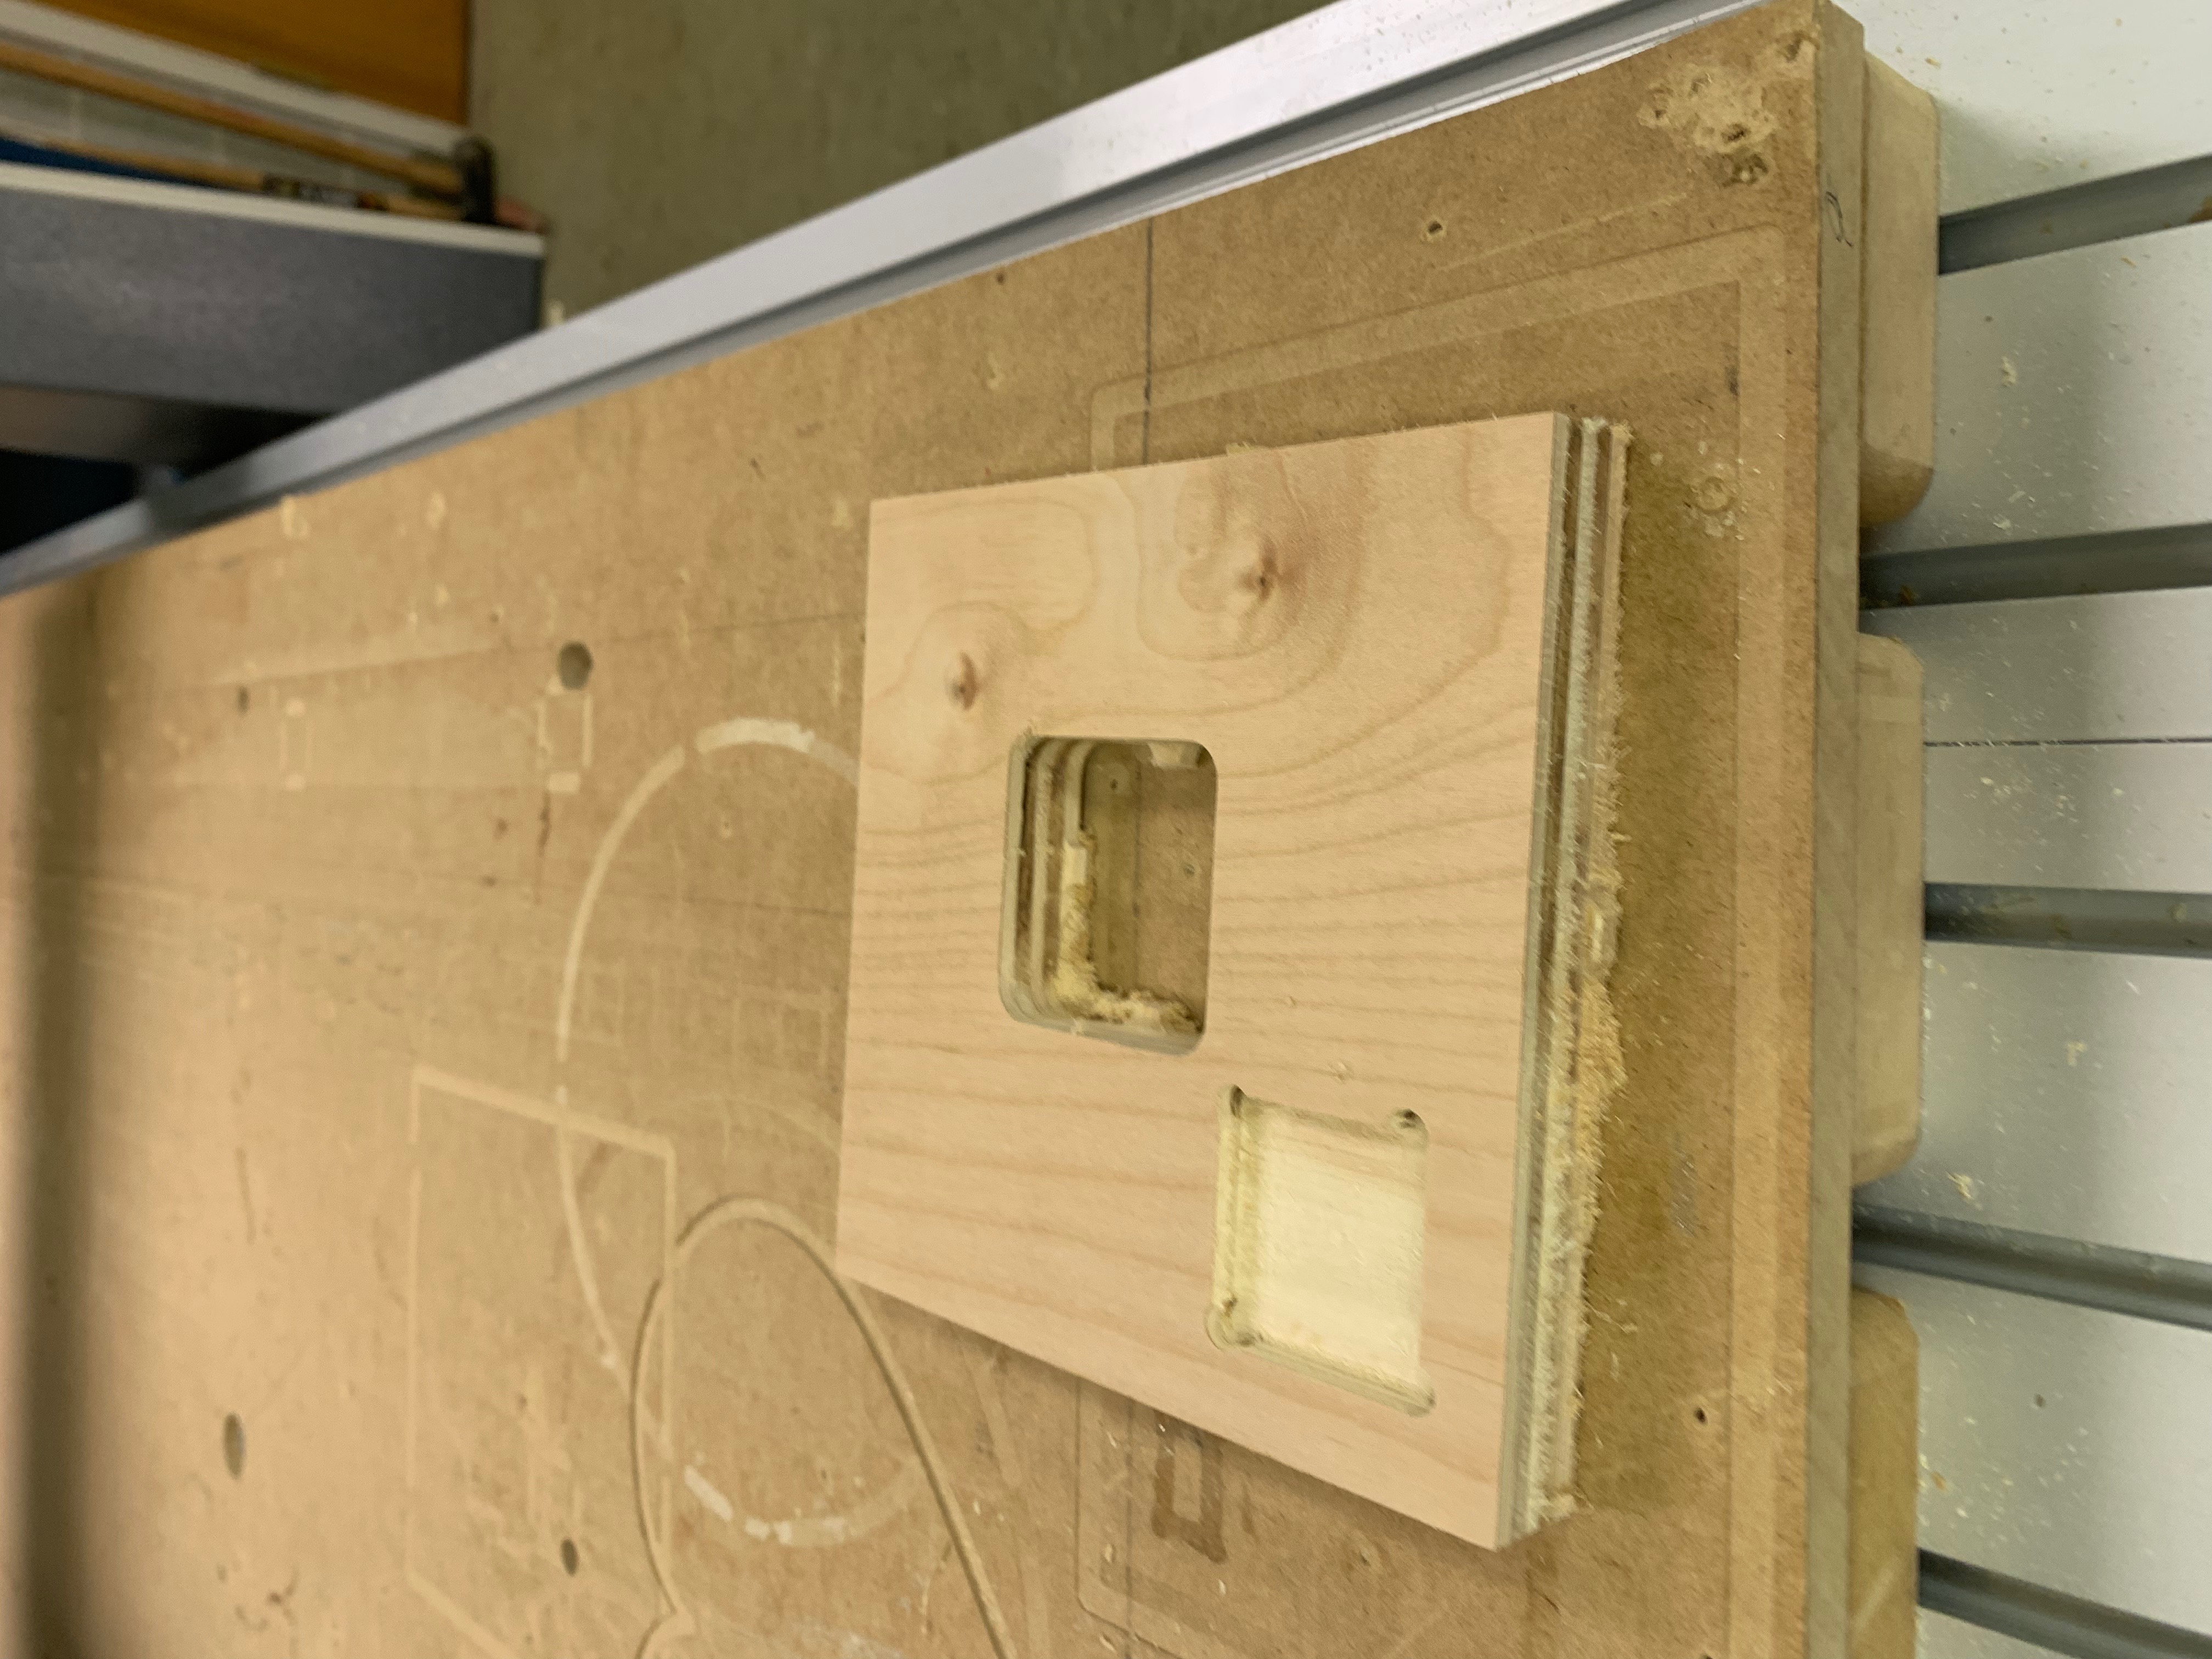
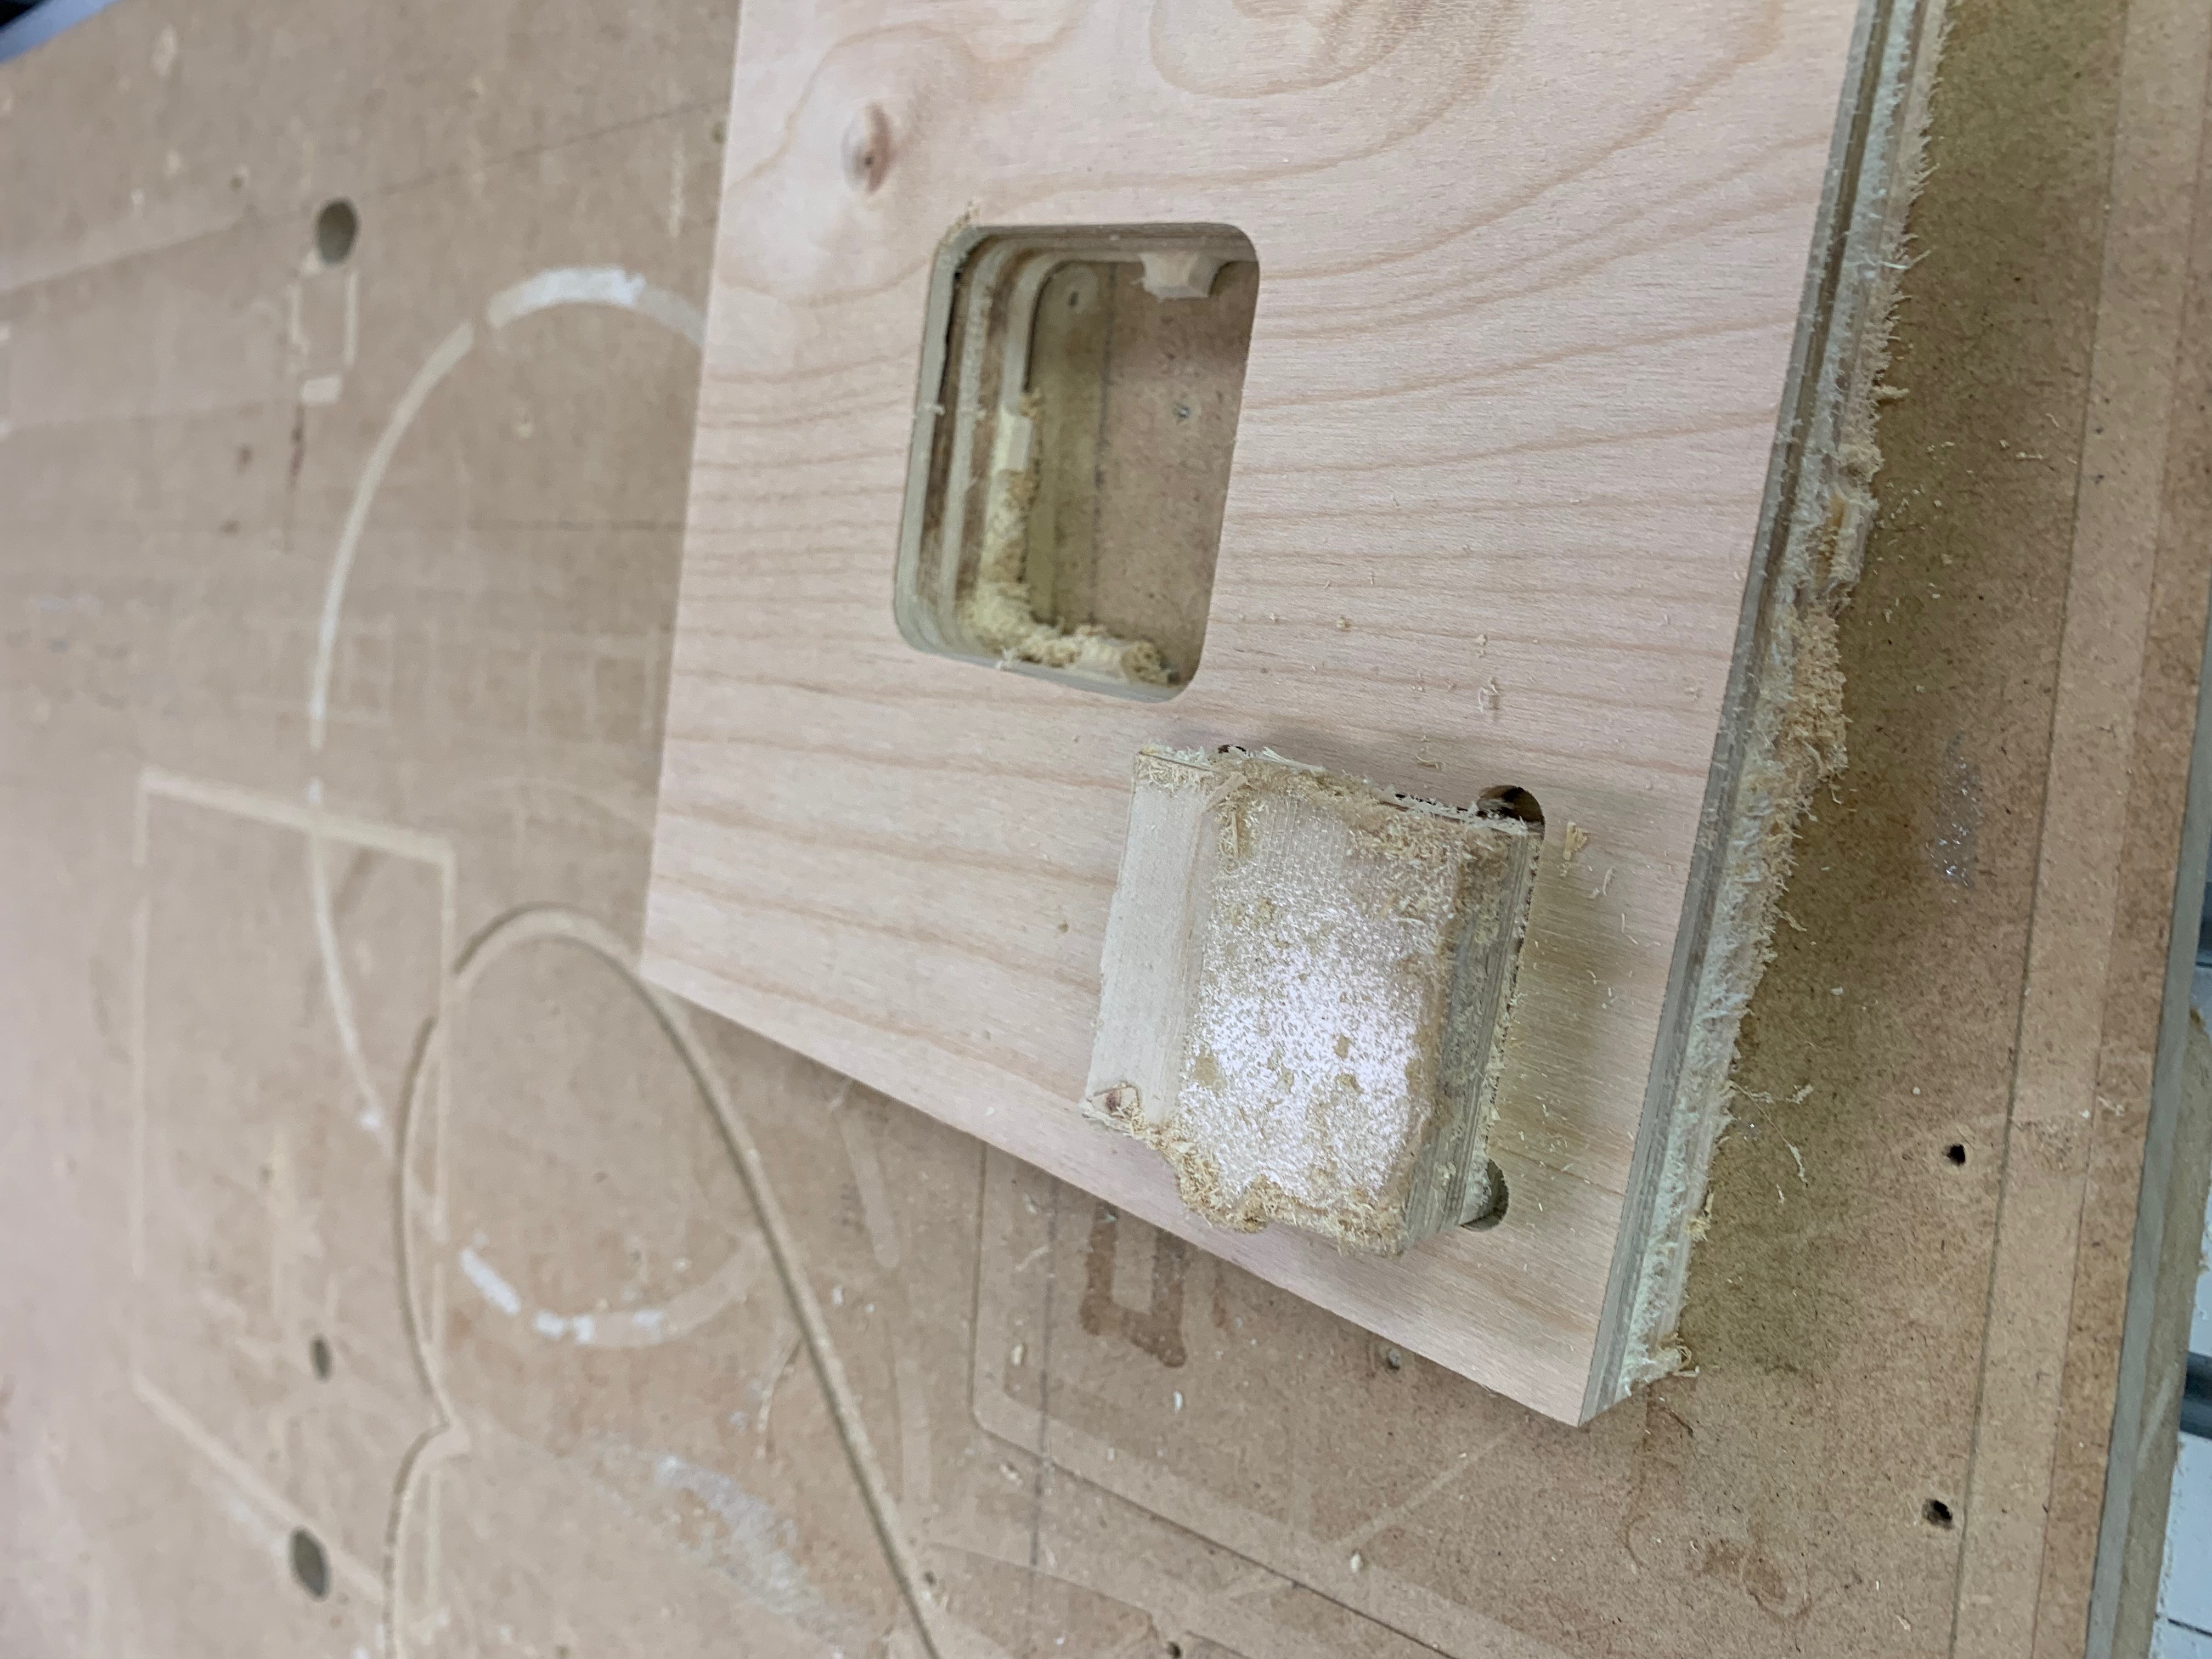
So I think the milling portion of this assignment may have been one of the cooler things we've done in the class so far. As someone who has delt with a hand lathes, and drills before, and know how much of a pain it can be to carve percise things out of wood, it was really cool to see how well this machine works. Also as someone who has broken bits a couple of times in my life time this was also a little concerning. Luckily due to good instruction we made it through the instruction with out me breaking anything. And having completed the assignment I now have a piece of wood that definitly exists, it even has a hole in it which is different. Really looking at it on my desk from here it isn't just one piece of wood it is two pieces of wood! That even connect kinda which is even more interesting.
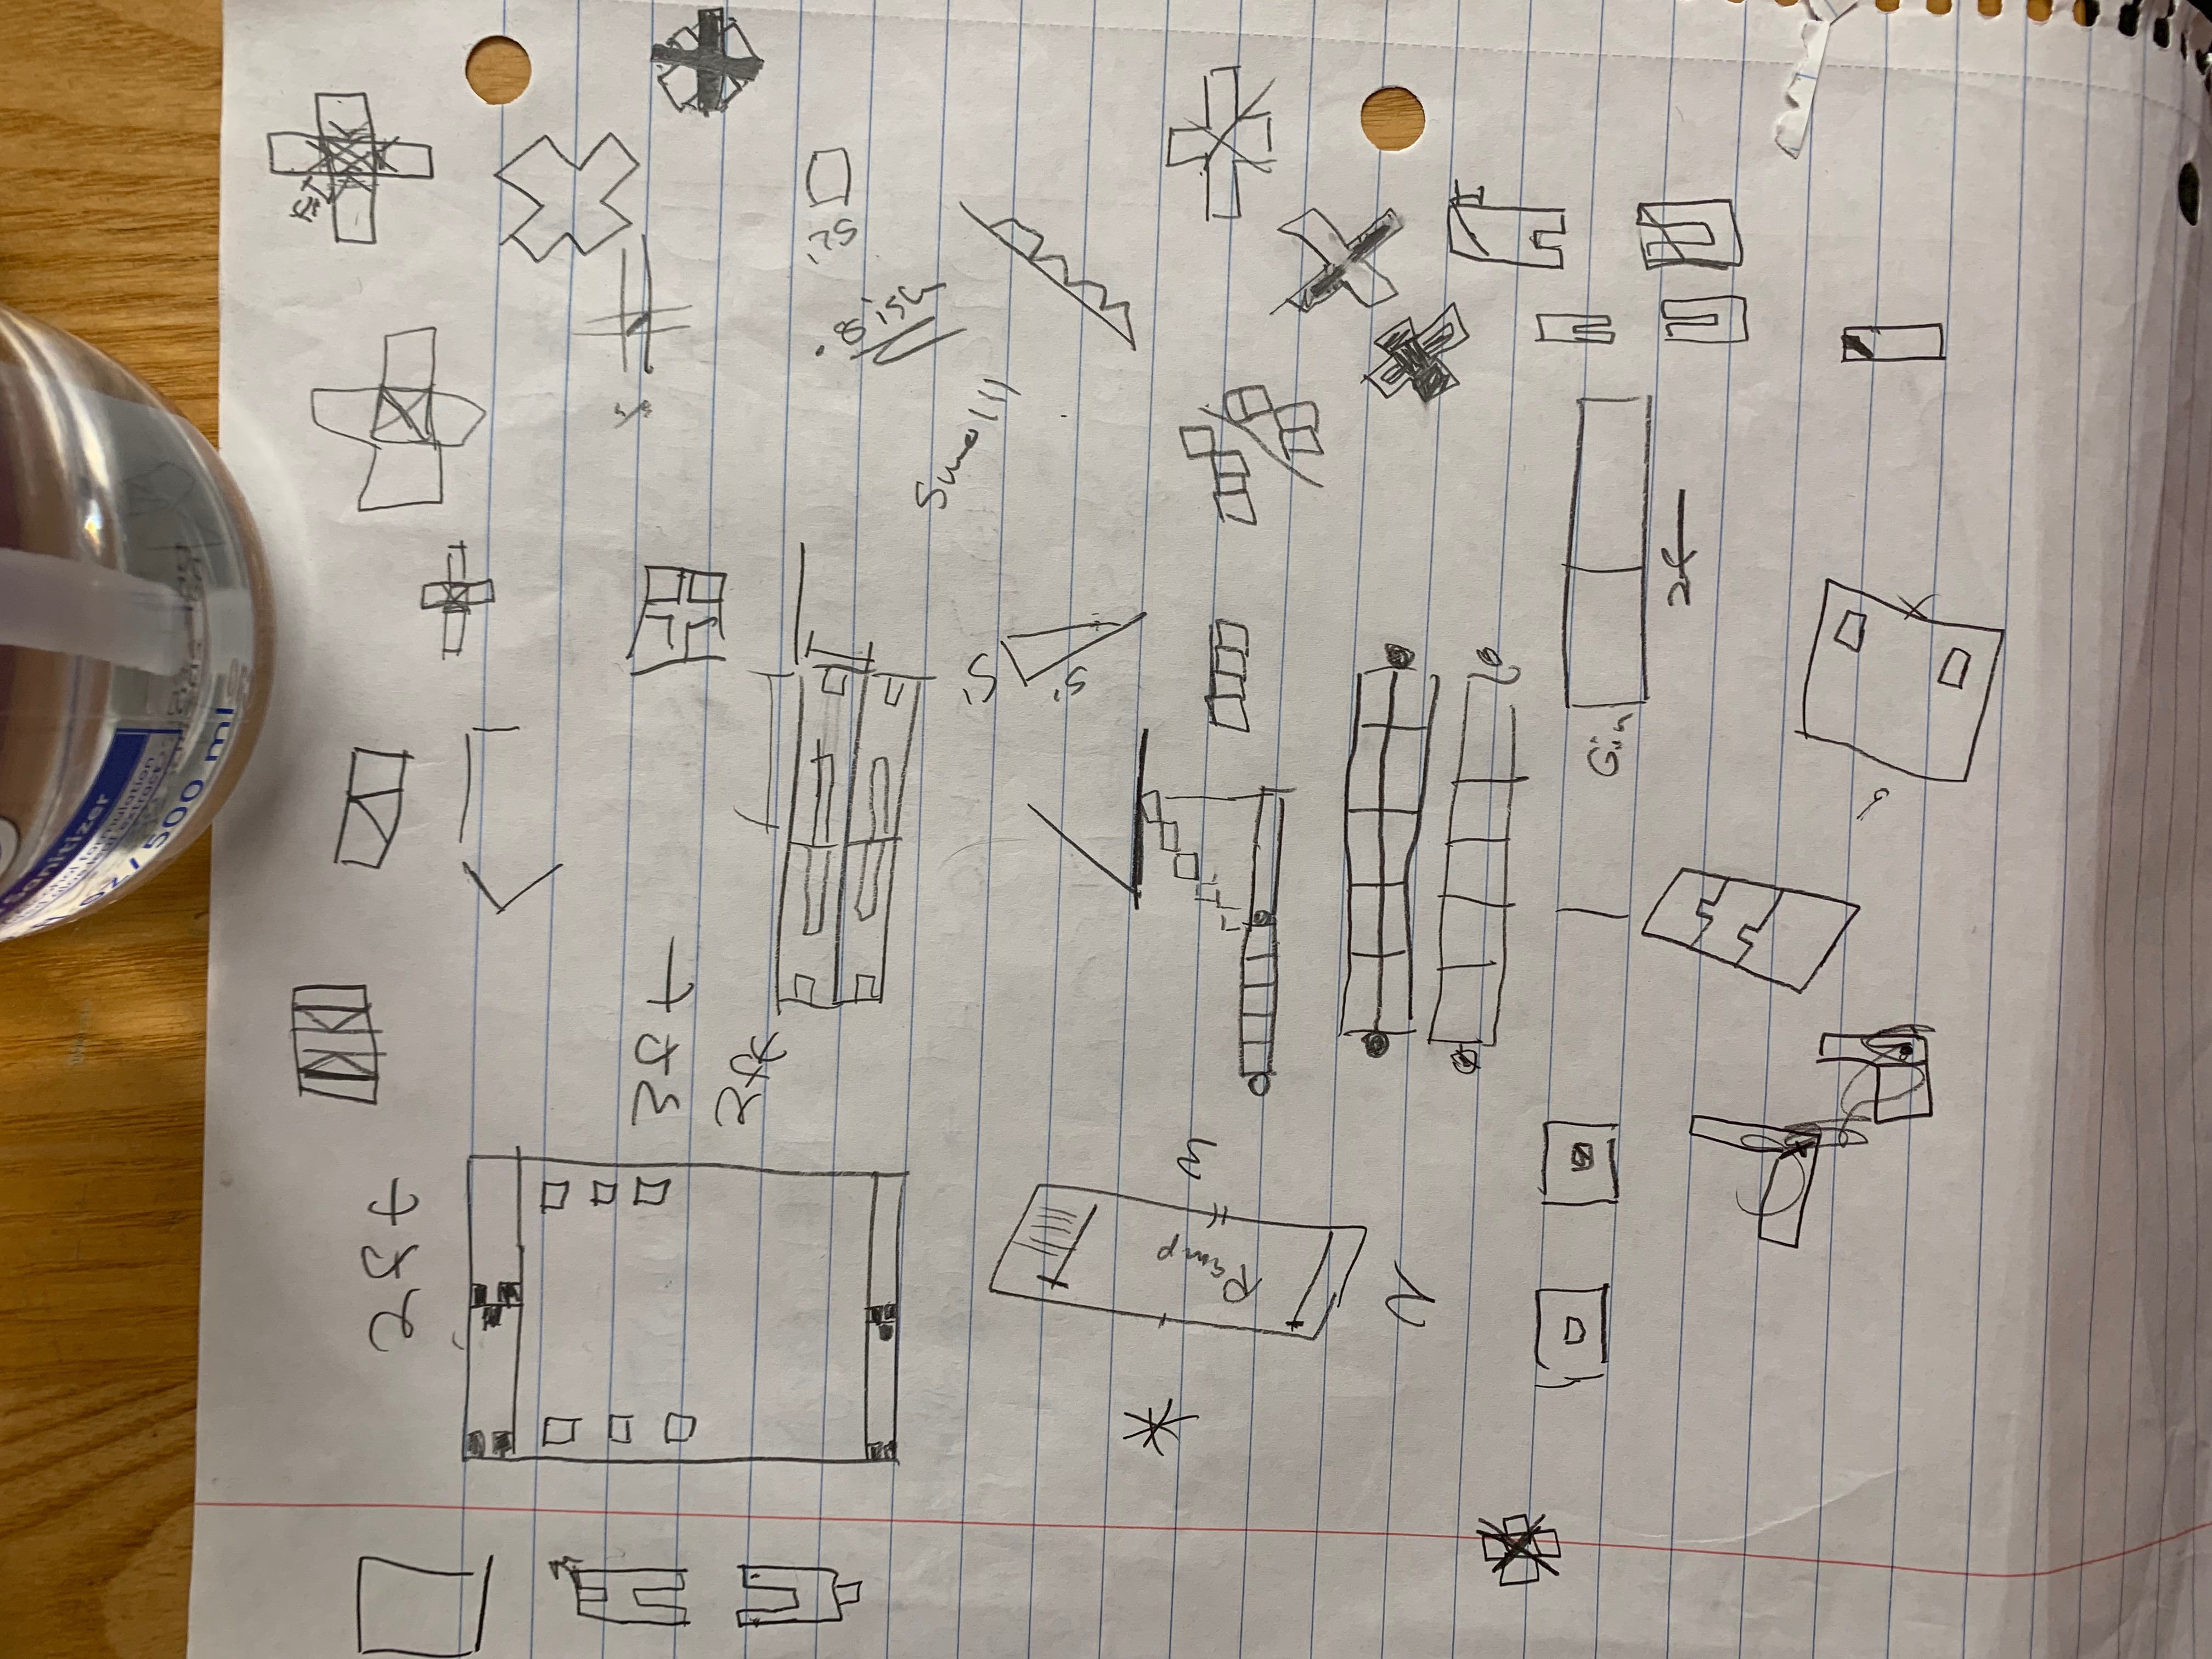
When it came to being creative I naturally began to have problems. I thought orginally that I might make some like wooden gear thing which now that I'm writing that I may do a quick version of that an toss it at the end of this. However I came up with something that is a much more interesting and exciting idea. A ramp!
A Ramp!
Now you as a reasonable person, who is obviously excited by ramps, may not even need an explanation because you just get it. However I understand if you don't view ramps as the supior way to gain elevation, and therefor something to be celebrated at all times, then I will go into more detail.
So why a ramp? Well, I have this little cousin he is very small, and very good, his name is Julian. Now on every Wednesday, Julian comes over to my house to play, and give his parents a break for a day. When he comes over one of his favorite things to do is play with his toy cars. Now sure he likes to roll his cars around on flat groud, as we all do, he is even more fond of rolling things down ramps. The way we've figured out to give him this experience is to place a piece of wood on our back step, and he sits at the top and rolls things down.
There are some logistical problems to our current situation. Three problems mainly that I hope to solve. For one, since our ramp is on the back set of stairs, Julian has to be in a mildly precarious situation to roll his cars. Just to ease any concerns you may have, I mean precious in the way any toddler being elevated is precarious. The other problem is the stability of the board that we are using. Since the board isn't actually planted anywhere it is just lying on the steps kinda wedged into the ground. This means it is a really unstable platform to work on. The third in final problem is just that since the current system is just a flat piece of wood there is nothing stopping the car from falling off of the edge of the board anticlimatically instead of rolling with speed across out back porch. So like anyone who pretends to be like an engineer I saw these problems, and I'm going to fail to solve them with my ramp.
Making a Ramp!
Ok so there is one option here that is to try to convince you that really a flat piece of wood with some grooves in it is a good and reasonable idea to give you. However I am going to choose not to do that because I think you would try to kill me and you might very well succeed. So instead I'm going to have add legs to the ramp which is a trickier thing to do. It also makes it so we can do the pocket technique that was taught to us during lessons. Woah applying Knowledge, learning!
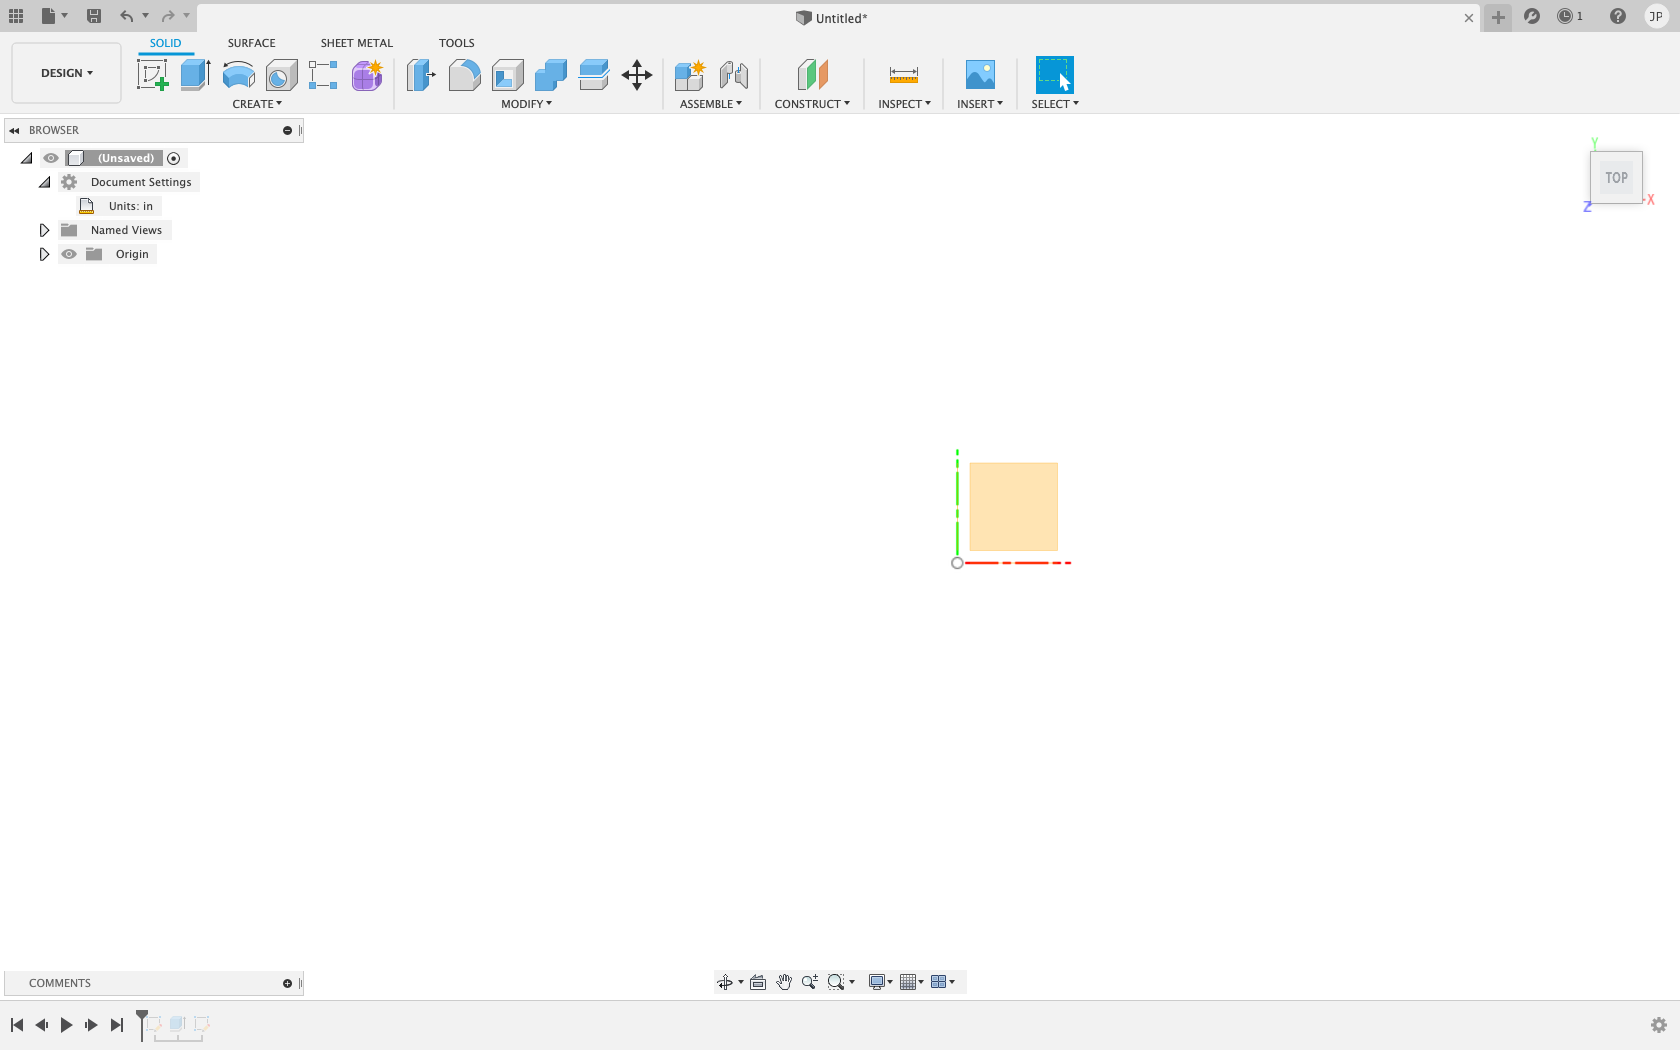
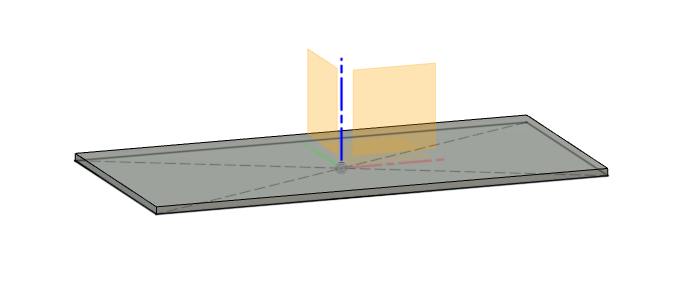
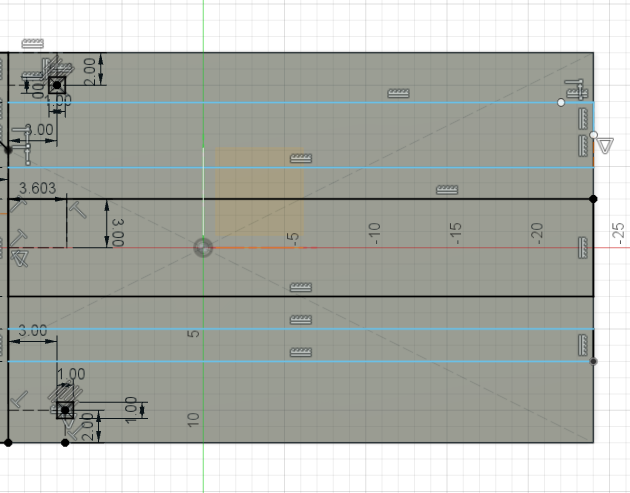
Ok so because I only had fusion 360 on machine I roughed it all up in that. The first thing I did was to just make a rectangle the size of the wood that we are given. Then I extruded that so we would have a piece of material with demensions of our board.
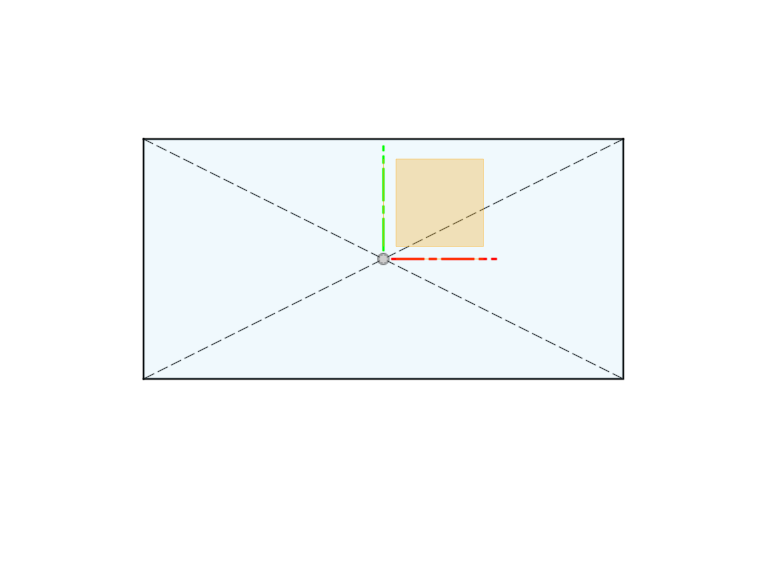
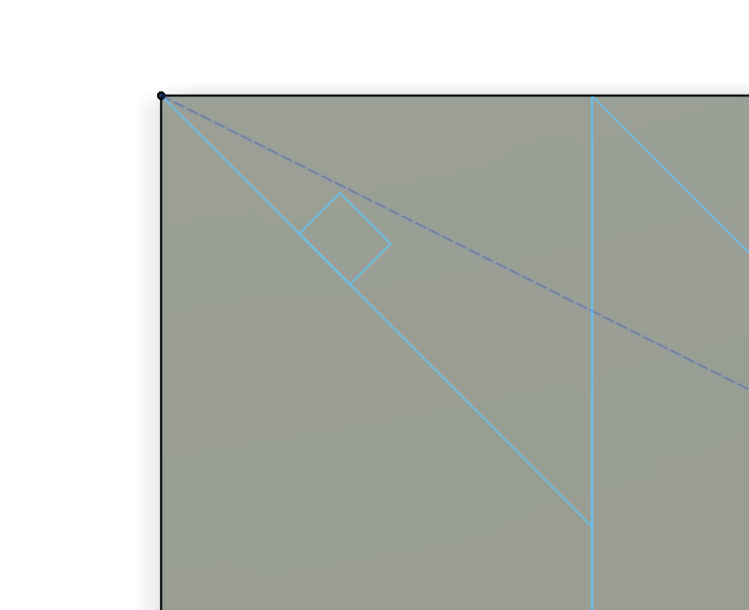
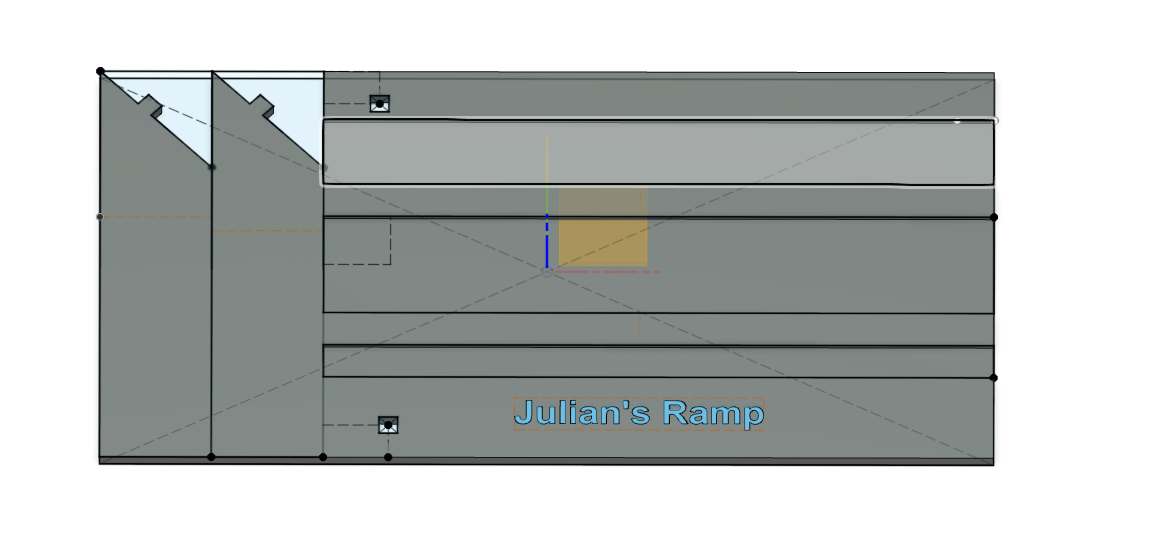
Having done that I felt the next thing to do was to designante the area that I wanted to be cutted off, and made into legs. Now in alot of the photos I'm going to show my angle is wrong. I realize that now, but I'm leaving it here to show how we all make mistakes. For some reason I was 'Like yeah 45 degrees makes complete sence to me, what other angle could it possibly even be?'
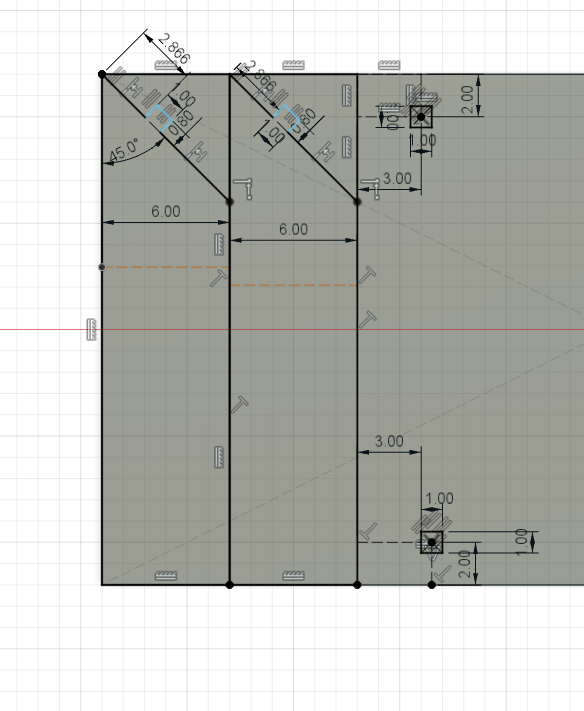
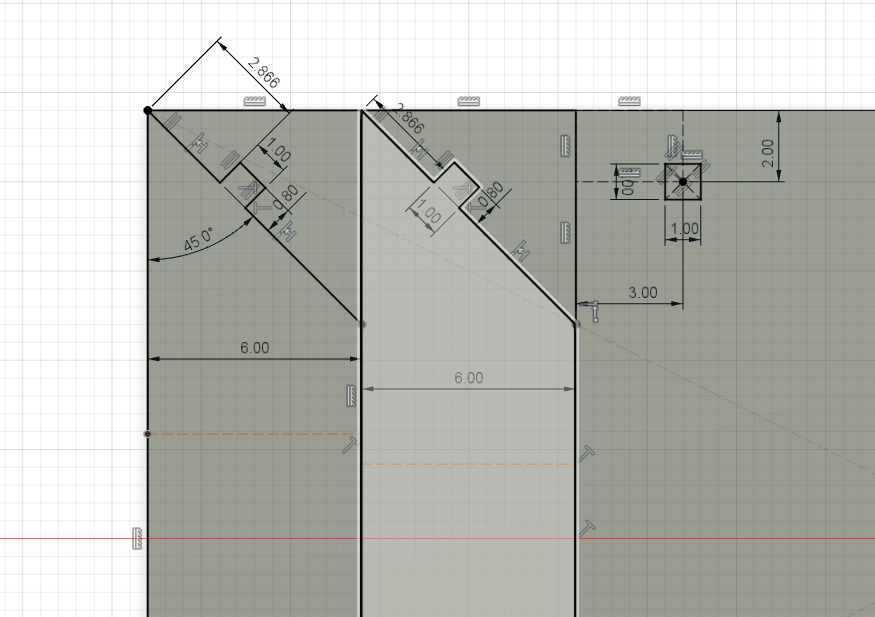
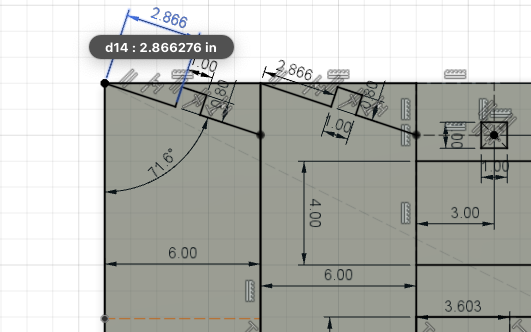
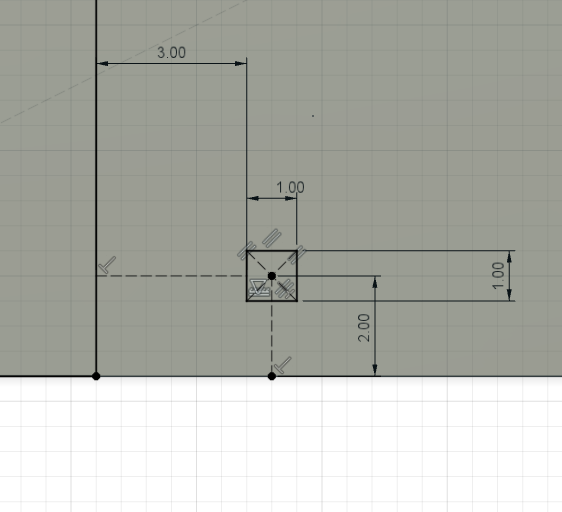
After getting the legs done which took a shocking amount of time to get it properly defined, it was just a matter of getting the ramp part done. The only tricky part of this was making sure that the hole is properly lined up. Then I added three inlaid ramps of various sizes, six, four, two inches, and adding my cousins name.
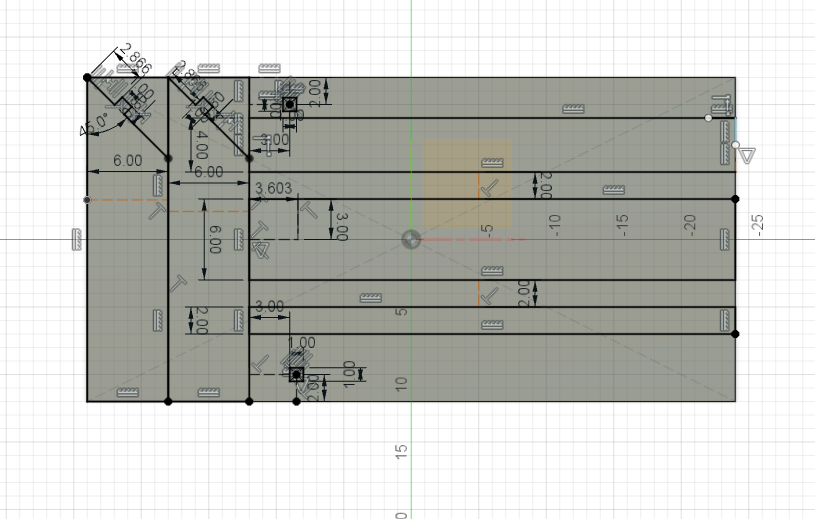
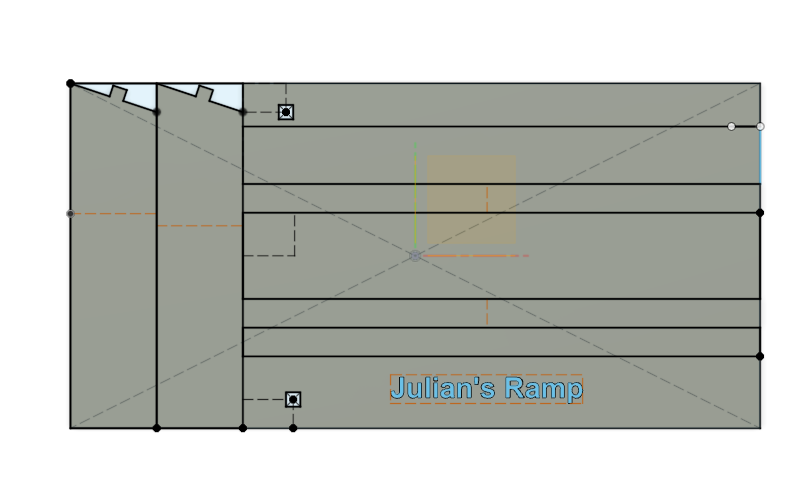
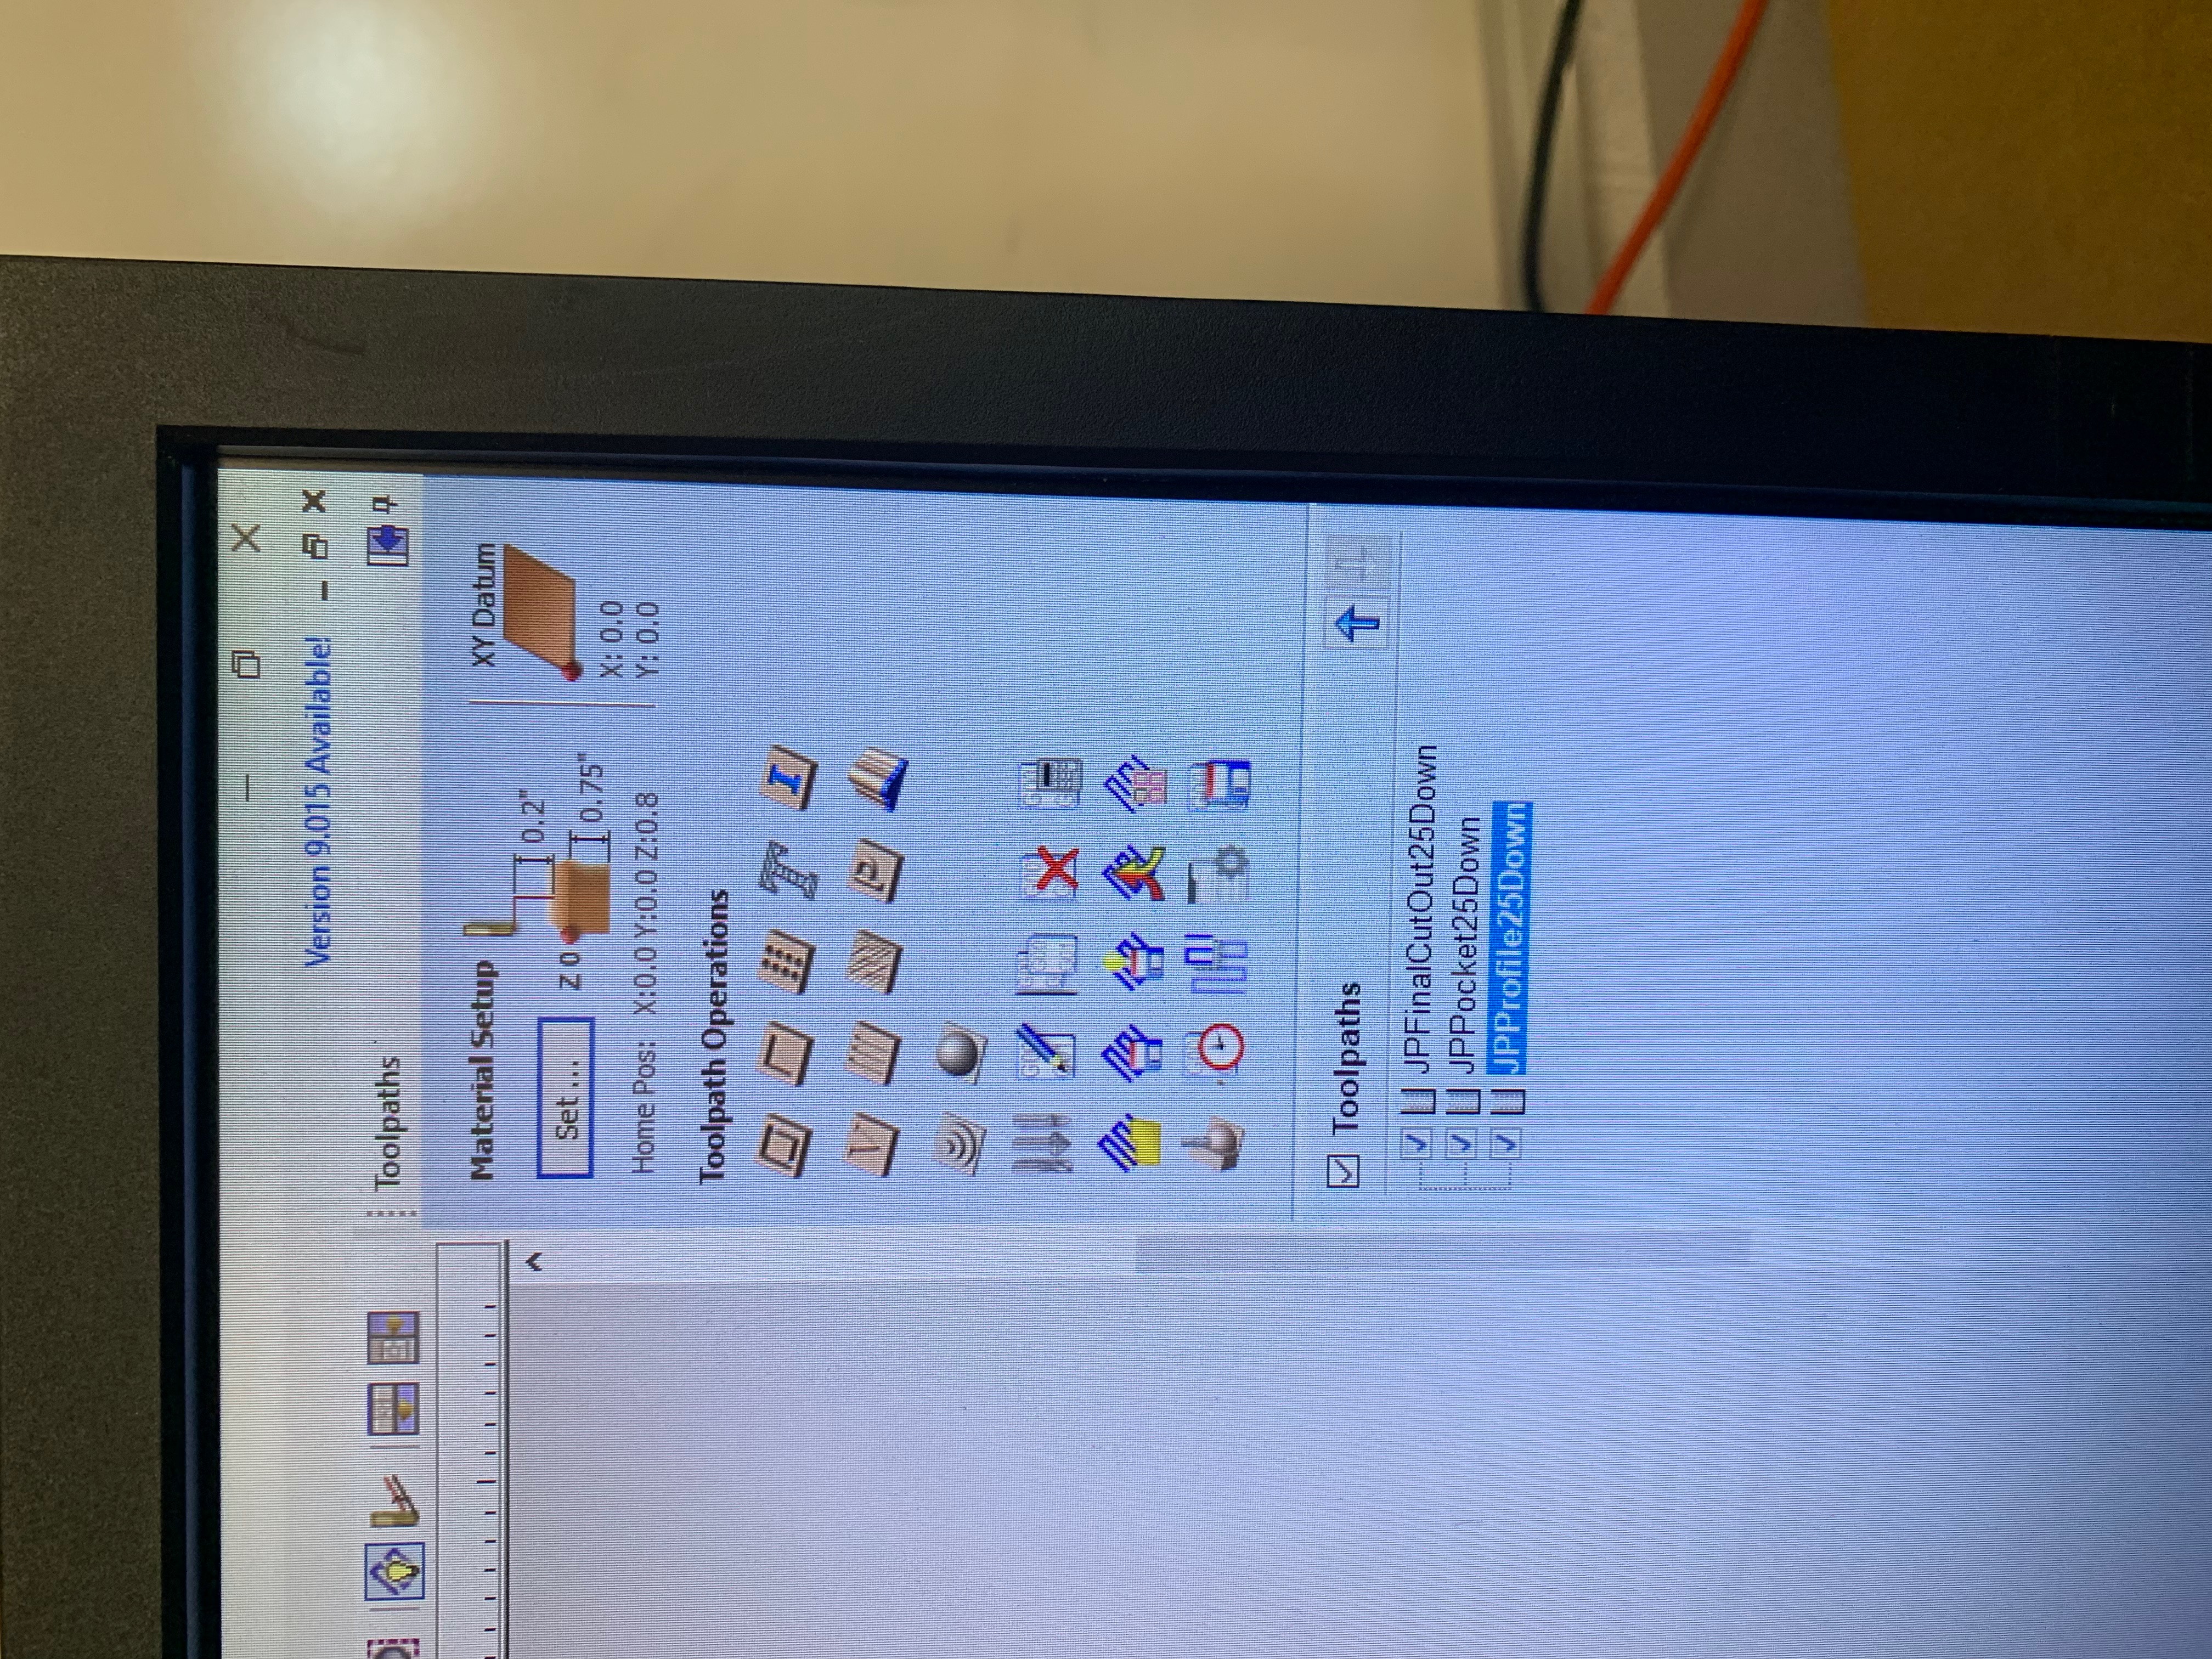
Once I finished making the sketch I extruded the parts that I would've cut, and I cut down a bit in the parts where I would be engraving. I thought this was a pretty cool project all things told. Also you may notice that this is the end of the page and there is no cool gear thing. Yeah I was being way to ambitious, but I figured that leaving that part in the start may act as a hook to make it through the rest of the page. Well Thank you for reading if you would like to download the file that I made you can access it here.